![]()
Mozilla Firefox got a new monthly update recently, with minor new features, performance improvements and some bug-fixes.
According to the release note, Firefox 104 adds one more video site, Disney+, for displaying subtitles in the pop-out videos (Picture-in-Picture).

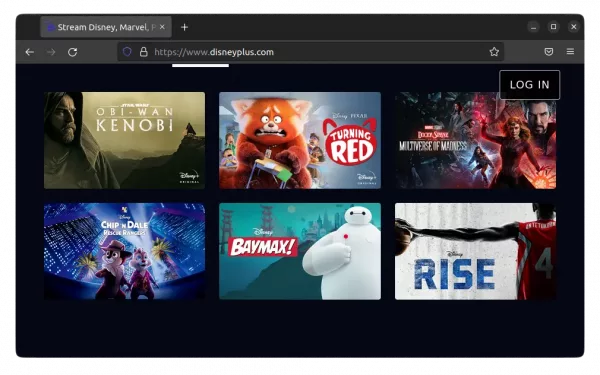
Disneyplus.com in Firefox dark
When the browser is minimized or occluded, and for background tabs, the UI will now be throttled for better performance and battery usage. And, paste unformatted shortcut now works again in plain text contexts, such as input and text area.
Other changes in Firefox 104 include:
- Support
scroll-snap-stopandre-snappingproperties for developers. - The Firefox profiler web app can analyze power usage of a website (Windows 11 and macOS only).
- Highlight color preserved correctly in the mail composer of Yahoo Mail and Outlook.
- Various security fixes and new policies
How to get Firefox 104:
For Ubuntu 18.04 and Ubuntu 20.04, Firefox 104 has already made into official repositories, simply launch Software Updater and install the updates to get it.
For Ubuntu 22.04 with pre-installed Firefox as Snap, you should now have v104. To verify, go to hamburger menu -> Help -> About Firefox.
For Ubuntu 22.04 users hate snap package, as well as old Ubuntu 16.04, the Mozilla Team PPA maintains the latest packages. See this step by step how to install guide.