![]()
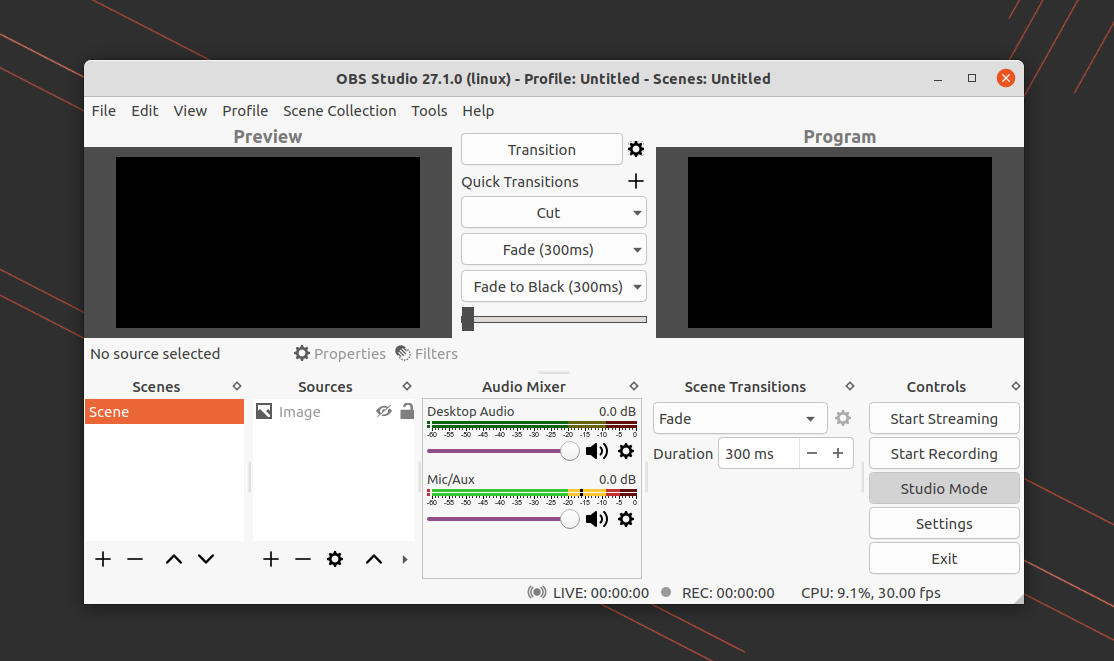
Free open-source live streaming app, OBS Studio 27.1.1, was released. Here’s how to install it in Ubuntu 18.04, Ubuntu 20.04, Ubuntu 21.04, Linux Mint 20, and derivatives.
OBS Studio 27.1.1 is a hot-fix release for version 27.1, which was released yesterday. It introduced YouTube integration, so users can connect YouTube account without using a stream key. And, it features a new “Manage Broadcast” button to create and manage YouTube streams, a chat dock for public and unlisted broadcasts, set settings on per stream base, and bandwidth testing support in the Auto-Configuration wizard.
Other features include a 18-scene multiview option, a “Mask Only” option to the stinger track matte, an option to draw safe areas in the preview, and a feature to browser sources to allow limited control over OBS.
OBS Studio 27.1 also features user interface tweaks and performance improvements, such as optimize media source to reduce CPU usage, re-enable drag & drop for scenes & sources on Linux, and more. See the release note for more details.
How to Install OBS Studio 27.1 in Ubuntu:
Universal Snap and Flatpak packages:
The Open Broadcaster Software is available as SNAP package, which can be installed via Ubuntu Software. If you have already installed the package, it will be updated to the new 27.1 automatically once the maintainer published it!
Also, the recording and live streaming app can be installed via universal Flatpak package via this page.
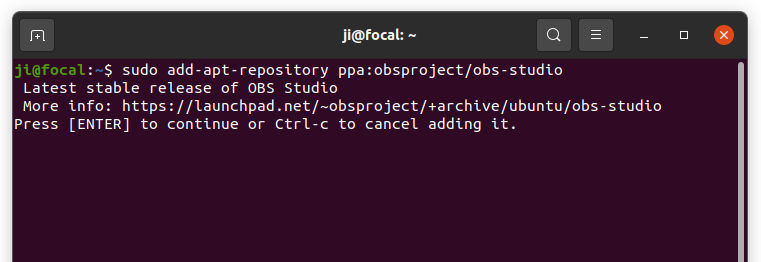
OBS Studio PPA:
The software has an official Ubuntu PPA for those prefer the classic deb package format. It so far supports for Ubuntu 18.04, Ubuntu 20.04, Ubuntu 21.04, and their based systems, e.g., Linux Mint 20, Elementary OS 6, and Zorin OS 16.
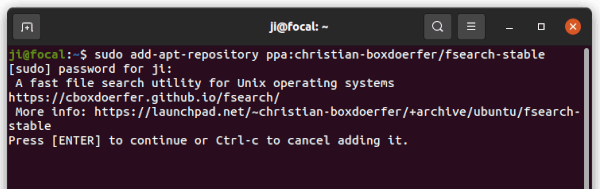
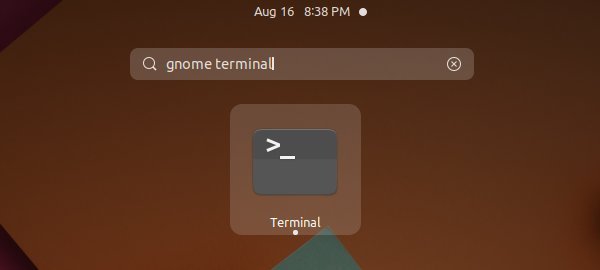
1.) To add the PPA, search for and open terminal from activities overview or press Ctrl+Alt+T on keyboard. When terminal opens, run command:
sudo add-apt-repository ppa:obsproject/obs-studio
2.) Update the system package cache. For Ubuntu 18.04 and some Ubuntu based distros, users have to manually refresh the system package cache by running command in terminal:
sudo apt update
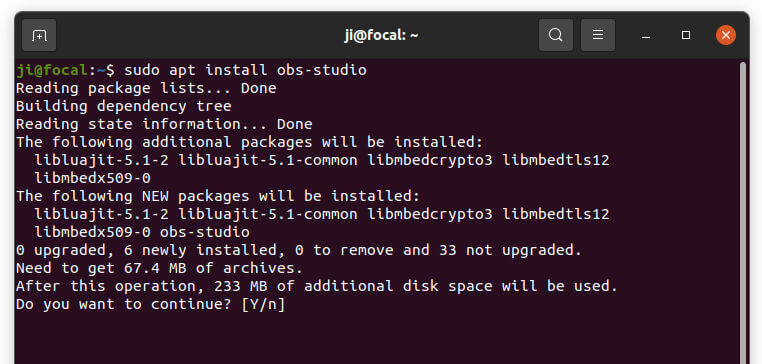
3.) Finally copy and paste the command below into terminal, and run to install the broadcaster app:
sudo apt install obs-studio
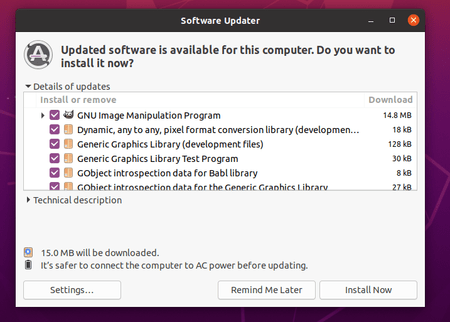
Or, upgrade the app via “Software Updater” (Update Manager) if an old version was already installed on your system.
How to Remove OBS Studio:
To remove the package, also run apt command in terminal with ‘remove’ flag:
sudo apt remove --autoremove obs-studio
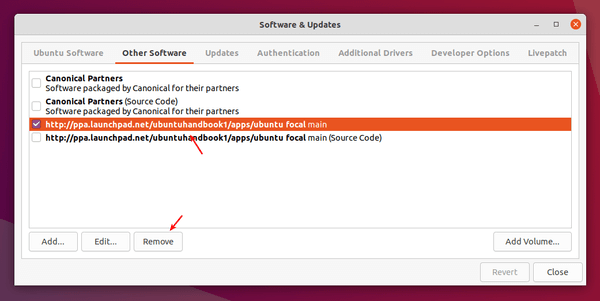
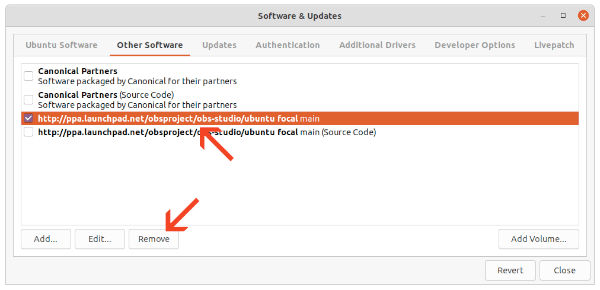
And remove the Ubuntu PPA either using Software & Updates utility by removing the relevant line from ‘Other Software’ tab.
Or, run the command below in terminal instead:
sudo add-apt-repository --remove ppa:obsproject/obs-studio