![]()
Got .HEIC photo images import from your iPhone? You may found that Ubuntu does not open the file format out-of-the-box.
It’s however easy to either enable this file format support or convert it to JPG or PNG image.
Enable HEIF/HEIC Support for the Default Image Viewer
In Ubuntu 20.04 and Ubuntu 22.04, you can easily enable the HEIF / HEIC file format support via libheif libraries.
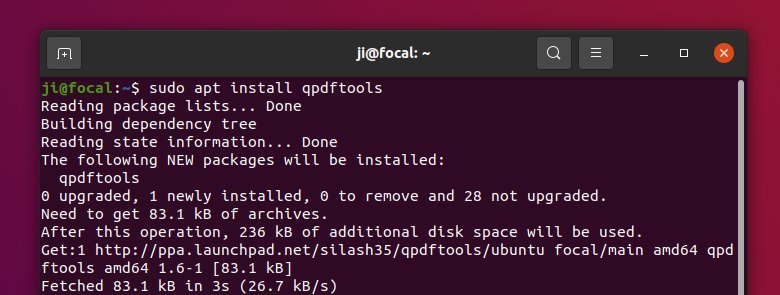
1.) Simply search for and open terminal from system app launcher (or press Ctrl+Alt+T on keyboard).

2.) When terminal opens, run command to install the library:
sudo apt install heif-gdk-pixbuf
Type user password (no asterisk feedback) when it asks and hit Enter

Now, double-click to open the .heic (or right-click -> Open with Other Application -> select Image Viewer) photo and enjoy!
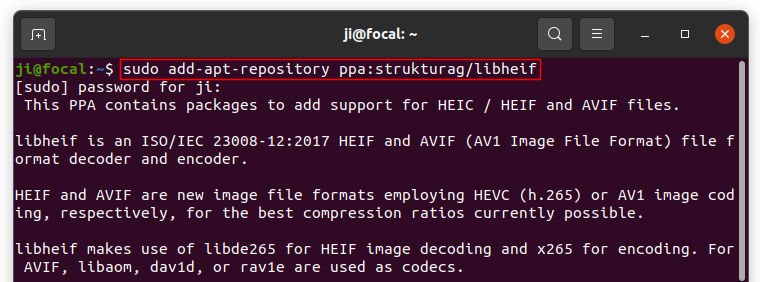
For Ubuntu 18.04 / Ubuntu 16.04 users, the library is not available in system repositories. You have to add the third-party PPA by running command:
sudo add-apt-repository ppa:strukturag/libheif
Then refresh package cache via:
sudo apt update
And finally run the command in step 2.) to get it installed.
Convert HEIF/HEIC to JPEG or PNG
It’s also quite easy to convert the photo to another format in Ubuntu Linux.
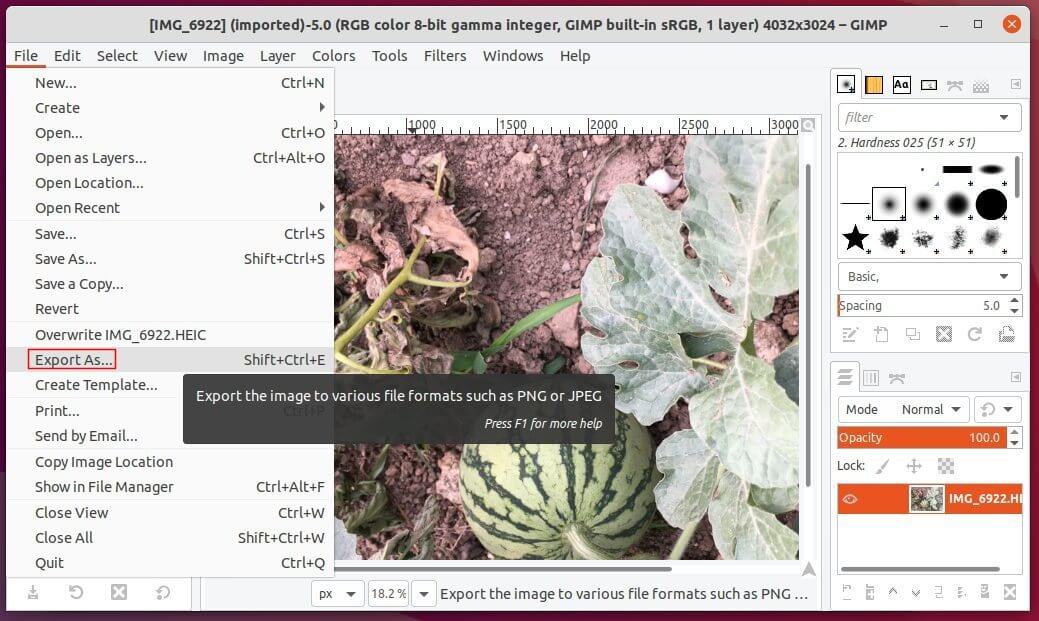
Simply open the photo via either GIMP or Krita image editor (both available in Ubuntu Software), then select Export to JPG / PNG.
Too many HEIC photos to convert? Using heif-convert command will be more effective.
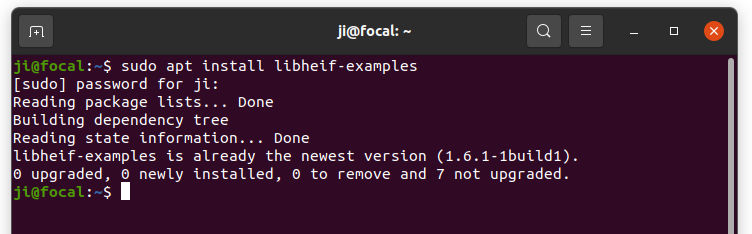
1.) Firstly open terminal and run command to install heif-convert tool:
sudo apt install libheif-examples
2.) Next you can convert a HEIC file to JPEG via command:
heif-convert -q 85 input.HEIC output.JPG
Here -q 85 specifies the output quality level. You can skip it to use default value 92.
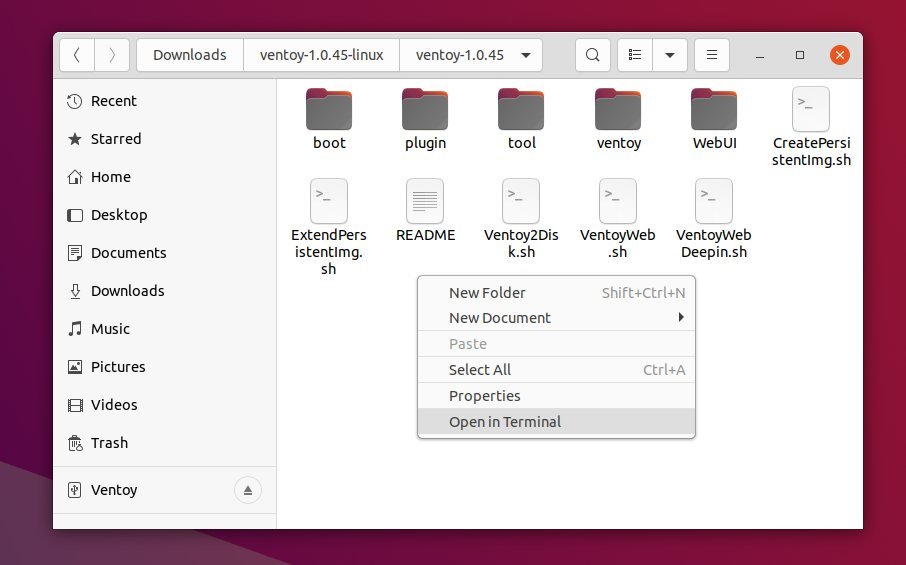
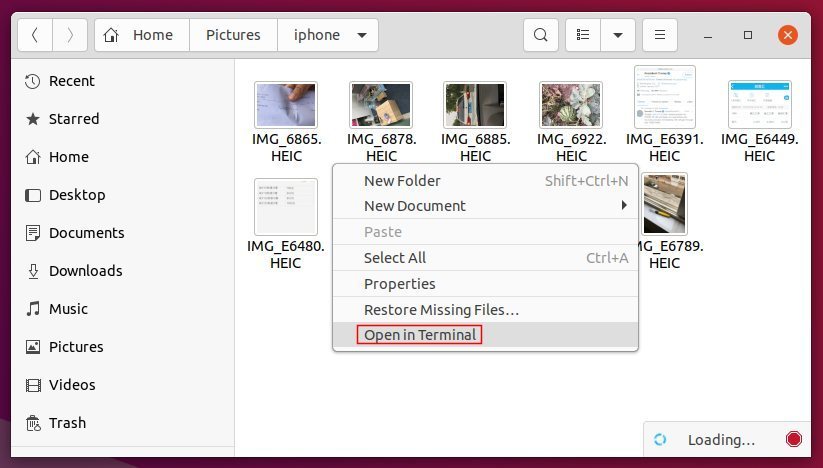
To batch convert HEIC photos to JPEG, firstly navigate to the photo folder in file manager and select ‘Open in Terminal’ from context menu:
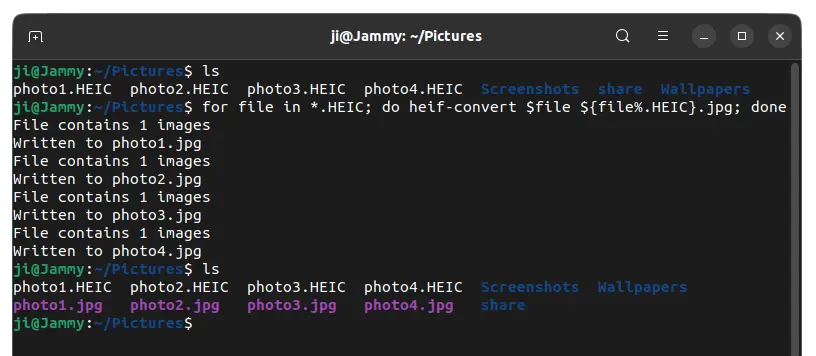
Finally run command:
for file in *.HEIC; do heif-convert $file ${file%.HEIC}.jpg; done
NOTE: Linux commands are case sensitive! If your HEIC photos have file extension in lower-case, replace HEIC with heic in the last command.
For instance, convert all .HEIC photos to jpg with quality 100%, run command:
for file in *.HEIC; do heif-convert -q 100 $file ${file%.HEIC}.jpg; done
Updates for Ubuntu 22.04 LTS:
The powerful Imagemagick package in Ubuntu 22.04 repository has support the HEIC/HEIF image format!
First, press Ctrl+Alt+T on keyboard to open terminal and run command to install the tool:
sudo apt install imagemagick
Then, open the folder that contains the photo images, right-click on select “Open in Terminal” and finally use command to convert:
convert input.HEIC -quality 95 output.JPG
Change the number in -quality 95, or skip it to use default 90. To convert a batch of files (from .HEIC to .jpg), use command:
for file in *.HEIC; do convert $file ${file%.HEIC}.jpg; done
That’s all. Enjoy!