
After a clean Ubuntu installation, you have to tweak the desktop appearance more or less to meet your needs.
Besides struggling with different system configuration tools, e.g., System Settings, Gnome Tweaks and Dconf Editor, ‘Ubuntu First Steps‘ is a handy tool with mostly used options to tweak your Ubuntu Desktop.
Update 2024: The project has NOT been updated for a few years. I MAY or MAY NOT work anymore!
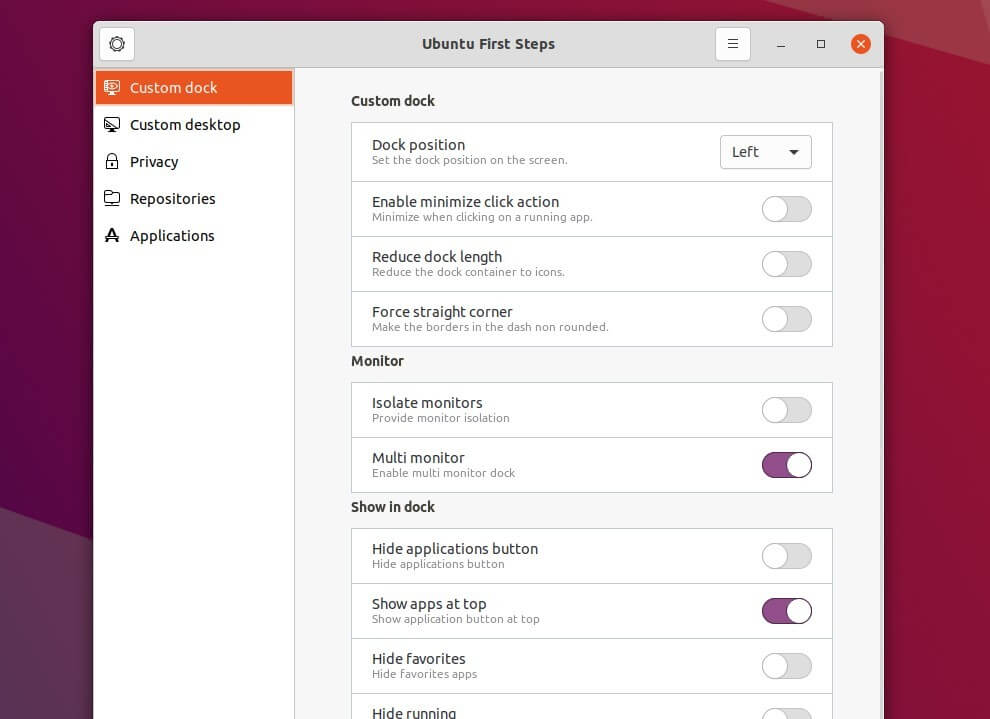
It’s a free and open-source tool written in Python with ability to tweak the dock launcher:
- Dock position.
- Enable minimize on click action.
- Reduce dock length.
- Enable dock on multi monitors.
- Show apps at top, and more.
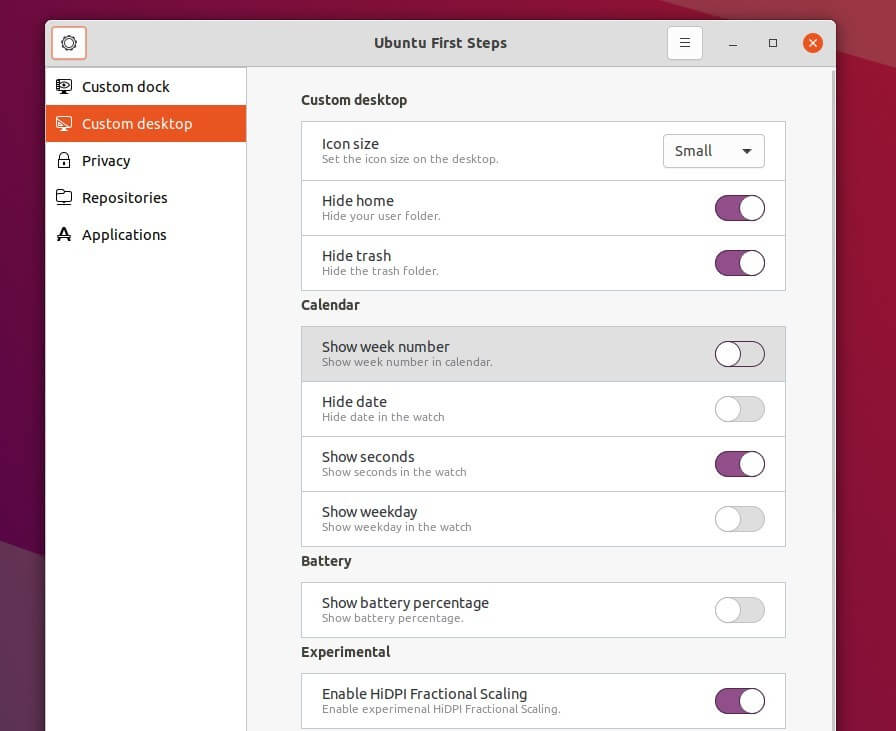
It also offers options to change desktop icon size, show or hide home and trash icons, change date & time display, show battery percentage, and enable HiDPI Fractional Scaling.
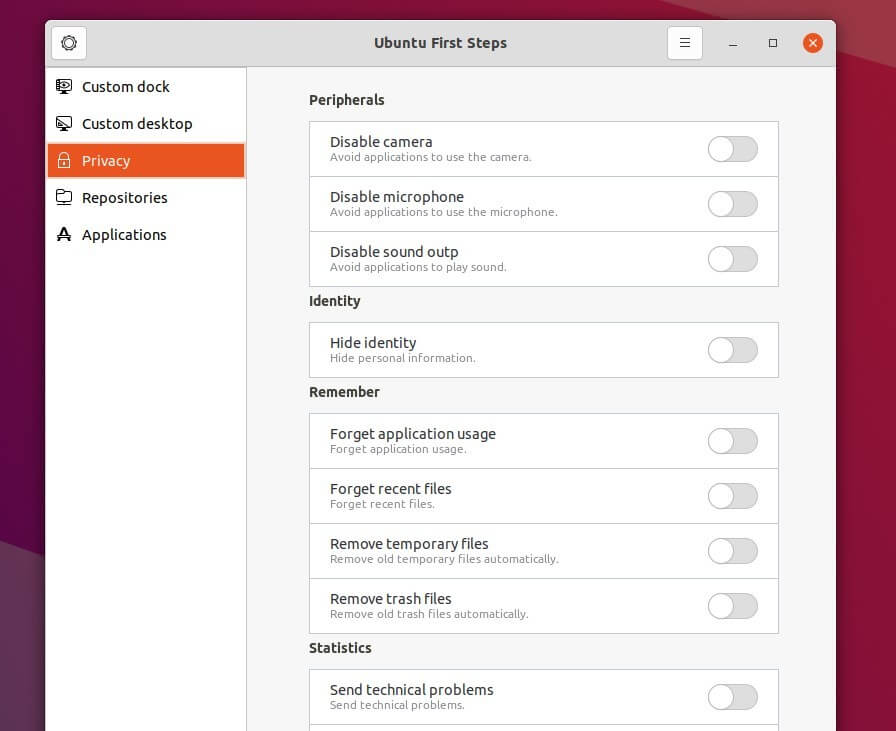
With it, you can easily enable or disable camera, microphone, and sound output, and stop Ubuntu remembering application usage, recent, temporary, and trash files.
There’s also “Repositories” tab with a list of Ubuntu PPAs. It is however not recommended to use the feature as some are either obsolete (e.g., GIMP PPA, Audacity PPA) or useless (e.g., Grub Customizer, it’s available in main repository).
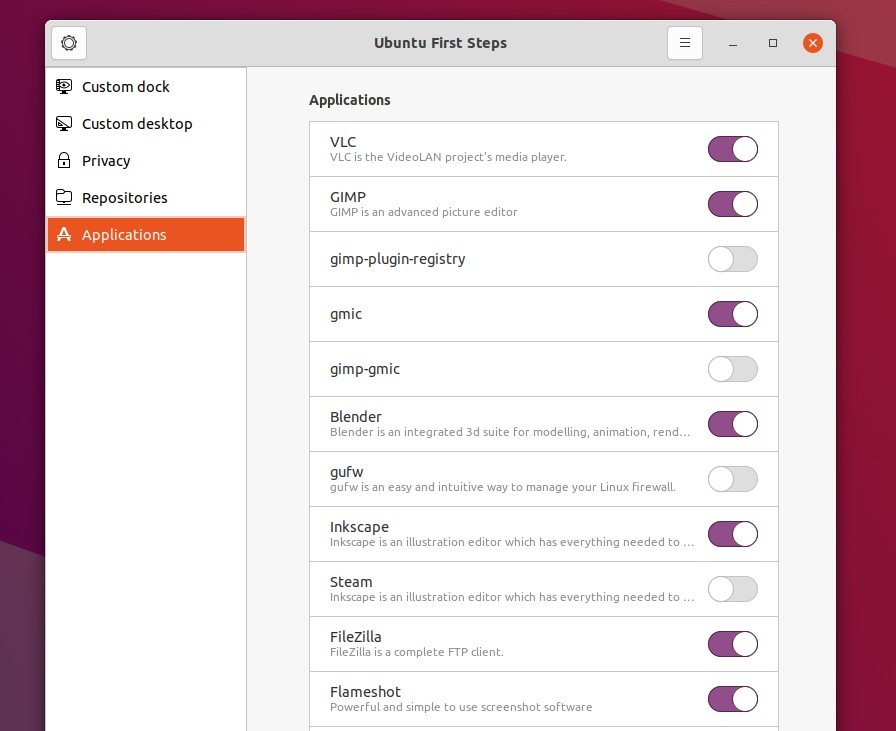
In addition, some useful apps e.g., VLC, GIMP, Blender, and FileZilla, can be installed from “Applications” tab via singe click.
NOTE to apply changes, you have to click the upper-left corner gear button!
How to install ‘Ubuntu First Steps’:
The software developer built the package with only Ubuntu 20.04 LTS and Ubuntu 22.04 LTS support.
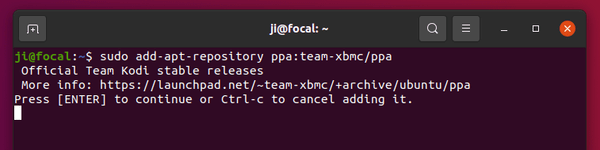
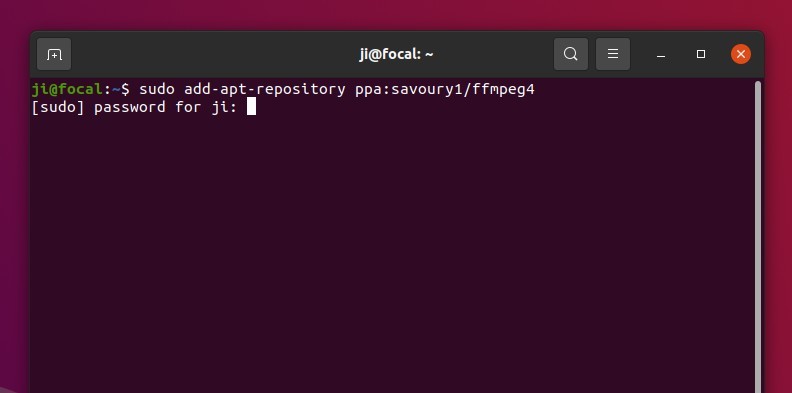
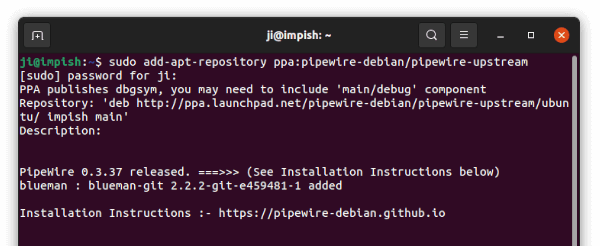
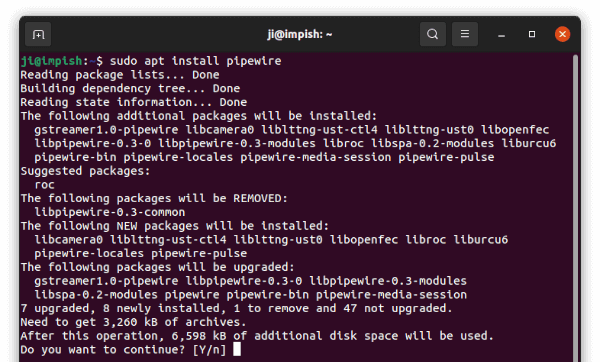
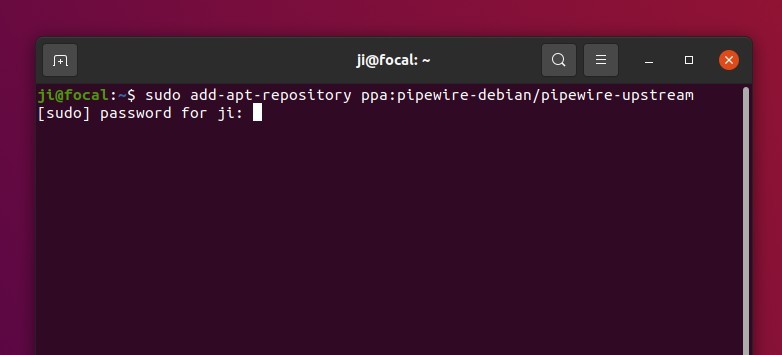
Open terminal by pressing Ctrl+Alt+T on keyboard. When it opens, run following commands one by one to add the PPA and install the tool:
sudo add-apt-repository ppa:atareao/atareao
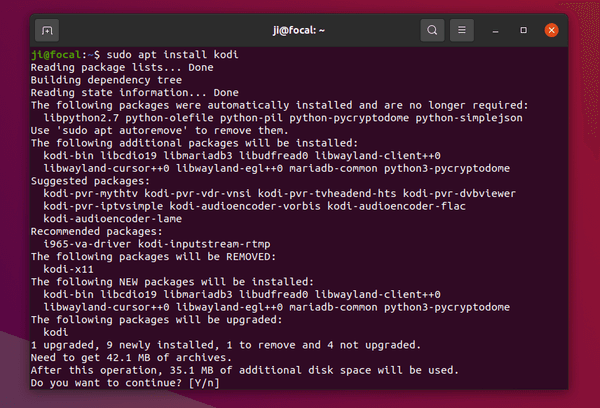
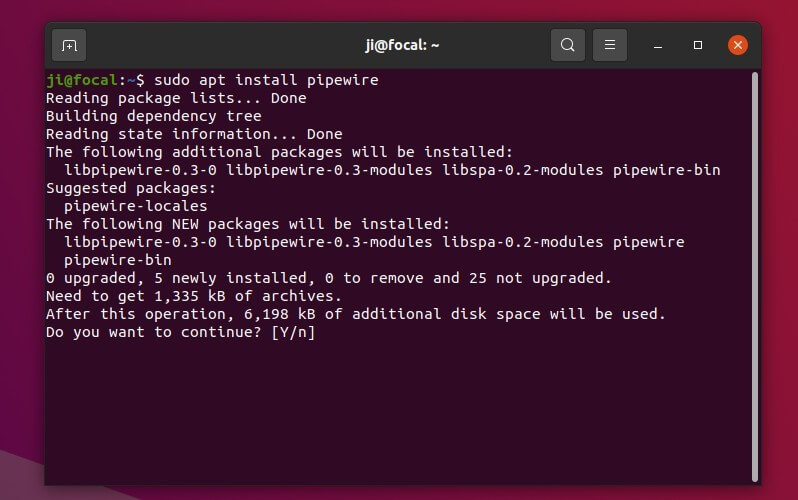
sudo apt install ubuntu-first-steps
Once installed, open it from system app launcher and enjoy!
How to Remove:
To remove the Ubuntu PPA, either go to Software & Updates -> Other Software or open terminal and run command:
sudo add-apt-repository --remove ppa:atareao/atareao
To remove the configuration tool, use command:
sudo apt remove --autoremove ubuntu-first-steps