![]()
Microsoft Edge web browser finally adds Linux support after more than a year of dev and beta tests. Here’s how to correctly add the Microsoft repository and install Edge browser in Ubuntu 18.04, Ubuntu 20.04, Ubuntu 22.04, Debian 11, and their based systems.
After this tutorial, you should be able to open the latest stable Edge from start menu (activities overview). And, with the Microsoft repository it allows to keep it up-to-date by receiving updates via “Software Updater”.

How to Install Microsoft Edge in Ubuntu:
For those who don’t want to struggle with Linux commands, just download the latest version of .deb package from THIS PAGE, then double-click to install via “Software Install”.
1. Download & install the GPG Key:
Before adding the repository, you need to first download & install the GPG key so system will accept signatures from Microsoft.
Press Ctrl+Alt+T on keyboard to open terminal. When it opens, paste the command below and hit Enter to run:
wget -O - https://packages.microsoft.com/keys/microsoft.asc | gpg --dearmor | sudo tee /usr/share/keyrings/microsoft.gpg
The command will download the key from Microsoft, then convert it into encrypted GPG, and finally store the file under “/usr/share/keyrings/” directory.
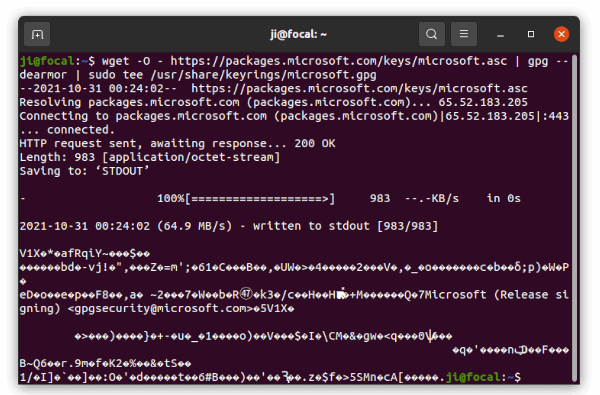
Download, convert, & install the key
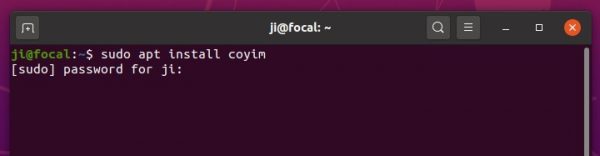
IMPORTANT: After downloaded the key, terminal may stuck with blinking cursor! It’s waiting for you to type user password for sudo command, because the “[sudo] password for $USER:” prompt is somehow not displayed. Just type your password (no feedback) and hit Enter.
2. Add Microsoft Edge repository:
After installing the GPG key, run the command below one by one to add the repository to your system.
a.) Remove old repository if any via command:
sudo rm /etc/apt/sources.list.d/microsoft-edge*.list
b.) Add the stable repository:
sudo sh -c 'echo "deb [arch=amd64 signed-by=/usr/share/keyrings/microsoft.gpg] https://packages.microsoft.com/repos/edge stable main" > /etc/apt/sources.list.d/microsoft-edge.list'
The command will create and write the source line into “/etc/apt/sources.list.d/microsoft-edge.list” file, signed by the key installed via step above.
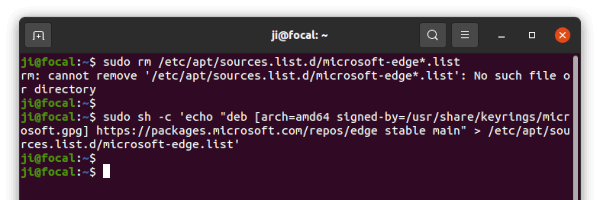
Add microsoft repo, sign the key
3. Finally refresh package cache and install Edge browser:
After all, update the system package cache via command:
sudo apt update
And install the web browser:
sudo apt install microsoft-edge-stable
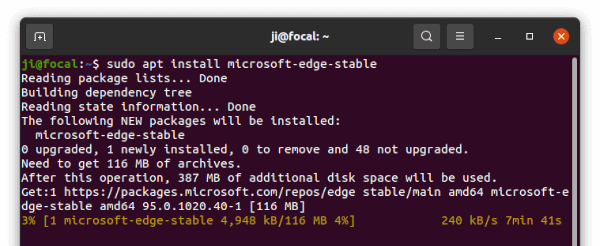
Once installed, search for and open it from activities overview screen and enjoy!
How to Remove Edge & its repository:
With the repository, it allows to receive updates for Edge using “Software Updater” utility. If you want to remove it, open terminal and run command to delete the source file:
sudo rm /etc/apt/sources.list.d/microsoft-edge.list
Also, remove the key file if you want:
sudo rm /usr/share/keyrings/microsoft.gpg
To remove the Edge web browser, run command:
sudo apt remove --autoremove microsoft-edge-stable