![]()

GIMP image editor 2.10.14 now is made into Ubuntu PPA, available for Ubuntu 18.04, Ubuntu 19.04, Ubuntu 19.10, Linux Mint 19.x.
GIMP image editor 2.10.14 was released more than a week ago with following changes according to the release note:
- Basic out-of-canvas pixels viewing and editing
- Optional editing of layers with disabled visibility
- Foreground Select tool: new Grayscale Preview Mode
- Newly added Normal Map filter
- 27 old filters ported to use GEGL buffers
- HEIF, TIFF, and PDF support improvements
- Better loading of corrupted XCF files
- Grayscale workflows order of magnitude faster
- macOS Catalina compatibility
- 45 bugfixes, 22 translation updates
How to Install GIMP 2.10.14 in Ubuntu:
Otto kesselgulasch updated the Ubuntu PPA today with the latest packages along with all dependency libraires.
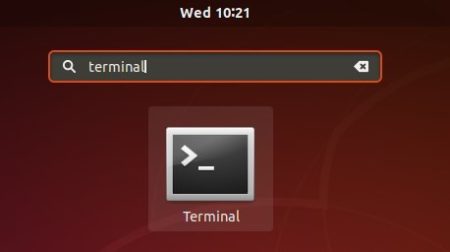
1.) Open terminal either from application menu or by pressing Ctrl+Alt+T on keyboard. When it opens, run command to add the PPA:
sudo add-apt-repository ppa:otto-kesselgulasch/gimp
Type user password (no asterisk feedback) when it prompts and hit Enter to continue.


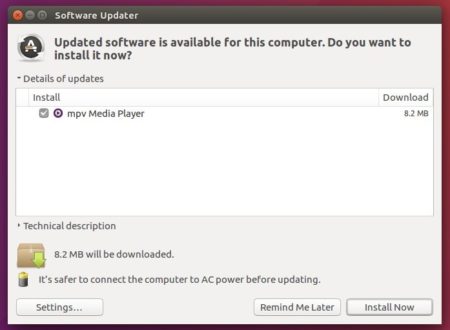
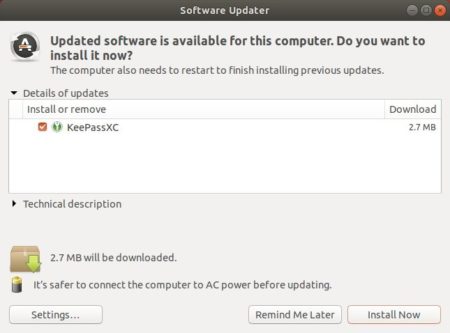
2.) If an old version was installed on your Ubuntu, upgrade it via Software Updater:


or simply run commands to install or upgrade GIMP:
sudo apt update && sudo apt install gimp
3. (Optional) For any reason, you can downgrade GIMP to the stock version by purging the Ubuntu PPA via command:
sudo apt install ppa-purge && sudo ppa-purge ppa:otto-kesselgulasch/gimp
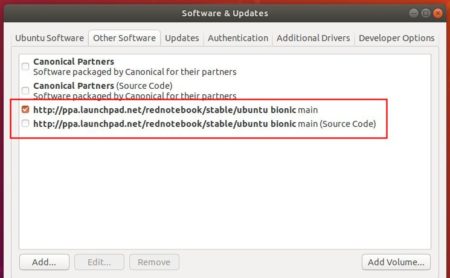
Or you can manage the Ubuntu PPA via Software & Updates -> Other Software tab.