![]()

This quick tutorial shows how to install PulseEffects, audio effects software (e.g., limiter, compressor, equalizer.), in Ubuntu 18.04, Ubuntu 18.10, Ubuntu 19.04, and Ubuntu 19.10.
Ubuntu uses both ALSA and Pulseaudio for controlling sound input and output. ALSA is the kernel level sound mixer that manages your sound card directly. And Pulseaudio is a software mixer provides further tools on top of ALSA base.
PulseEffects is an open-source audio effects software for PulseAudio applications that support:
- Applications output: Limiter, Auto gain, Expander, Compressor, Multiband compressor, Equalizer, Bass enhancer, Exciter, Crystalizer, Reverberation, Crossfeed, Filter (low-pass, high-pass, band-pass and band-reject modes), Stereo tools, Loudness, Maximizer, Pitch, Gate, Multiband gate, De-esser, Convolver
- Applications input: Gate, Multiband gate, WebRTC, Limiter, Compressor, Multiband compressor, Equalizer, Reverberation, Pitch, Filter (low-pass, high-pass, band-pass and band-reject modes), De-esse

How to Install PulseEffects in Ubuntu / Linux Mint:
Following steps will show you how to install PulseEffects via Ubuntu PPA, though it’s also available as flatpak (containerized softare package).
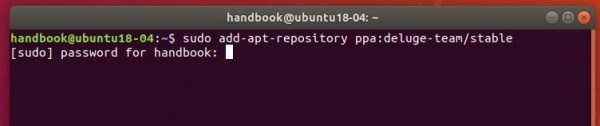
1. Open terminal either via Ctrl+Alt+T keyboard shortcut or by searching for ‘terminal’ from application menu. When it opens, run command to add the PPA:
sudo add-apt-repository ppa:mikhailnov/pulseeffects
Type user password (no asterisk feedback) when it prompts and hit Enter to continue.


2. For Linux Mint 19.x and other derivatives, refresh package cache may be required:
sudo apt update
3. Finally install the software via command:
sudo apt install pulseaudio pulseeffects --install-recommends
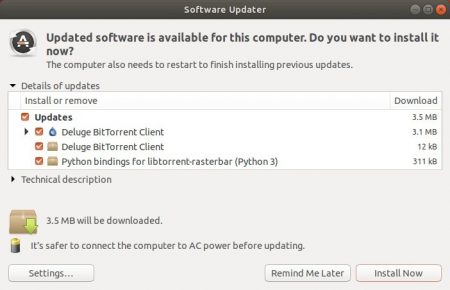
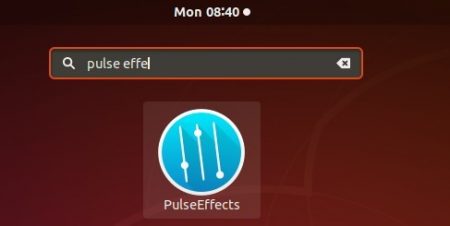
Once installation success. Restart Ubuntu, and finally launch it from application menu:

Uninstall:
To remove the software, simply open terminal and run command:
sudo apt remove pulseeffects
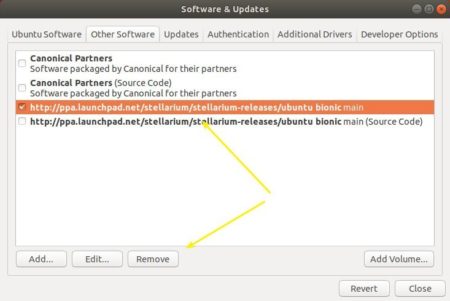
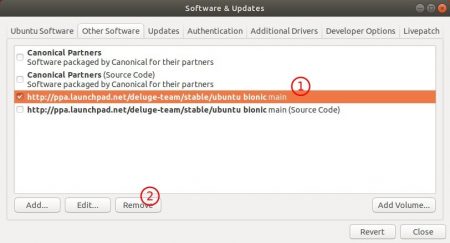
And open Software & Updates and navigate to Other Softwar tab to remove PPAs.