![]()
The default Gnome desktop has a built-in desktop magnifier. This quick tutorial will show you how to enable this feature in Ubuntu 18.04 and higher.
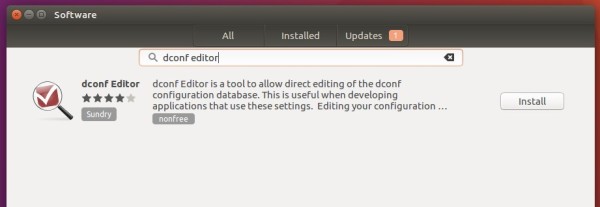
First of all, install dconf editor from Ubuntu Software utility if you don’t have it.
To enable screen magnifier in Ubuntu:
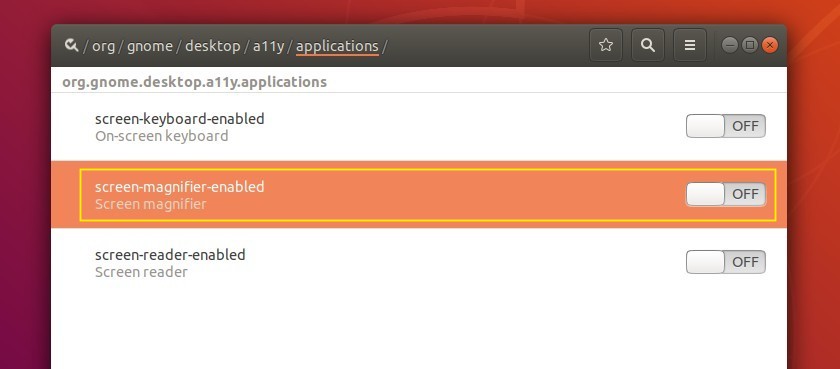
Open Dconf Editor, then navigate to org/gnome/desktop/a11y/applications.
There turn on the toggle for “screen-magnifier-enabled”.
To change screen magnifier preferences:
I don’t like the default magnified view which fills entire screen. Fortunately, there are options to change the maginifier preferences.
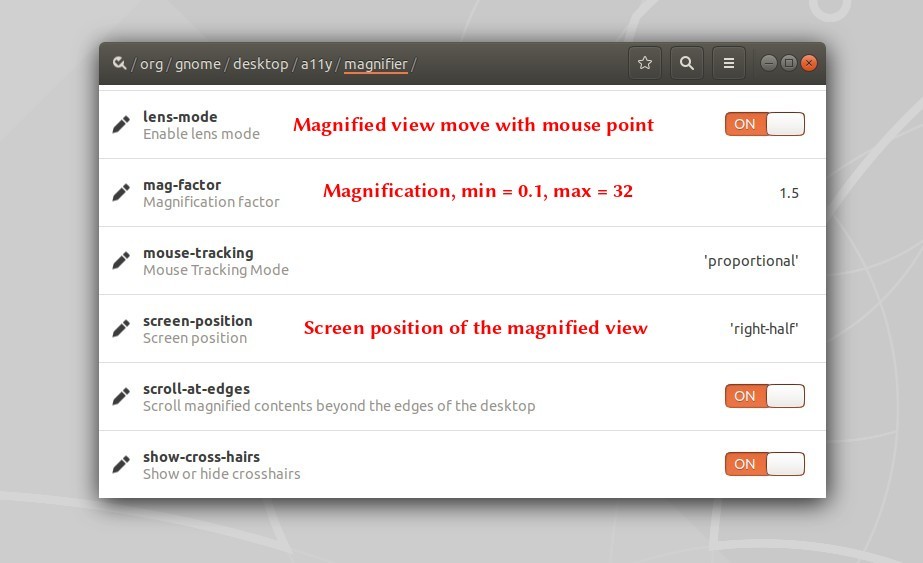
Also in Dconf Editor, navigate to org/gnome/desktop/a11y/magnifier, there are many preference options including:
lens-mode: move the magnified view with the mouse pointer.screen-position: screen position of magnified view, left-half, right-half, top-half, bottom-half, or full-screen.mag-factor: magnification factor, minimum = 0.1, maximum = 32.mouse-tracking: determine the position of the magnified mouse image within the magnified view, and how it reacts to system mouse movement.
There are also options to enable crosshairs, inverse lightness, scroll beyond the edges of desktop, etc.