![]()
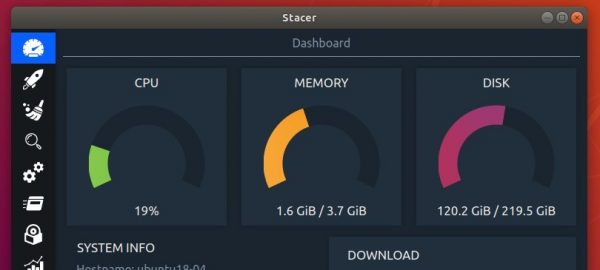
Stacer is an open-source, CCleaner like system optimizer and application monitor utility for Linux desktop.
Stacer features:
- Monitoring system resource usage.
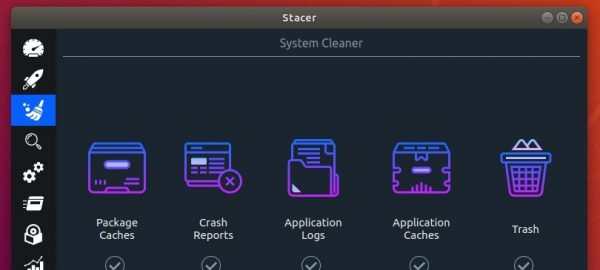
- System cleaner for package caches, application logs.
- Manage system services, processes, packages, startup applications, apt repositories.
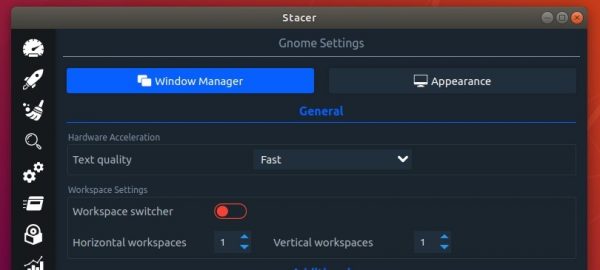
- Window manager and desktop appearance settings.
How to Install Stacer in Ubuntu:
The software offers .Appimage (non-install executable file) and .deb packages in the project release page:
Stacer also has an stable PPA with .deb packages and future updates for Ubuntu 16.04, Ubuntu 18.04, Ubuntu 19.04, and their derivatives.
1. Open terminal either via Ctrl+Alt+T shortcut or from application menu. When it opens, run command:
sudo add-apt-repository ppa:oguzhaninan/stacer
Type user password (no asterisk feedback) when it prompts and hit Enter to continue adding PPA.

2. Then check updates and install the utility via following 2 commands:
sudo apt update

sudo apt install stacer
Uninstall Stacer:
To remove the utility, run command in terminal:
sudo apt remove --auto-remove stacer
And remove the PPA repository from Software & Updates -> Other Software tab.