
MuPDF 1.14.0, a lightweight PDF, XPS, and E-book viewer, was released today with new features, UI improvements and other changes.
Changes in MuPDF 1.14.0 include:
- Added “Source Han Serif” CJK fallback font.
- Added more scripts to the Noto fallback fonts.
- Multi-page PNM support.
- “mutool show” now supports a path syntax for selecting objects to show.
- New annotation editing mode in mupdf-gl.
- Can create, edit, and delete most annotation types.
- Can create appearance streams for most annotation types, Tx form fields, Ch form fields.
- And UI improvements, API changes, and other more.
How to Install MuPDF 1.14.0 in Ubuntu:
The unofficial PPA contains the most recent MuPDF packages for Ubuntu 16.04, Ubuntu 18.04, Linux Mint 18/19 so far.
MuPDF 1.14.0 package is delayed due to a building issue. I’ll update the PPA once a patch for the issue published.
UPDATE: The new release package now is ready to install via following steps in Ubuntu 16.04, Ubuntu 18.04, Ubuntu 18.10, and their derivatives.
1. Open terminal by pressing Ctrl+Alt+T or searching for “Terminal” from start menu. When it opens, run command to add the PPA:
sudo add-apt-repository ppa:ubuntuhandbook1/apps
Type in password (no asterisks feedback due to security reason) when it asks and hit Enter.


2. Then install mupdf and mupdf-tools packages either via Synaptic Package Manager or by running following commands in terminal:
sudo apt-get update

sudo apt-get install mupdf mupdf-tools
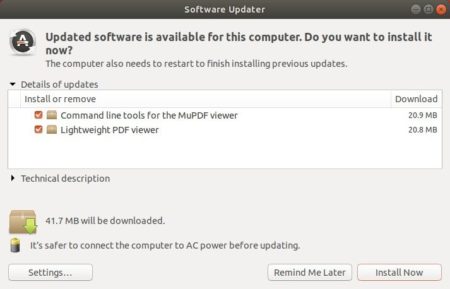
If you have a previous release installed, simply launch Software Updater to upgrade the tool after checking for updates.

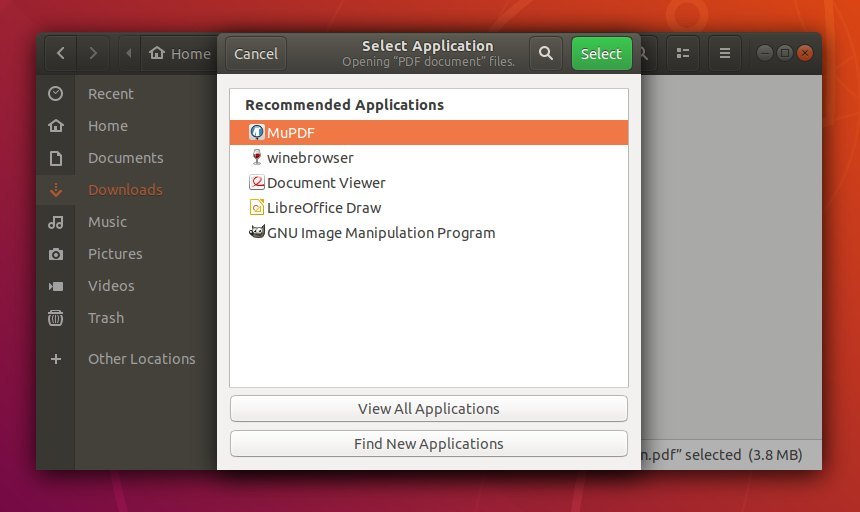
To use the PDF/XPS viewer, right-click on your file and select open with MuPDF. You can also set MuPDF as default in the Properties window.
Uninstall:
To restore MuPDF to the stock version available in your Ubuntu’s main archive, run command in terminal to purge the PPA:
sudo apt-get install ppa-purge && sudo ppa-purge ppa:ubuntuhandbook1/apps