This quick tutorial is for those who want to remove the top and left panel, instead use Microsoft Windows style a single bottom panel in Ubuntu 18.04 Gnome desktop.
Without installing other desktop environments, e.g., Cinnamon and KDE, this can be done easily via Gnome shell extensions called dash to panel.
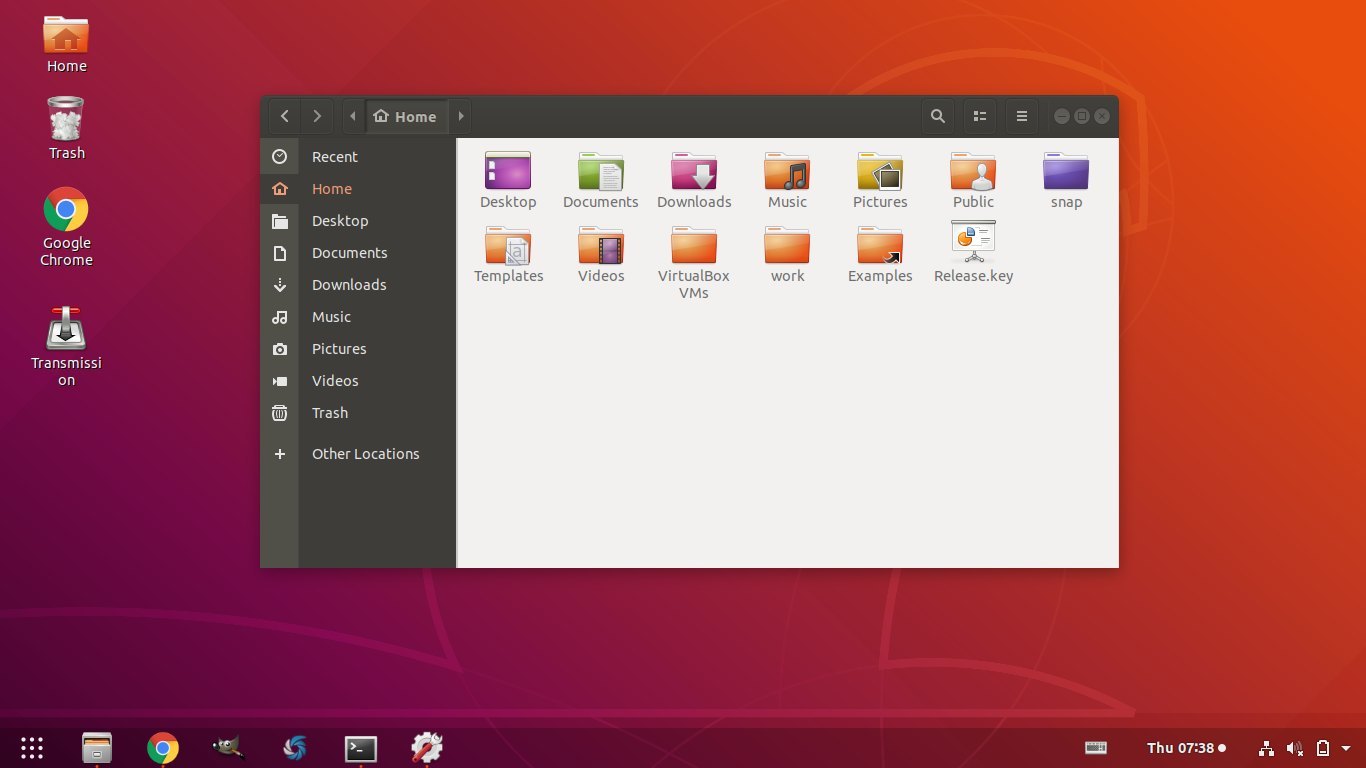
Dash to panel combines the top panel and left dock launcher into one single panel. So your Ubuntu deskop will look like:
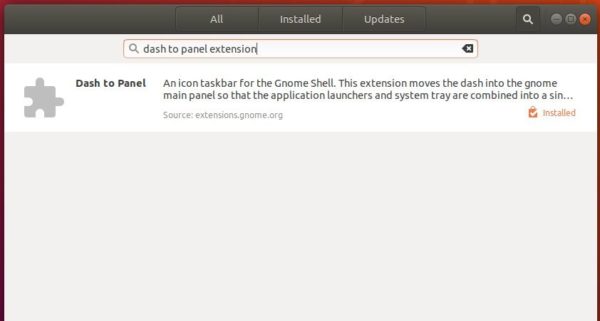
1. To install the extension, search for and install Dash to Panel extension in Ubuntu Software utility:
Once installed, restart your machine to apply changes.
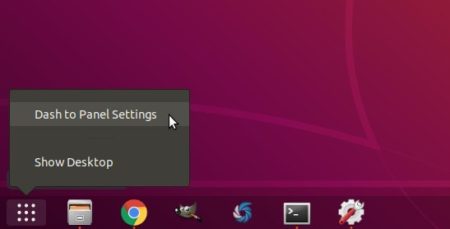
2. To configure the panel appearance, either use Gnome Tweaks or right-click on application menu and select “Dash to Panel Settings”.
The Postman Linux app now is easy to install in Ubuntu 16.04 and Ubuntu 18.04 via Snap package, containerised software package that bundles most required dependencies and auto-updates itself.
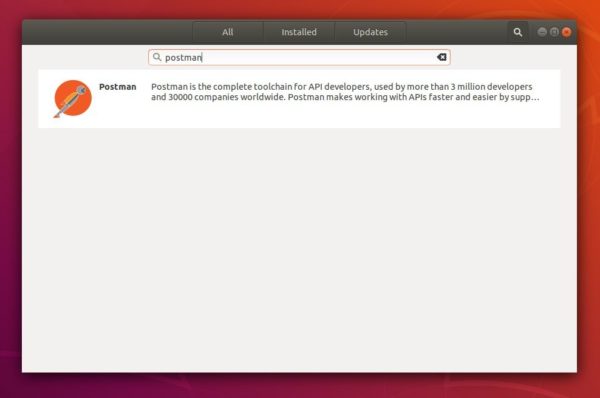
Postman is the complete toolchain for API developers, used by more than 3 million developers and 30000 companies worldwide. Postman makes working with APIs faster and easier by supporting developers at every stage of their workflow, and is available for Mac OS X, Windows, Linux and Chrome users.
Ubuntu Software utility contains the snap packages from snappy store. Simply search for and click install Postman in Ubuntu Software.
Or open terminal (Ctrl+Alt+T) and run command to install the Postman snap package:
snap install postman
NOTE for Ubuntu 16.04 users first time installing a snap package, first make sure snapd is installed:
sudo apt install snapd snapd-xdg-open
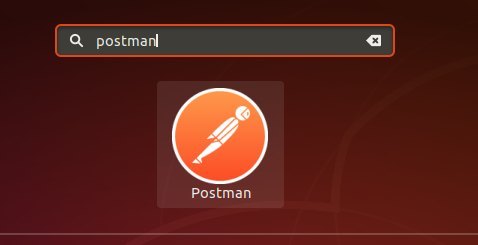
Once the snap package is installed, launch the Postman app from software launcher and enjoy!
Fix AI ignoring teleport locations when moving leader to leader goals.
Heir to the Throne:
S6: Allow canceling an attack when a move+attack spawns enemy units
S6: Change the trigger for spawning undead reinforcements
S17: Add dialog explaining the lava game mechanic and an easter egg
Liberty, S3: Add story and war drums music
Northern Rebirth:
S12: empty sides are hidden
S13: allied leaders whose death causes defeat won’t leave their keep and
the lich brothers and Krash got more gold
Sceptre of Fire:
S4: a cave entrance has been added.
S5: Gryphon Riders are now available starting form S5 (formerly S3).
S7: it’s now impossible to kill all pursuers.
Secrets of the Ancients: Fix dialog said by wrong unit & revert previous fix
The Hammer of Thursagan: S10: Fix objectives requiring too much of the player
The South Guard:
S2: the case where Deoran is not sent to the Citadel is handled better.
S2: enemy units will no longer neutralize villages instead of capturing or burning them. This also means certain units will no longer be hidden in the Game Stats list.
S4: bodyguards are never spawned next to other units, and always in forest.
S5: zombies have now one castle with two leaders.
S6a: mermen leave after this scenario and will no longer be available.
S7a & S8a: a certain hero may now die.
Under the Burning Suns: New graphics for Eloh.
And various other changes and bug-fixes
How to Install Battle for Wesnoth 1.14.5 in Ubuntu:
The flathub repository contains the Flatpak package of the game. You can install it in Ubuntu 16.04, Ubuntu 18.04 via following steps:
1. (For Ubuntu 16.04 only), open terminal either via Ctrl+Alt+T keyboard shortcut or by searching for ‘terminal’ from app launcher. When it opens, run command:
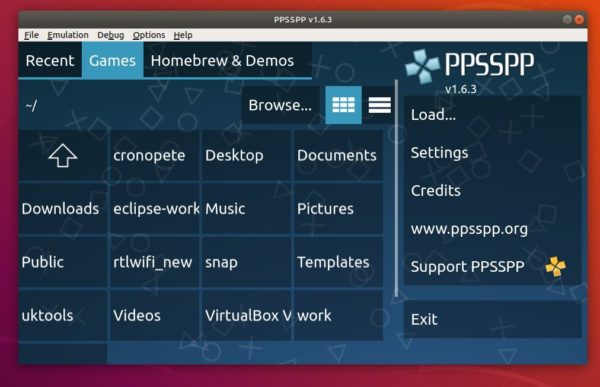
Finally PPSSPP stable PPA built the latest 1.6.3 packages of the Sony PSP emulator for Ubuntu 18.04, Ubuntu 16.04, and Ubuntu 14.04.
PPSSPP reached the new major 1.6 series more than 4 months ago with following changes:
OpenGL backend now properly multithreaded, giving a good speed boost.
Various Vulkan performance improvements and memory allocation fixes.
GPU command interpreter performance improvements
Various fixes for app switching and widgets on Android
Bugfixes and some performance improvements in the ARM64 JIT compiler and IR interpreter
Shader cache enabled for Vulkan
Multiple iOS fixes, including JIT and file browser.
Improved compatibility on Mac
Texture replacement ID bugfix (note: some textures from 1.5.4 may become incompatible)
Adhoc multiplayer fixes
Vulkan support on Linux/SDL
Retroarch support
How to Install PPSSPP 1.6.3 in Ubuntu:
Open terminal either via Ctrl+Alt+T keyboard shortcut or by searching for ‘terminal’ from software launcher. When it opens, do following steps to install PPSSPP in all current Ubuntu releases.
1. Copy and paste the command and hit run to add the PPA:
sudo add-apt-repository ppa:ppsspp/stable
Type your password (no asterisks feedback) when it prompts and hit Enter to continue.
2. Then refresh your system cache and install the latest PPSSPP via commands:
sudo apt-get update

sudo apt-get install ppsspp
Replace ppsspp with ppsspp-sdl in the code for the SDL version.
Uninstall:
To remove the PPA, either go to Software & Updates -> Other Software or run command:
For those who prefer upgrading LibreOffice office suite from PPA, LibreOffice 6.1 now is finally available to install in Ubuntu 18.04 and Ubuntu 18.10 via its official PPA
LibreOffice 6.1 is new major version released more than a month ago with following new features:
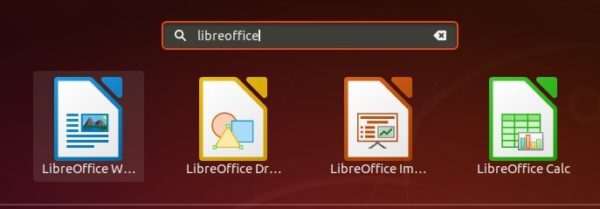
Use the elementary icon set by default GNOME-based Linux distros
New app icons that you can see in the application launcher.
Reworked image handling using a new graphic manager
The notebook bar is significantly improved in LibreOffice 6.1
Use native GTK3 dialogs on Linux desktops.
Improvements to Excel 2003 XML import
DOCX export/import
And many other new featurese and improvements
libreoffice new app icons
How to Install LibreOffice 6.1 in Ubuntu 18.04 via PPA:
Open terminal either via Ctrl+Alt+T keyboard shortcuts, or by searching for “terminal” from application launcher. When it opens, do:
1. Run command to add the LibreOffice PPA:
sudo add-apt-repository ppa:libreoffice/ppa
Input your password (no visual feedback while typing) when it prompts, and read terminal output for PPA description and hit Enter to continue.
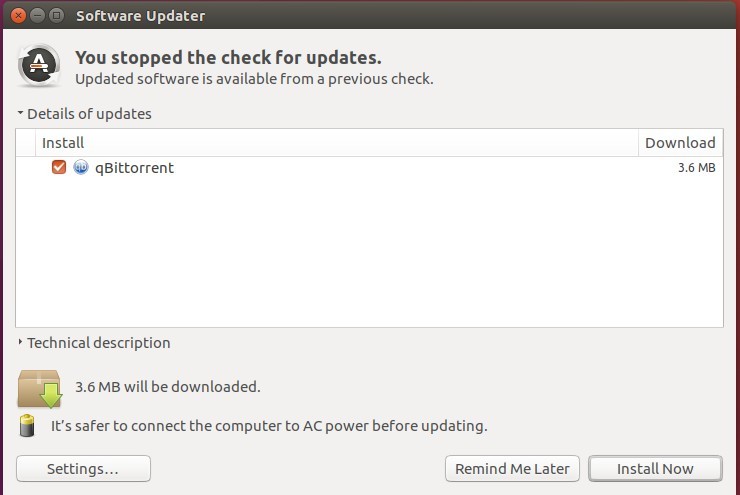
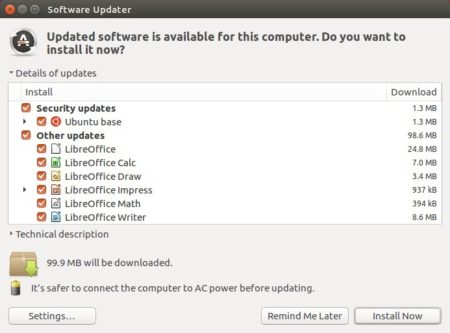
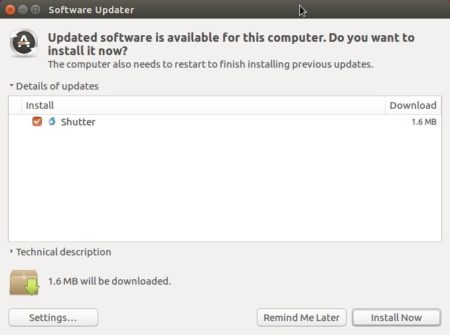
2. Then you’ll see the upgrade available in Software Updater after checking for updates.
The LibreOffice upgrading process may be kept back. If so, run following commands instead in terminal after added the PPA:
sudo apt-get dist-upgrade
Uninstall:
You can restore to stock version of LibreOffice in Ubuntu main archive by running command in terminal:
This quick tutorial is for those who want to pin application shortcut icons to the default Gnome Desktop in Ubuntu 18.04, while you can’t drag and drop icons from applications menu to the desktop.
1. First, open Gnome Tweaks (if not available, install it via Ubuntu Software) and navigate to Desktop tab and enable ‘Show icons’ on desktop.
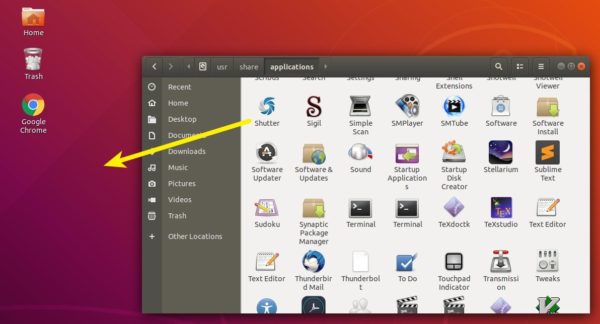
2. Open Files (Nautilus file browser) and navigate to Other Locations -> Computer -> usr -> share -> applications.
There drag and drop any application shortcut to the desktop.
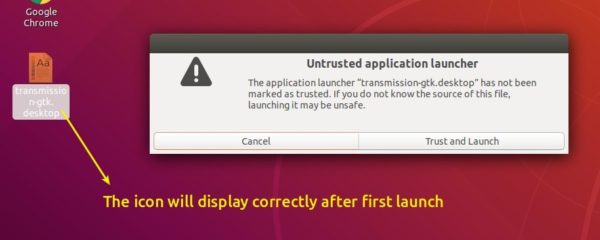
Click to run the desktop icon, and select ‘Trust and Launch’. The shortcut icon will display correctly once the application launches.
To remove a desktop shortcut, simply move the icon to trash. Only the shortcut will be removed, not the original item.
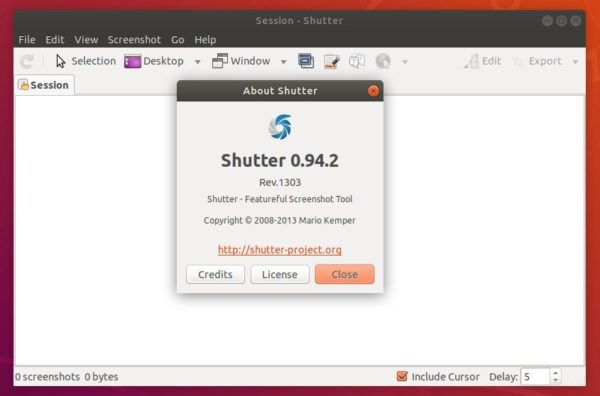
Shutter screenshot tool got a maintenance release a day ago with some bugs fixed. Here’s how to install it in Ubuntu 18.04, Ubuntu 16.04.
Shutter 0.94.2 includes following changes since the 0.94 release:
Remove ITmages, Minus, TwitPic upload plugins since the services down.
Fix error in vygme plugin
Add support for Gyazo uploads
Fix insecure perl system calls
Use reverse-DNS style AppStream ID
Convert all JSON modules to JSON::MaybeXS instead of discouraged JSON modules
Fix the issue that right click > “show in folder” results in “There was an error executing xdg-open”
How to Install Shutter 0.94.2 in Ubuntu:
It seems the official Shutter PPA won’t update for the new release packages. So I uploaded the packages into an unofficial PPA with support for Ubuntu 18.04 and Ubuntu 16.04.
1. Open terminal either from app launcher or via Ctrl+Alt+T keyboard shortcut. When it opens, run command to add the PPA: