![]()

SMPlayer media player reached the 17.12.0 release earlier today with enhancements. Here’s how to install it in all current Ubuntu releases via PPA.
SMPlayer 17.12.0 release highlights:
- Two new actions to take screenshots with or without subtitles (only work when using mpv). Assigned by default to Ctrl+Shift+S and Ctrl+Alt+S.
- New action which displays the filename in the OSD for 2 seconds. Assigned by default to Shift+O.
- New option osd_bar_pos for smplayer.ini. It specifies the position of the OSD bar (0 = top, 100 = bottom).
- The support for DVD menus has been removed. It never worked well and also mpv already removed support for it a long time ago.
- The option to open an informative page after an upgrade has been removed.

How to Install SMPlayer 17.12.0 in Ubuntu:
For Ubuntu 14.04, Ubuntu 16.04, Ubuntu 17.04, Ubuntu 17.10, and derivatives, the latest SMPlayer packages are available in the PPA repository.
1. Search for and launch “terminal” from application launcher. When it opens, run command:
sudo add-apt-repository ppa:rvm/smplayer
Input your password (no visual feedback while typing) when it asks and hit Enter.


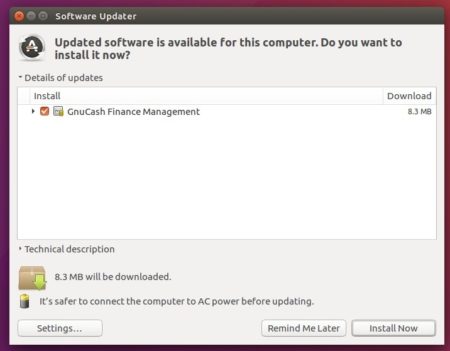
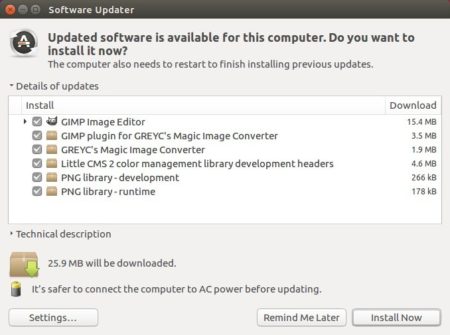
2. Then upgrade SMPlayer using Software Updater (or Update Manager):


or run commands in terminal to install (or upgrade) the media player:
sudo apt-get update

sudo apt-get install smplayer smtube smplayer-themes
Uninstall:
To remove SMPlayer, run command in terminal:
sudo apt-get remove --autoremove smplayer smtube smplayer-*
And remove the PPA via “Software & Updates” utility under Other Software tab.