Audacity audio editor reached the 2.2.1 release a few days ago with performance improvements and various bug-fixes.
Audacity 2.2.1 adds ability to change the colorway of the waveforms displayed in your project. The setting is per track and not per project so you can have multiple colorways in the same project.
Other changes in Audacity 2.2.1:
- File menu called “Save Other” is reverted “Export”
- Fix crash applying certain chain files
- Fix MIDI playback timing / synchronisation problems for Linux
- Fix Quick Play loops fail to start at click position
- Fix auto-scroll stopped working issue in 2.2.0
- And various other bug-fixes.
How to Install Audacity 2.2.1 in Ubuntu:
The Audacity team does not offer pre-compiled Linux binaries. Besides building from source, a third-party PPA is available with Audacity 2.2.0 for Ubuntu 16.04, Ubuntu 17.04, Ubuntu 17.10, and Ubuntu 18.04
1. Open terminal via Ctrl+Alt+T or by searching for ‘terminal’ from app launcher. When it opens, run command:
sudo add-apt-repository ppa:ubuntuhandbook1/audacity
Input your password (no visual feedback while typing) when it prompts and hit Enter to add the PPA.


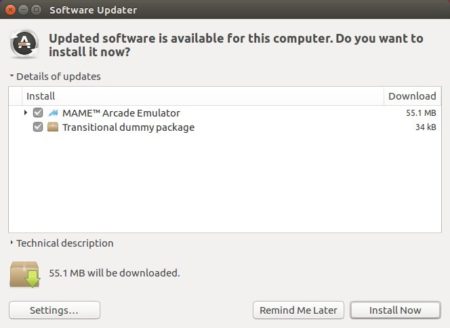
2. If you have a previous version installed, you can upgrade Audacity via Software Updater after adding the PPA.


or run following commands one by one to check updates and install (or upgrade) audacity 2.2:
sudo apt-get update

sudo apt-get install audacity
Uninstall:
To remove the PPA repository, launch Software & Updates utility and navigate to ‘Other Software’ tab.
To remove Audacity audio software, either use system package manager or run command in terminal:
sudo apt-get remove --autoremove audacity audacity-data