![]()

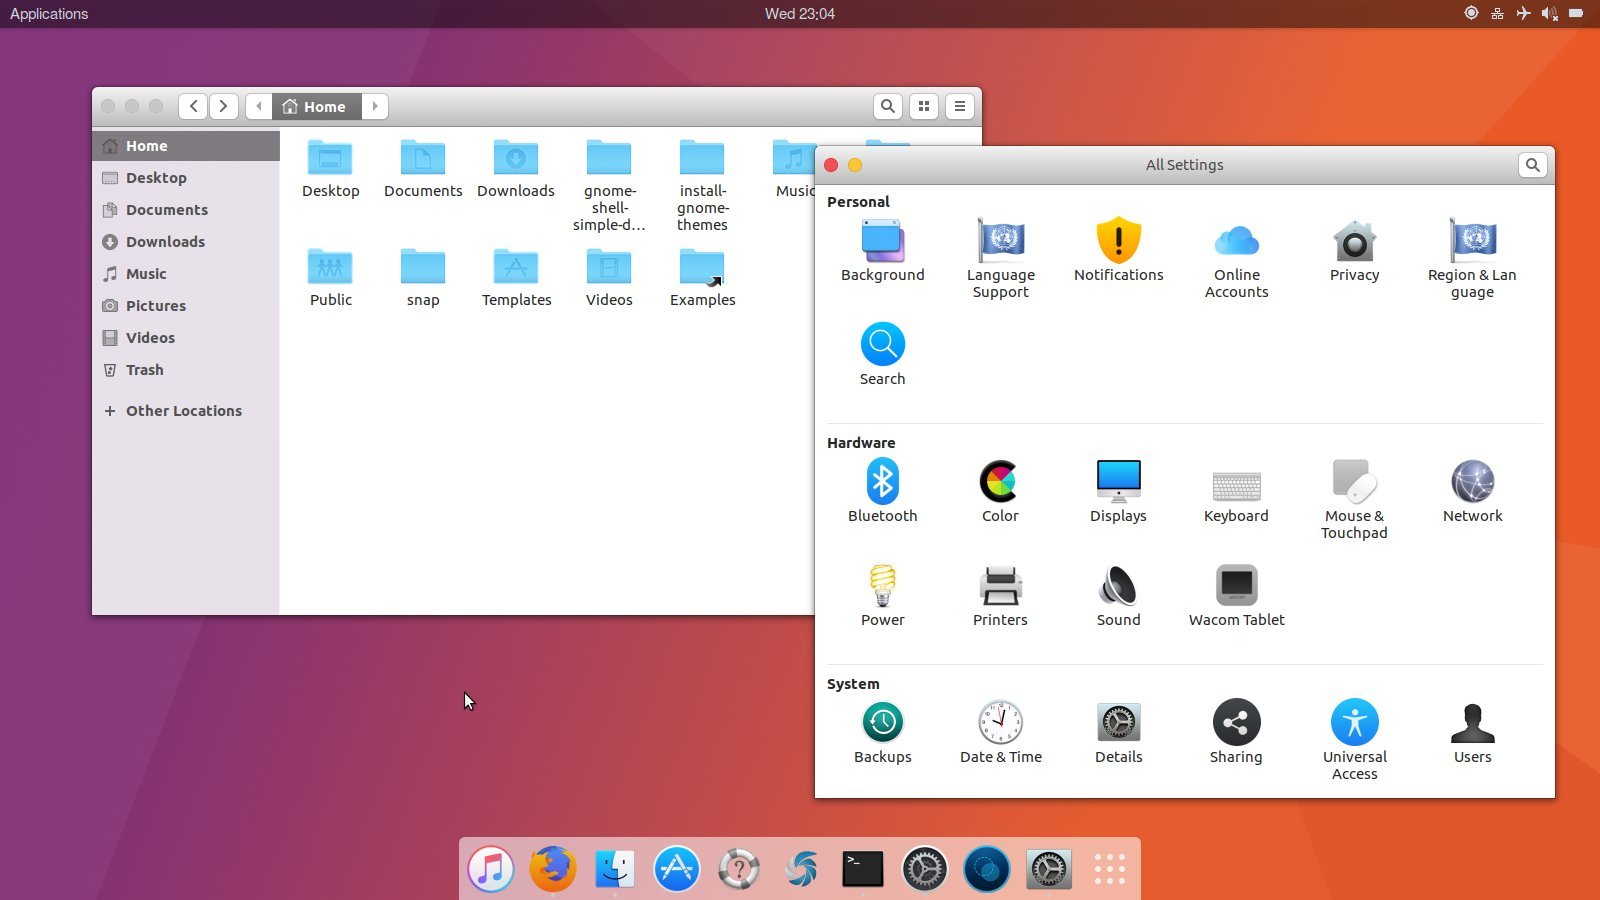
Along with a few Gnome Shell extensions, you can now easily make Gnome Desktop look like Mac OS X with ‘Gnome-OSX’, a gnome-specific GTK3 theme.
Gnome-OSX is initially based on the Arc-theme-files. The goal is to implement the feel of OSX on the gnome-applications.
The theme mainly features:
- Nautilus with blurred sidebar.
- Same theming across GTK2 and GTK3.
- Shell theme with white dock and slighty dark top-bar
- Shell theme with dark dock and dark top-bar
To get this look and feel in Ubuntu 17.04, Ubuntu 16.10 Gnome Shell, do following steps:
1. Download the ‘Gnome-OSX’ theme from the link below:
Under Files tab, grab the first package or the next 4 packages.
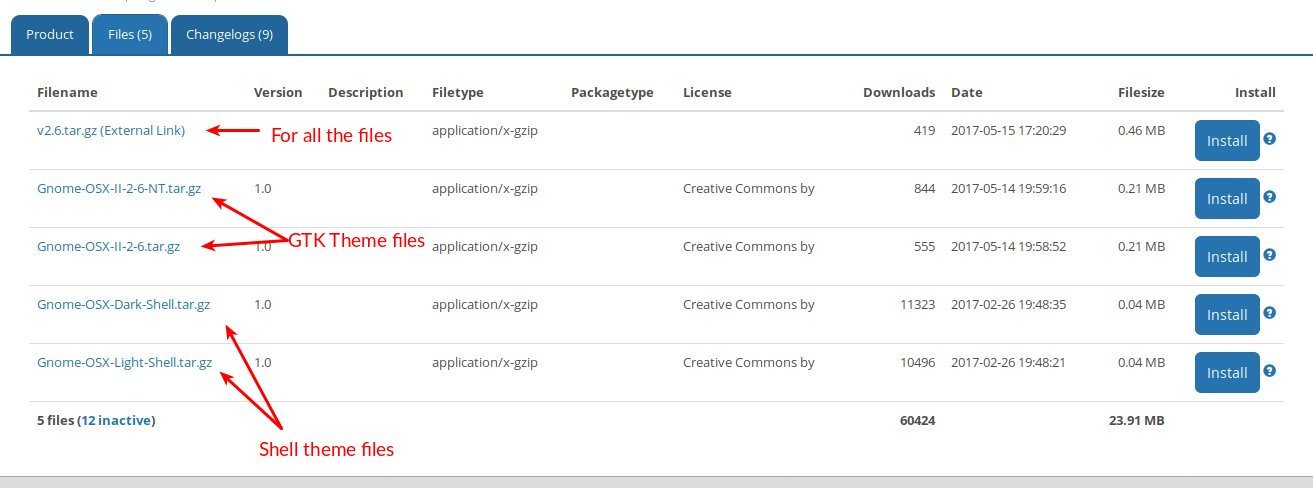
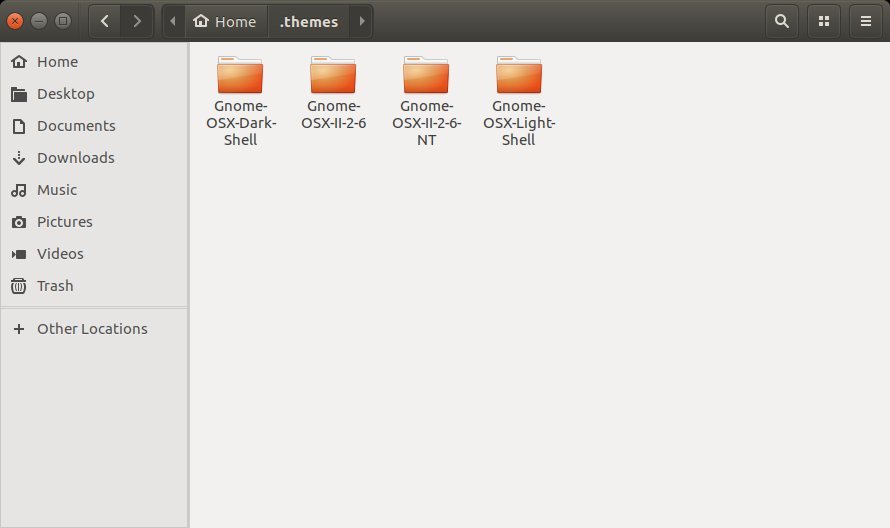
Extract the tarball and all you need is the following 4 folders:
- Gnome-OSX-Dark-Shell
- Gnome-OSX-Light-Shell
- Gnome-OSX-II-2-6
- Gnome-OSX-II-2-6-NT
2. Open file browser, press Ctrl+H (view hidden folders) and go to .themes folder (create the folder if not exist).
Then move the 4 extracted folders to .themes:
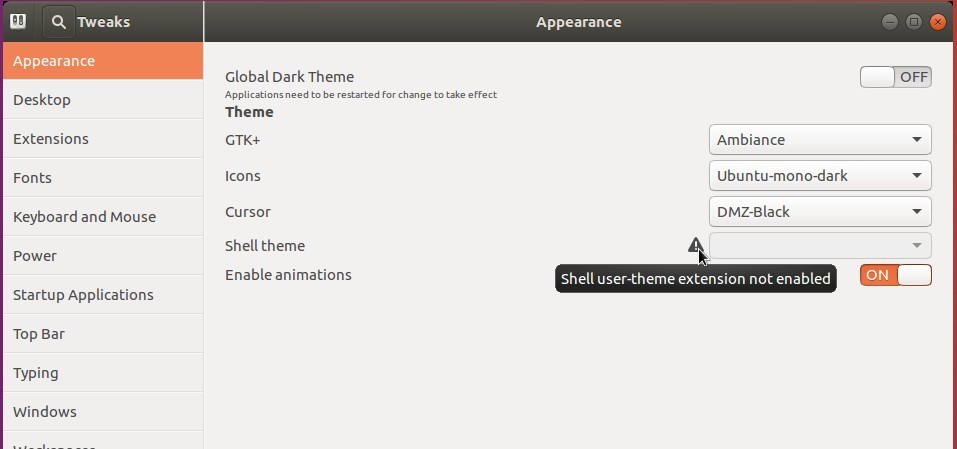
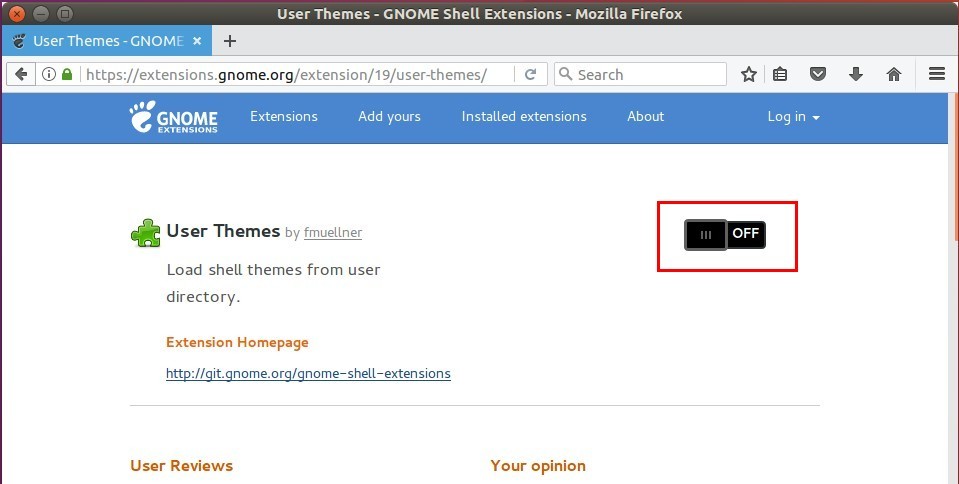
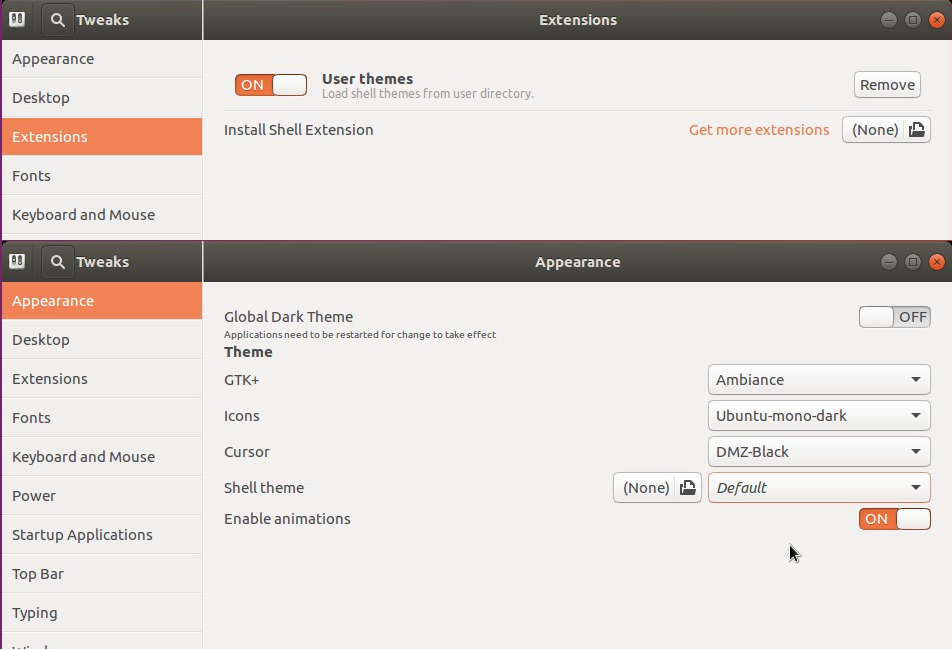
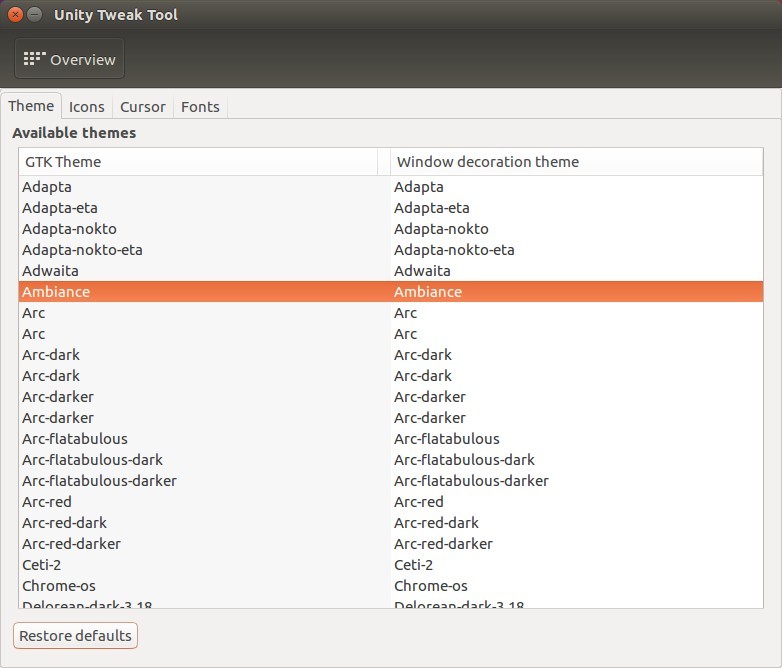
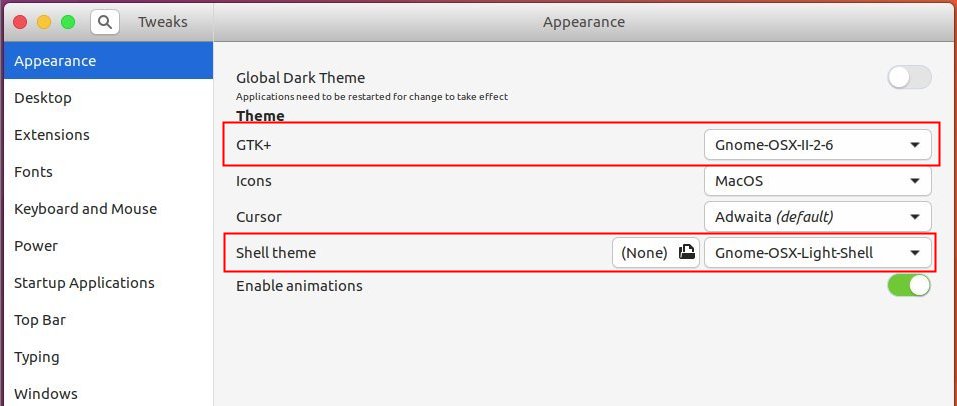
3. Apply the GTK theme and Shell theme via Gnome Tweak Tool:
See this tutorial if shell theme is disabled
4. For the icons, I’m using the macOS icons available for download at the link below:
Also, extract and move the result folder to .icons folder (create it if not exist) in user home folder. And apply the icon theme via Gnome Tweak Tool.
5. For the bottom dock, go to the link below and install ‘Simple Dock’ extension:
or manually install the extension by following the project description.

6. For the top-left corner Application menu, install this gnome shell extension.
7. To move window buttons to left, open terminal (Ctrl+Alt+T) and run command:
gsettings set org.gnome.desktop.wm.preferences button-layout "close,minimize,maximize:"