![]()
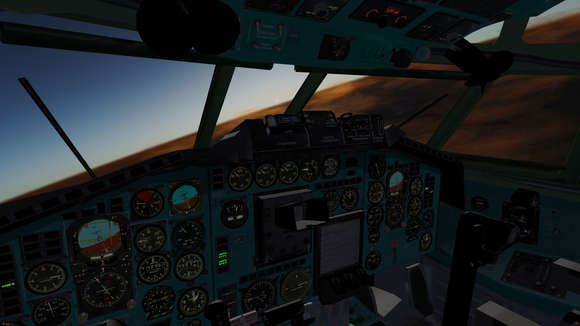
The FlightGear Flight Simulator has reached the 2017.1 “Bergen” release a few days ago with many exciting new features, enhancements and bug-fixes.
FlightGear 2017.1 release highlights:
- Accurate buildings from OpenStreetMap
- voice synthesis of tutorial instructions
- improved rendering of Earth from orbit
- a more realistic blackout/redout system.
- See the changelog for more details.
How to Install FlightGear 2017.1 in Ubuntu:
The GetDeb repository has built the new release for Ubuntu 16.04, Ubuntu 16.10 and their derivatives. Follow the steps below to install it:
1. Open terminal from Unity Dash, App Launcher, or via Ctrl+Alt+T shortcut key. When it opens, run command to add the repository:
sudo sh -c 'echo "deb http://archive.getdeb.net/ubuntu xenial-getdeb games" >> /etc/apt/sources.list.d/getdeb.list'
you may replace xenial (ubuntu 16.04) in the code with yakkety for Ubuntu 16.10.

2. Download and install the GetDeb key via command:
wget -q -O - http://archive.getdeb.net/getdeb-archive.key | sudo apt-key add -
3. Finally update and install FlightGear 2017.1 via command:
sudo apt update

sudo apt install flightgear
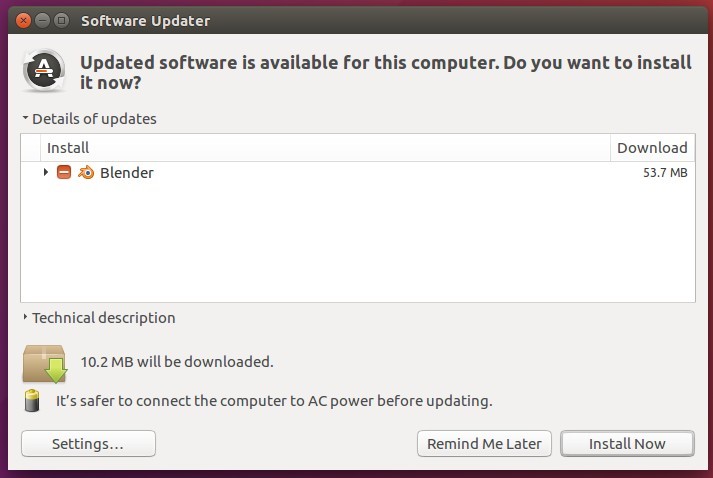
For those who have a previous release installed, upgrade FlightGear via Software Updater after adding the repository and key.
How to Remove:
To remove FlightGear, open terminal and run command:
sudo apt remove flightgear && sudo apt autoremove
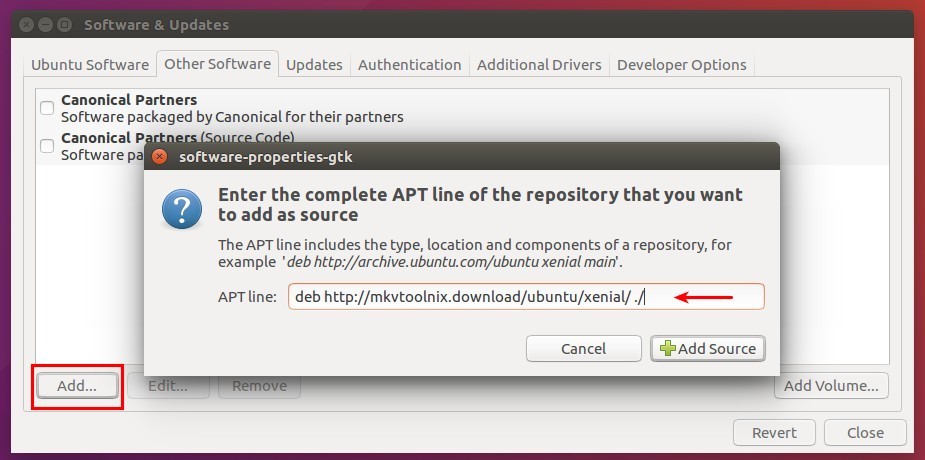
And you can remove the GetDeb repository by going to System Settings -> Software & Updates -> Other Software tab.