![]()
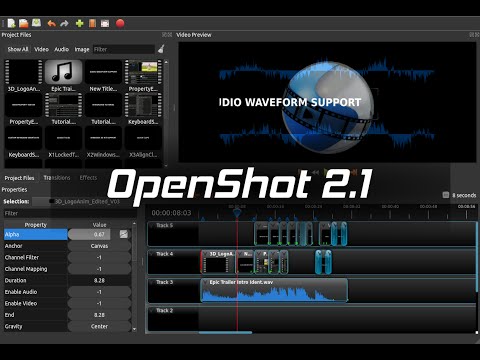
OpenShot video editor finally reached the new major 2.1 stable release. Here’s how to install it in Ubuntu 16.04, Ubuntu 14.04 via PPA.
OpenShot 2.1 adds support for displaying audio waveforms on clips, improves property editing, provides a new selection dropdown, supports user-configurable keyboard mapping, Windows 64-bit support, timeline improvements, a new startup tutorial, performance gains for effects, improved transitions, and much more.
The OpenShot Stable PPA has made the 2.1 release packages (Qt5 built) for Ubuntu 16.04, Ubuntu 14.04. To install it, do:
1. Launch terminal (Ctrl+Alt+T) and run command to add PPA:
sudo add-apt-repository ppa:openshot.developers/ppa

2. You may have both 1.4.3 and 2.1 releases installed on your system since the new release is built against Qt5 and uses different application icons.
Just run the commands below in terminal to update and install Shotwell 2.1:
sudo apt update

sudo apt install openshot-qt
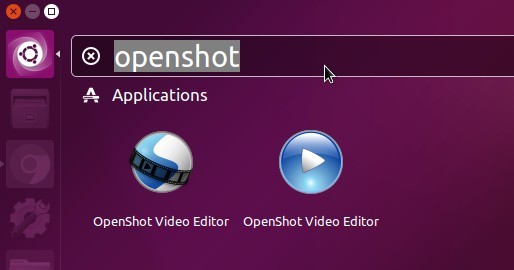
And finally launch the video editor from Unity Dash and enjoy!