MicroSoft’s Visual Studio Code IDE now is super easy to install in Ubuntu 14.04, Ubuntu 16.04, and higher via the Snap package format.
David Callé announced the availability of Visual Studio Code as a Snap a day ago:
Launched in 2015 by Microsoft, Visual Studio Code has imposed itself as one of the preferred code editors in the developer community. Cross-platform (powered by Electron), it features a marketplace of more than 3000 extensions where any language can find its linters, debuggers and test runners.
To install Visual Studio Code in all current Ubuntu releases, simply run command (open terminal via Ctrl+Alt+T):
sudo snap install --classic vscode

That’s it! Installed snaps are automatically refreshed, so you’ll always have the latest release of VS Code installed.
In addition, if you’re first time installing a Snap package in Ubuntu, you need to first install snapd, the service which runs on your machine and keeps track of your installed snaps, via command:
sudo apt install snapd
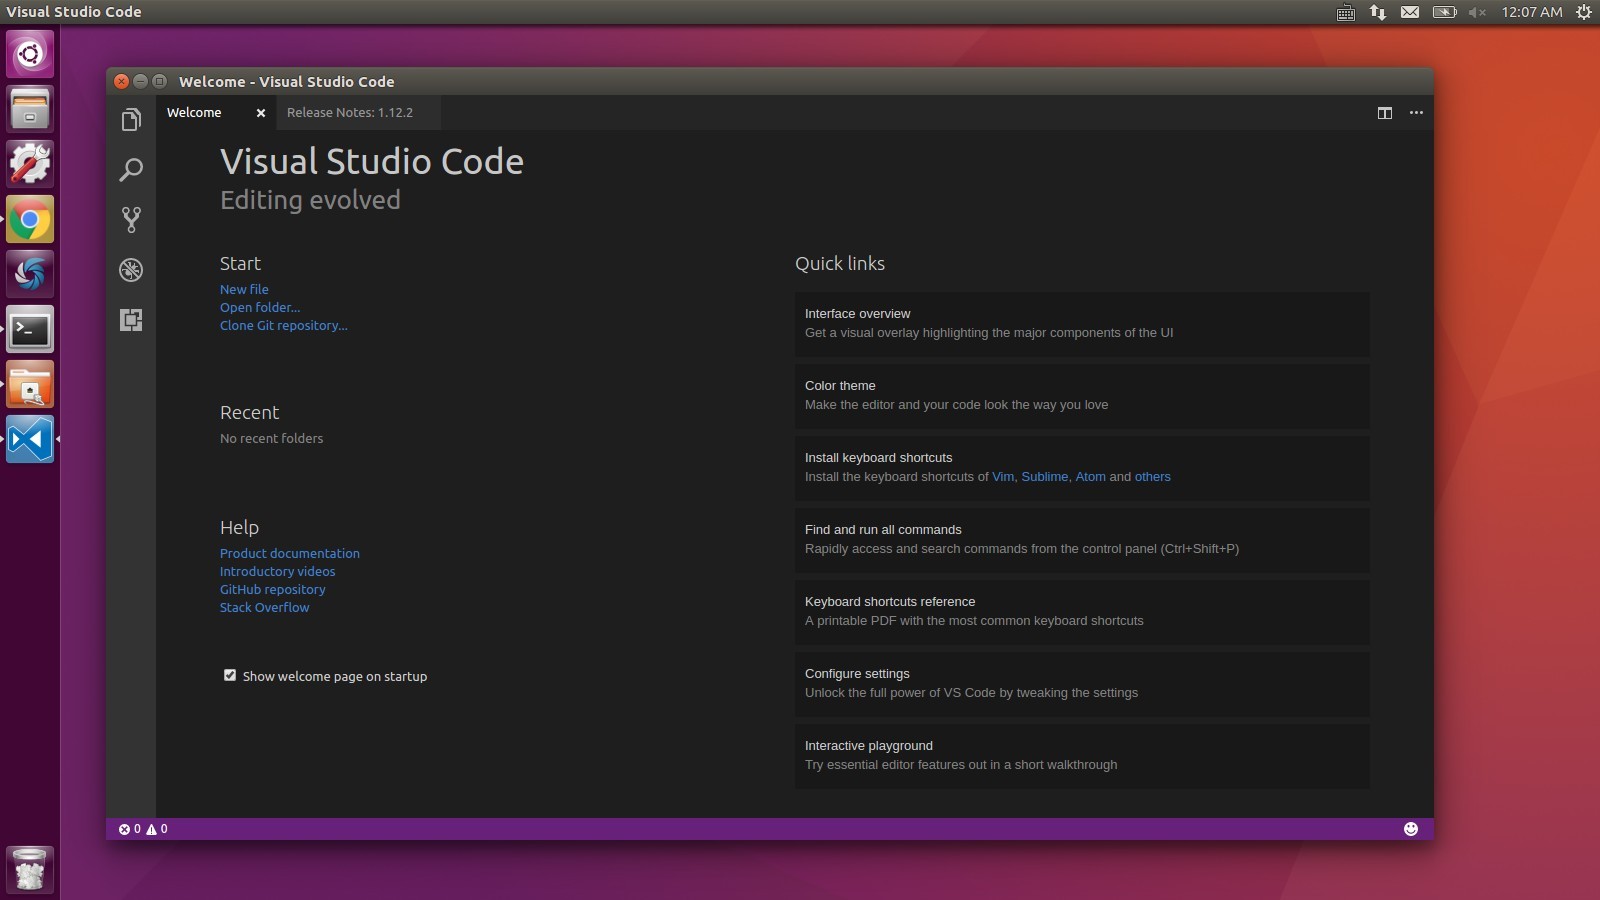
Like traditional deb packages, the snap version of the software can be launched either from Unity Dash, Gnome application launcher, or other desktop menu, or via command vscode.
Uninstall:
To remove VS Code, run the snap command with remove flag:
sudo snap remove vscode