![]()
This simple tutorial shows how to install or completely remove the XFCE4 desktop environment in Ubuntu 22.04 and/or Ubuntu 24.04.
XFCE4 is lightweight Linux desktop environment aims to be fast and low on system resources. To try it out, I’d recommend to install XUbuntu, Linux Mint, Linux Lite or other Linux with XFCE4 as default.
But for lazy men who don’t want to backup personal data, re-install and re-configure favorite applications again and again, install XFCE4 Desktop on top of the current Ubuntu system is a good choice. And, here’s how to do the job step by step.
Install XFCE4/XUbuntu Desktop in Ubuntu
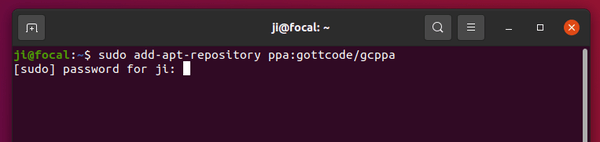
1. First, open terminal either by pressing Ctrl+Alt+T on keyboard, or by searching from ‘Activities’ overview.

2. When terminal opens, it’s recommended to first run command to update your system package index:
sudo apt update
3 Then, either install XFCE4 desktop, and core apps without changing startup animation, login screen, etc.
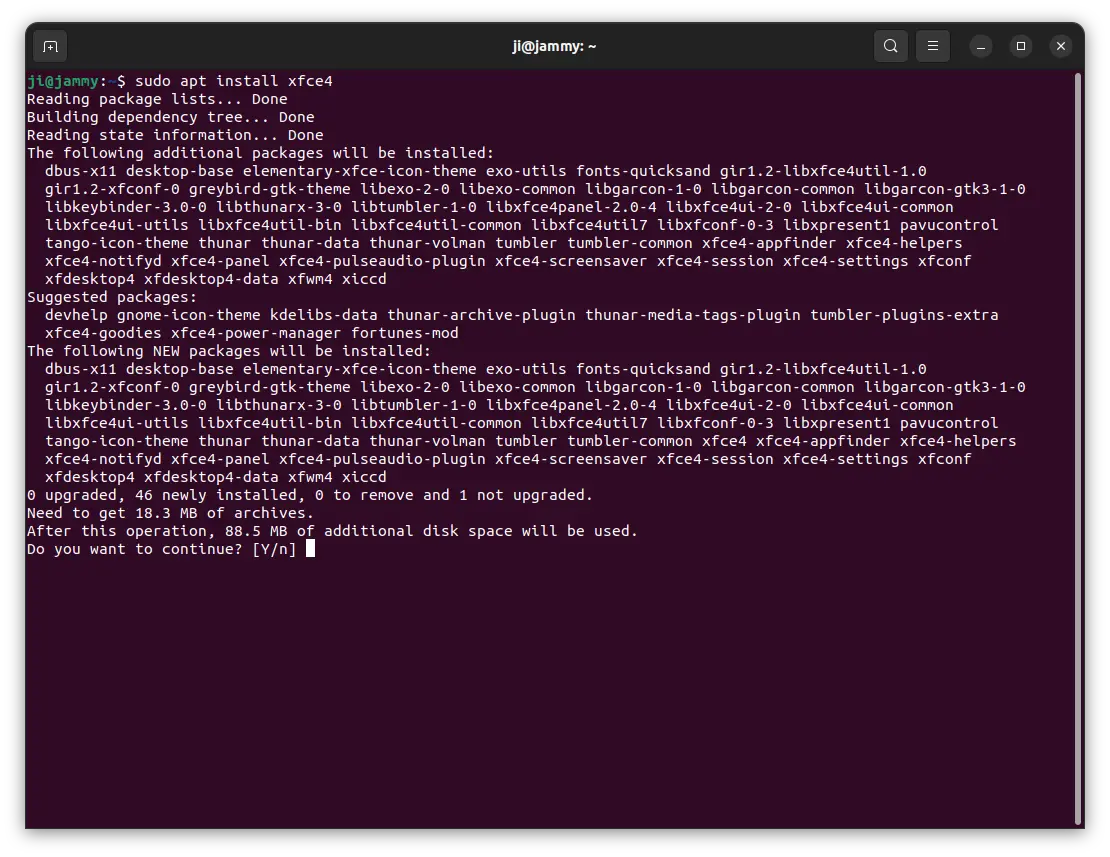
sudo apt install xfce4
As you can see in the screenshot, the installation only takes 88.5 MB (126 MB for 24.04) disk space in my case.
Or, install the whole XUbuntu Desktop environment, to make your Ubuntu just look like XUbuntu
sudo apt install xubuntu-desktop
Though, it will install more packages and takes 550 MB (905 MB for 24.04) disk space in my case.

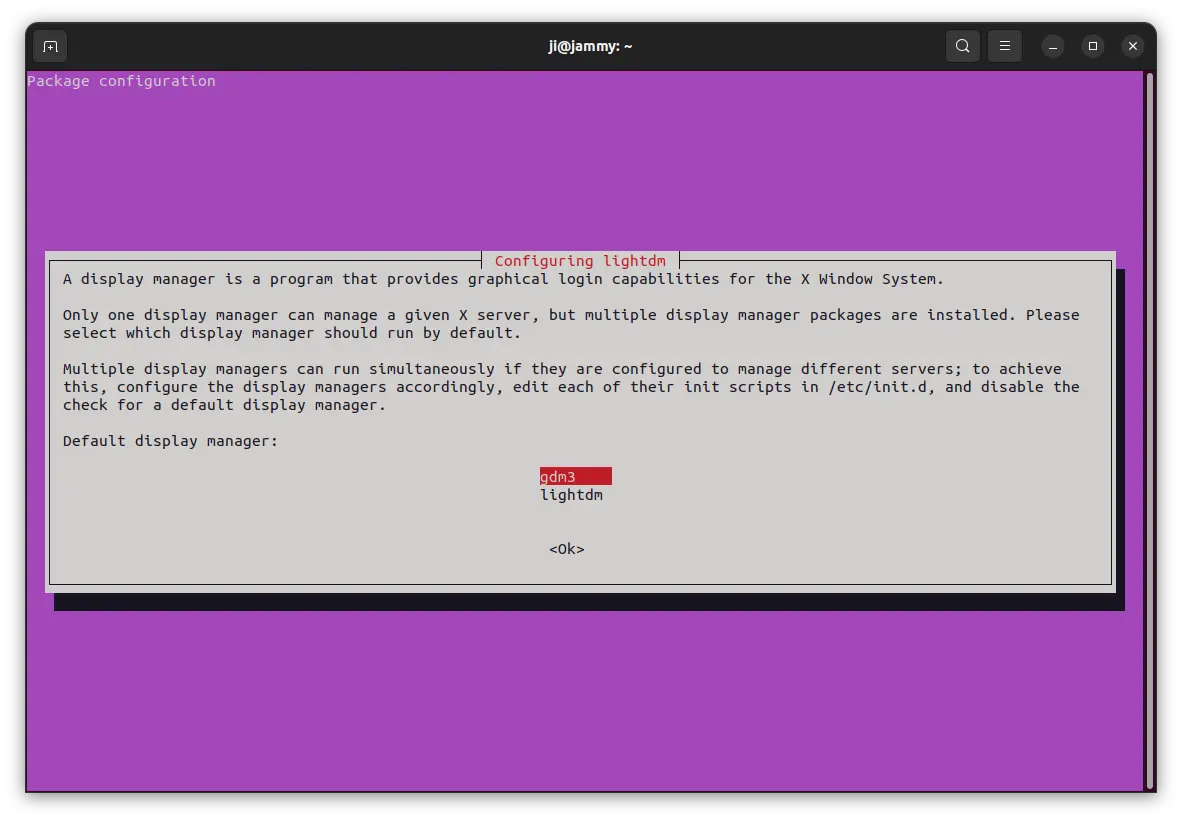
In the case, it also asks to choose which login screen interface to use (Display Manager). Either choose gdm3 to keep original login screen, or use lightdm to switch to the one that is default in XUbuntu. Finally, hit Tab to highlight OK and hit Enter.
Log in XFCE4 Desktop
After installation, restart your computer!
Depends on which display manager you chose in previous step, either select your user and choose “Xfce Session” via the bottom right gear button menu.
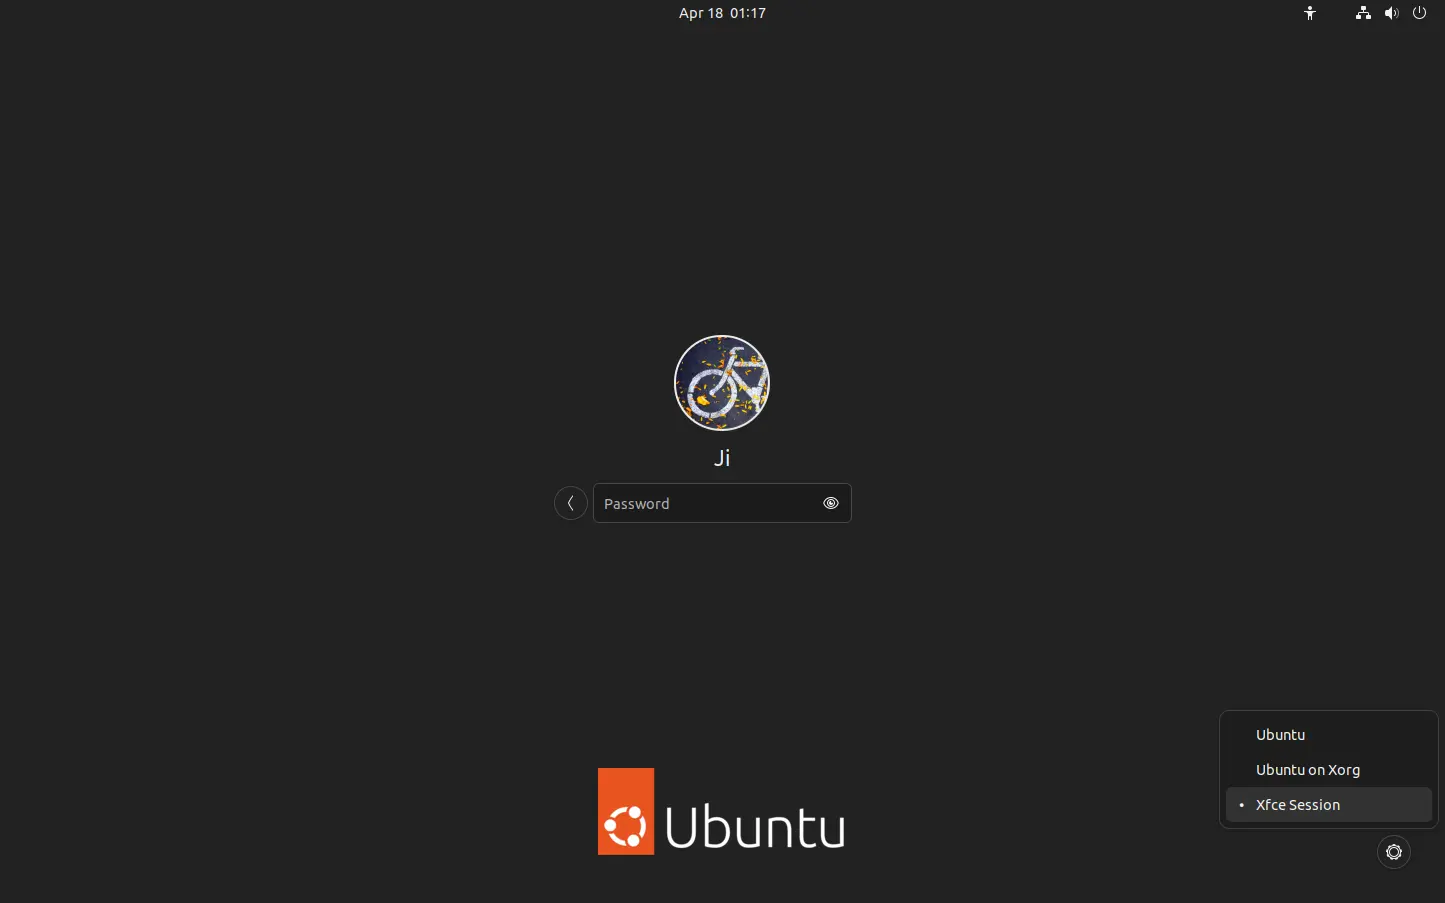
Or, directly choose user and type password to login, if you selected lightdm display manager.
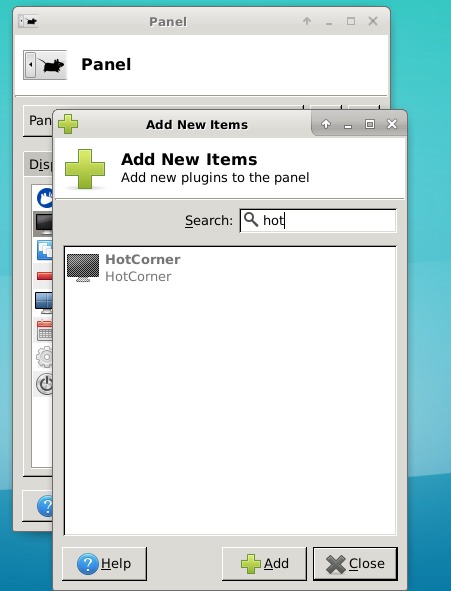
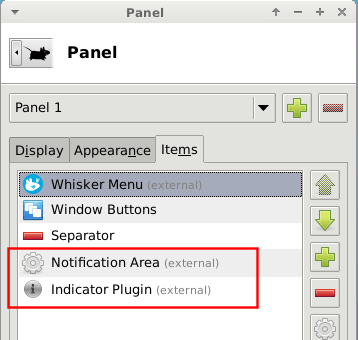
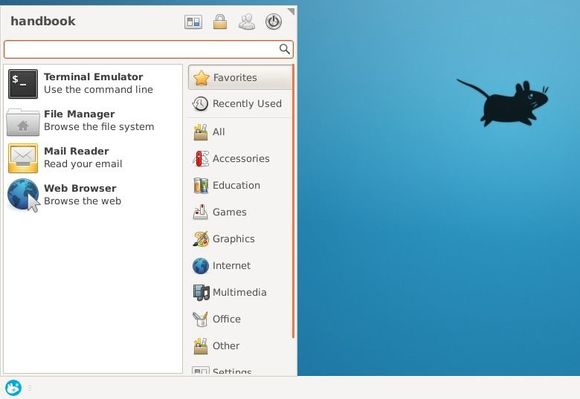
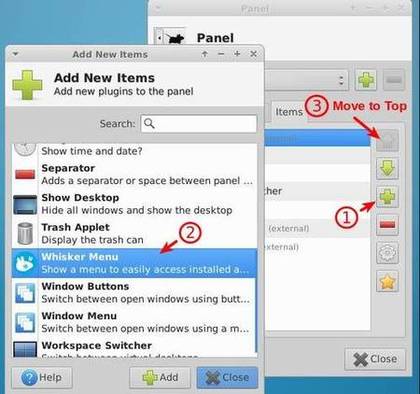
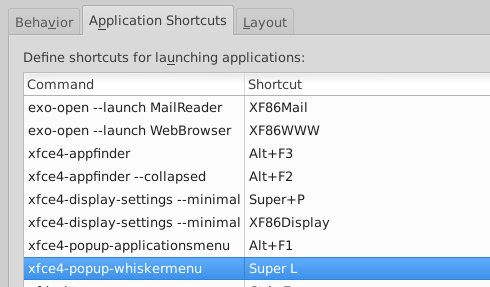
After login, you may want to tweak something. In my case, I’d like to right-click on top-panel and go to “Panel -> Add New Items”, then add Whisker Menu to replace the default application menu. In case you don’t see the widget in the list, run command to install it:
sudo apt install xfce4-whiskermenu-plugin
How to Completely Remove XFCE4/XUbuntu Desktop
1. If you installed the ‘xubuntu-desktop’ package and replaced the login screen, open terminal and run command to open the configuration again and choose “gdm3” to restore the original login screen:
sudo dpkg-reconfigure lightdm
2. Also, to restore the original startup animation screen, run command:
sudo update-alternatives --config default.plymouth
In terminal output, type the number for bgrt.plymouth theme and hit Enter.

3. Before removing the packages, it’s HIGHLY recommend to restart or log out, and choose either “Ubuntu” or “Ubuntu on Xorg” session to log in.
Finally, open terminal and run the single command to remove XFCE4 or XUbuntu Desktop packages:
sudo apt remove --autoremove xubuntu-desktop xfce4 xfce4-* libxfce4* espeak-data gnome-software-common libexo-common libgarcon-common thunar-data tumbler-common xiccd atril-common brltty-x11 wslu plymouth-theme-xubuntu* adwaita-icon-theme-full pinentry-gtk2 xterm mesa-utils lm-sensors libxapian30
This command will remove the most packages installed along with ‘xfce4’ or ‘xubuntu-desktop’ package. However, it’s recommended to keep an eye on terminal output to see which packages it’s going to remove, before typing ‘y’ to confirm.