This is a quick tutorial for beginners how to install the latest PyCharm Python IDE with Ubuntu integration via PPA.
The official PyCharm Linux binary packages lack shortcut launchers for Ubuntu desktop. To install the IDE with Ubuntu patch and receive future updates along with other system updates via Software Updater, you may use a third-party PPA maintained by Mystic-Mirage.
The PPA contains both the Professional and free Community version for Ubuntu 16.04, Ubuntu 15.10, Ubuntu 14.04, Ubuntu 12.04, and their derivatives.

1. Add the PPA.
Open terminal and paste (Shift+Ctrl+V) the command below and hit run:
sudo add-apt-repository ppa:mystic-mirage/pycharm
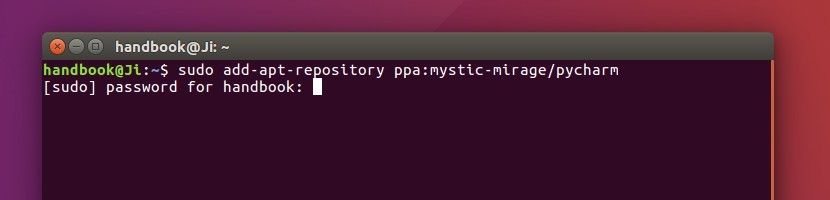
Type in your password (no visual feedback) when it asks and hit Enter.
2. Update and install PyCharm.
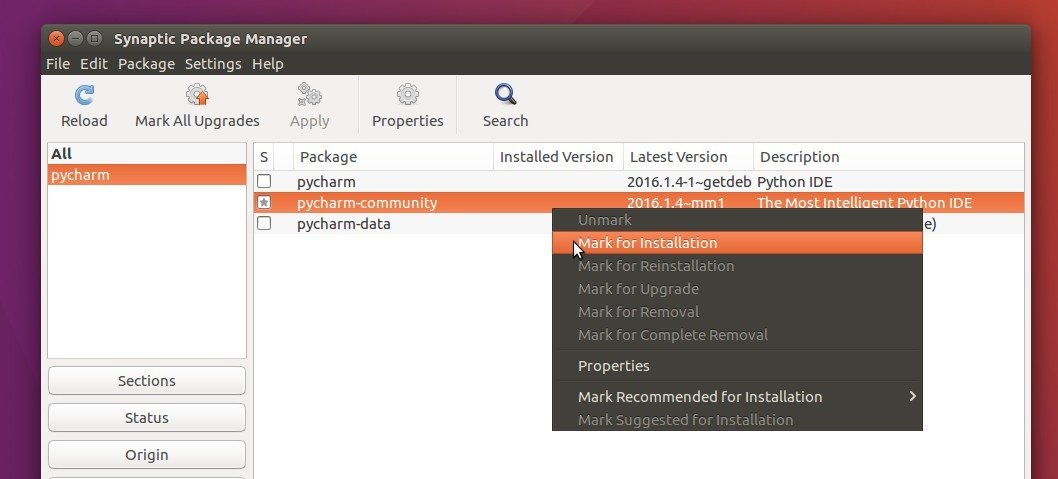
If you have Synaptic Package Manager installed, launch it and then search for and install pycharm (or pycharm-community) after clicking the Refresh button.
Or run the commands below one by one in terminal to install the Professional version:
sudo apt update

sudo apt install pycharm
For the community version, replace the last command with:
sudo apt install pycharm-community
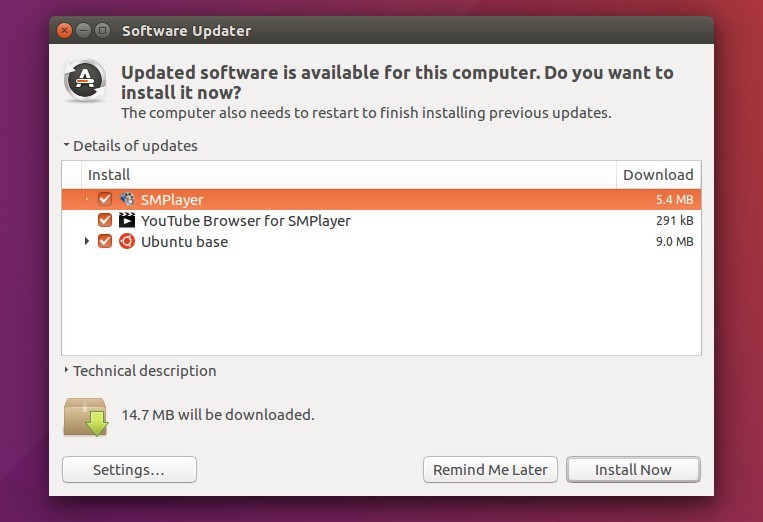
Once a new version is released and made into PPA, you can simply launch Software Updater to upgrade it.
3. (Optional) To remove the PPA, go to Software & Updates -> Other Software tab. And PyCharm IDE can be removed with apt command with remove flag:
sudo apt remove pycharm pycharm-community
That’s it. Enjoy!