Want to try the new Ubuntu 16.04 LTS? Here’s how to upgrade to Ubuntu 16.04 Beta 2 from your Ubuntu 15.10 desktop. You can then update to the final release a few weeks after, on April 21st.
NOTE:
1. This beta has numbers of bugs, don’t do this and wait for the final release if you want a stable system.
2. DON’T upgrade from Ubuntu 14.04 LTS. There’s a known bug upgrading from 14.04.
Preparation:
1. Always first backup your bookmarks, documents, and other data.
2. If you have the proprietary video driver installed, uninstall it and switch back to the open-source driver.
For Nvidia, depends on how you installed the driver, use the official .run from Nvidia website via
--uninstalloption:sudo ./NVIDIA-Linux-x86_64-xx.xx.run --uninstallor remove nvidia-current via command:
sudo apt-get purge nvidia-currentYou may also re-install the open-source driver via PPA:
sudo apt-get install xserver-xorg-video-nouveau && sudo rm /etc/X11/xorg.conf
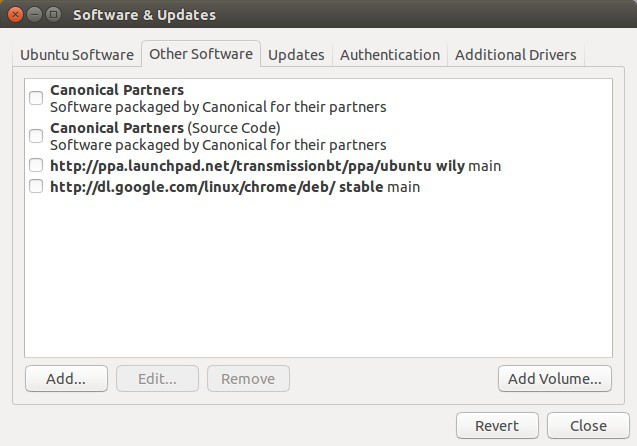
3. Remove/Disable third-party PPAs by going to Software & Updates -> Other Software tab.
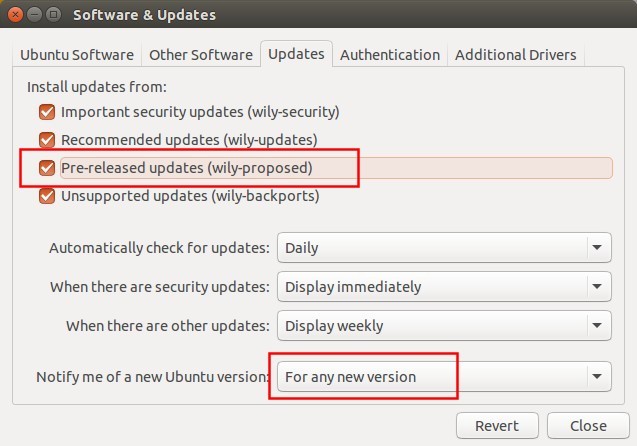
4. In Updates tab, enable Proposed repository:
Upgrade Ubuntu:
1. Open terminal (Ctrl+Alt+T) and update your system by running below command:
sudo apt-get update && sudo apt-get dist-upgrade
Type in your password (no visual feedback when typing) when it asks and hit Enter to continue.
You may need to restart your computer to complete installing updates.
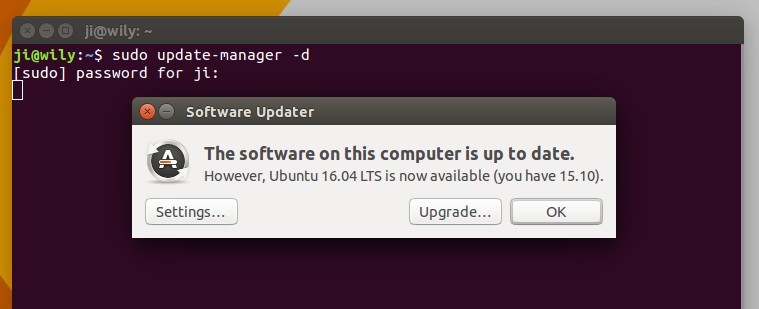
2. Once your system is up to date. Launch Software Updater with -d option, so it checks if upgrading to the latest devel release is possible:
sudo update-manager -d
After checking for updates, it prompts that Ubuntu 16.04 LTS is available.
3. Click Upgrade and confirm in next window to start the upgrade process. At the end you’ll be prompted to restart your computer if everything goes well.
Tip: Once Ubuntu 16.04 final is released, run commands in step 1 to update this beta to the final release.