gThumb, the free open-source image viewer and organizer, is finally porting to GTK4 plus LibAdwaita.
With version 4.0 alpha, the user interface has been rewritten in Vala that looks modern and native in recent GNOME based distros, such as Ubuntu and Fedora Workstation.
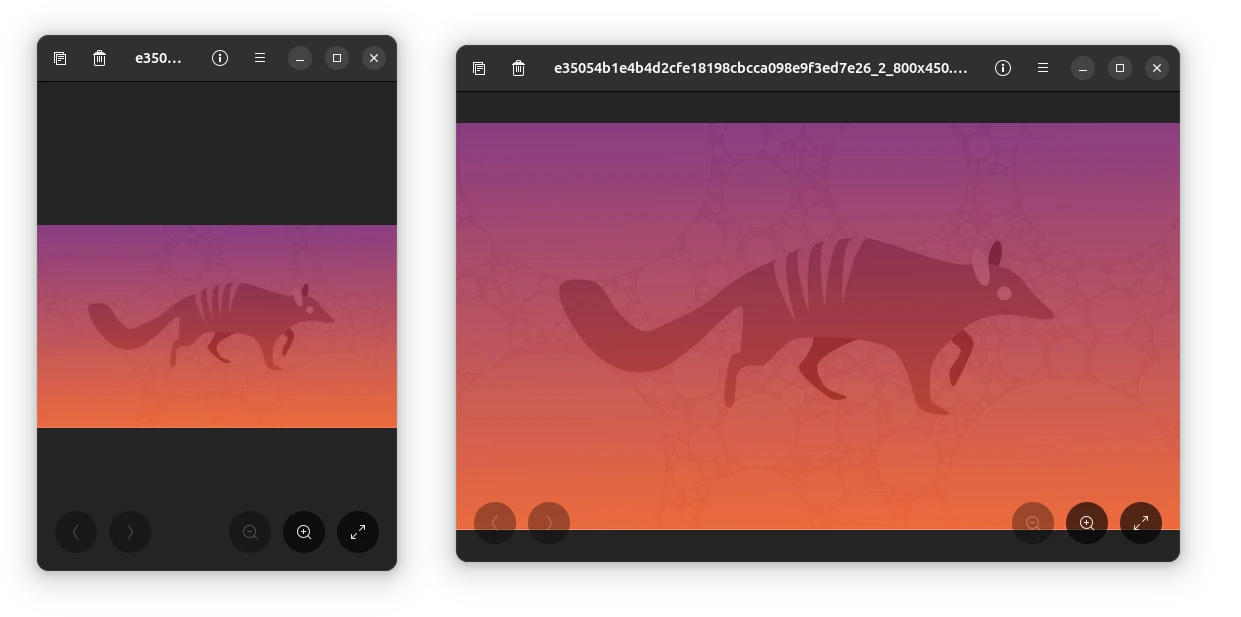
Loupe is the core image viewer app for GNOME since version 45, but it’s so far not made default in Ubuntu.
It’s a fully adaptive image viewer that supports mobile form factors. It’s touch-friendly that supports 2-finger swipe left/right to navigate, 2-finger pinch/stretch to zoom out/in, and 2-finger gestures to rotate images.
Other features of Loupe include fast GPU accelerated image rendering, tiled rendering for vector graphics, sandboxed image decoding, and more.
gThumb image viewer and organizer released new 3.12.5 release this Sunday. It is a small release only contains translation updates and a few bug-fixes.
Bug fixes in the release include:
When the ‘Store metadata inside files if possible’ option is active, comment a picture will delete its Color Profile tag.
Build issue with libjxl 0.9 for loading JPEG-XL images.
In the “Add to catalog”, when “Keep the dialog open” button is checked, the “View the destination” checkbox becomes disabled.
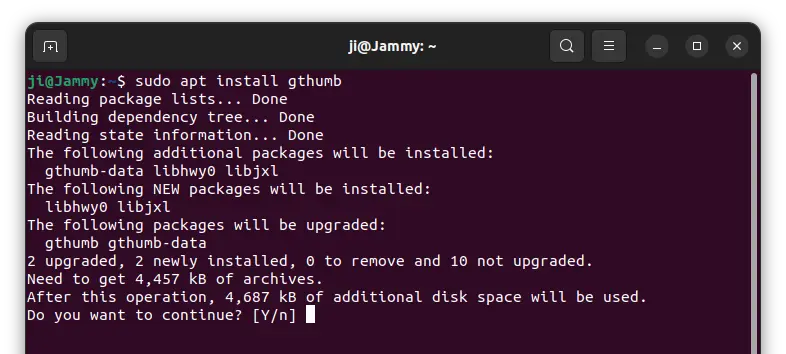
This simple tutorial shows how to install the latest gThumb (3.12.8 so far) in Ubuntu 25.04, Ubuntu 24.04, Ubuntu 22.04, and 20.04
gThumb image viewer and organizer has rolled out version 3.12.3 and 3.12.4 recently, while Ubuntu still has v3.12.2 in system repositories.
The new releases introduced some new features as well as various bug-fixes. According to the NEWS file, gThumb now supports transparency for Tiff and TGA files, has a new internal video thumbnailer (/usr/libexec/gthumb/video-thumbnailer), though as a beginner I didn’t figure out how to use it.
For better user experience, the image viewer now has zoom gesture support; Zoom slider can zoom in/out in range of 5% and 1000%; Crop tool has new 1.91:1 predefined ratio; And, there are other changes include:
Open the image from clipboard with Ctrl+Shift+V.
Sort folders by modification time.
Ability to copy the current frame to the clipboard with Ctrl+Shift+C.
Drag’n’Drop allow to copy pressing Shift.
Image tools allow to use Return to apply the changes.
Ability to specify the current time
Make keypad keys equivalent to the non-keypad counterpart.
Reduce memory usage by keeping in memory only the visible thumbnails.
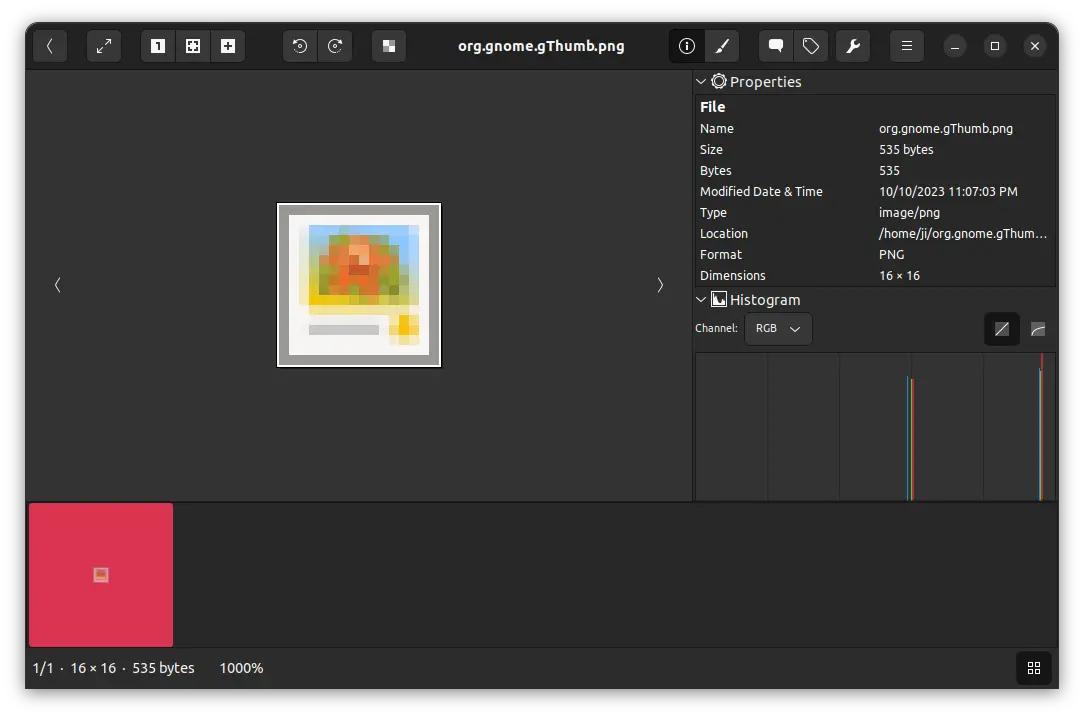
Zoom 1000%
How to Install gThumb 3.12.8 in Ubuntu:
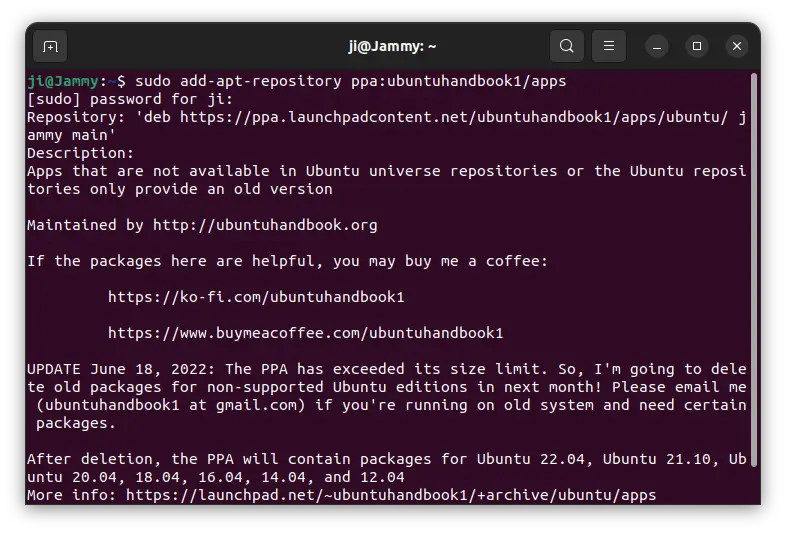
1. Add the Ubuntu PPA.
The PPA so far provides packages for Ubuntu 20.04, Ubuntu 22.04, Ubuntu 24.04, and Ubuntu 25.04.
Firstly open terminal either from start menu or by pressing Ctrl+Alt+T on keyboard. When it opens, paste the command below into terminal and hit run:
sudo add-apt-repository ppa:ubuntuhandbook1/apps
Type user password (no asterisk feedback) when it asks for sudo authentication, then hit Enter to continue.
2. Update system package cache.
Adding PPA will automatically refresh the package cache in Ubuntu 20.04 and higher. However old versions and some Ubuntu based systems does not. To do it manually, simply run command in terminal:
sudo apt update
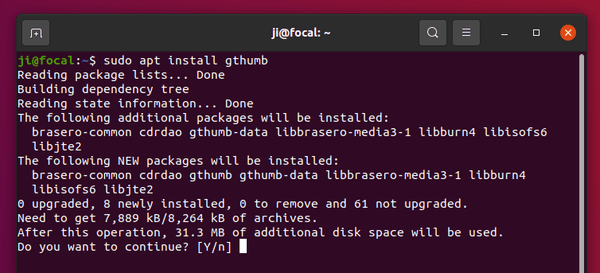
3. Install / Upgrade gThumb.
Finally, either run the apt install command in a terminal window to install the image viewer:
sudo apt install gthumb
Or use the Software Updater (Update Manager) utility to receive package updates. Un-check other packages from the PPA if you don’t want them.
Uninstall / Restore gThumb:
You can restore to the stock version of the image viewer and organizer by purging the PPA repository. To do so, simply run command:
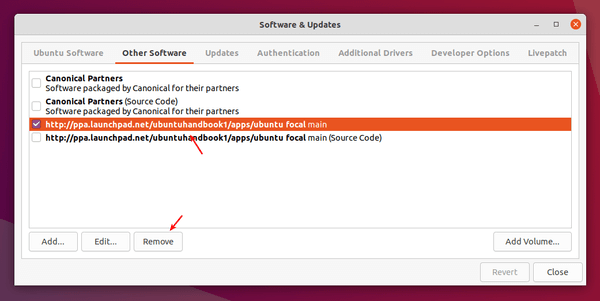
You may also keep the gThumb package but remove the Ubuntu PPA, since it contains many other software packages that you don’t prefer. To do so, either run command in terminal:
gThumb image viewer and organizer announced version 3.12.0 as the new stable release series!
gThumb 3.12.0 is the new stable series since the last 3.10.x, while the 3.11.x is the development release.
What’s New in gThumb 3.12.0:
The new release includes many new features compare to the previous stable 3.10.x. They are all introduced in the 3.11 development releases, so you may already enjoy using them for a period of time.
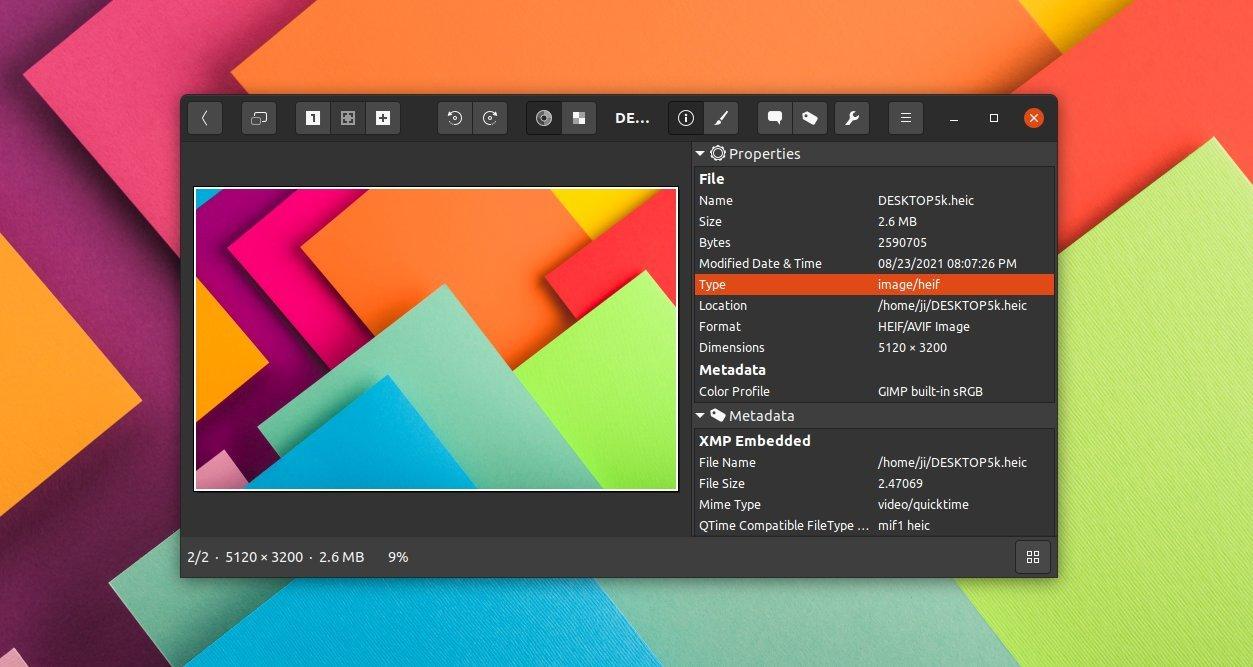
With libheif library, gThumb now opens AVIF, HEIF (include Apple’s HEIC) images, and allows to save images as AVIF. And it supports JPEG XL images using the jpeg-xl library. A template editor is available to edit text values with special codes, for use in script commands, rename templates, print header and footer, etc.
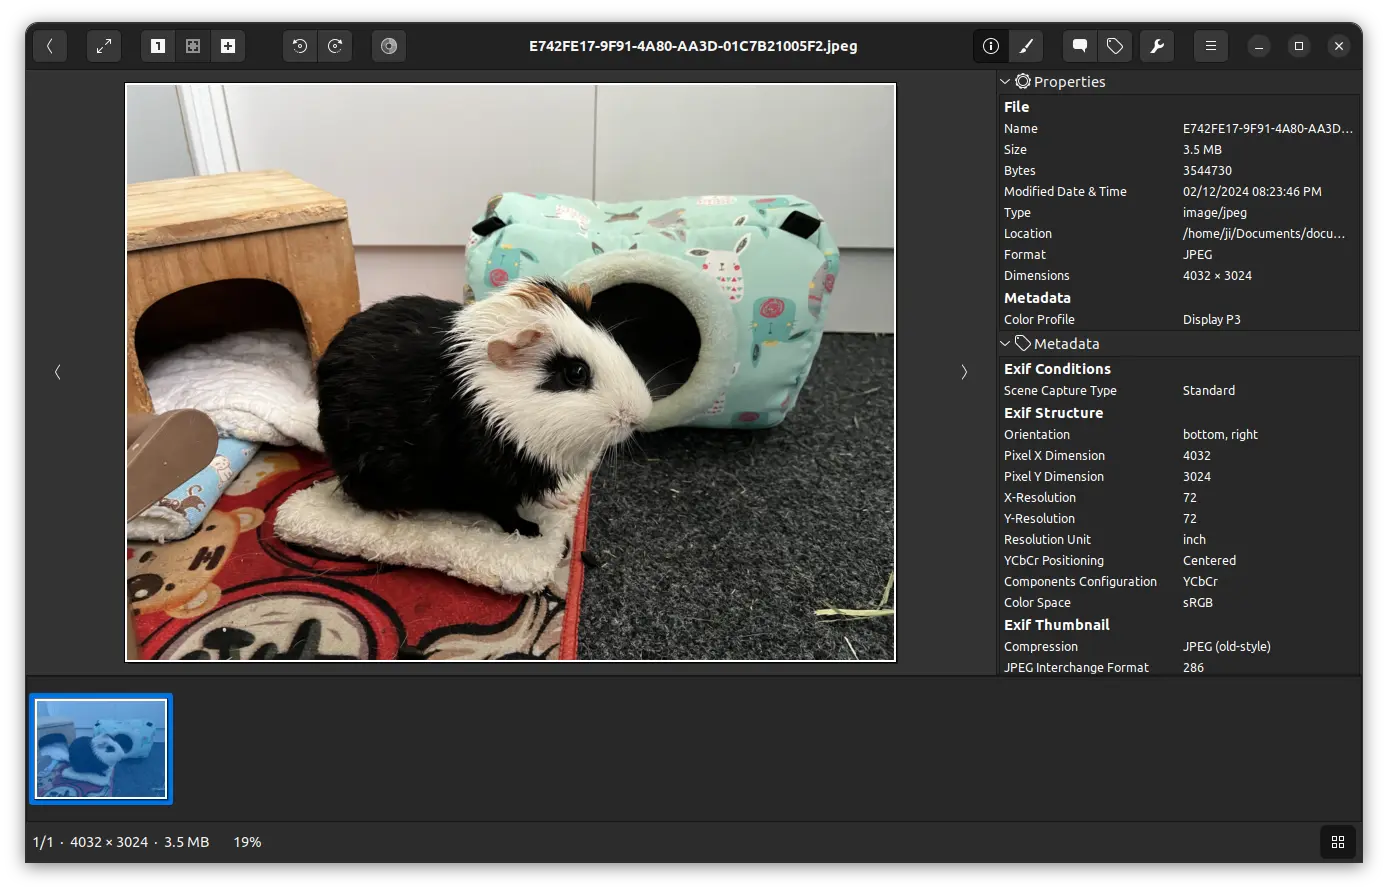
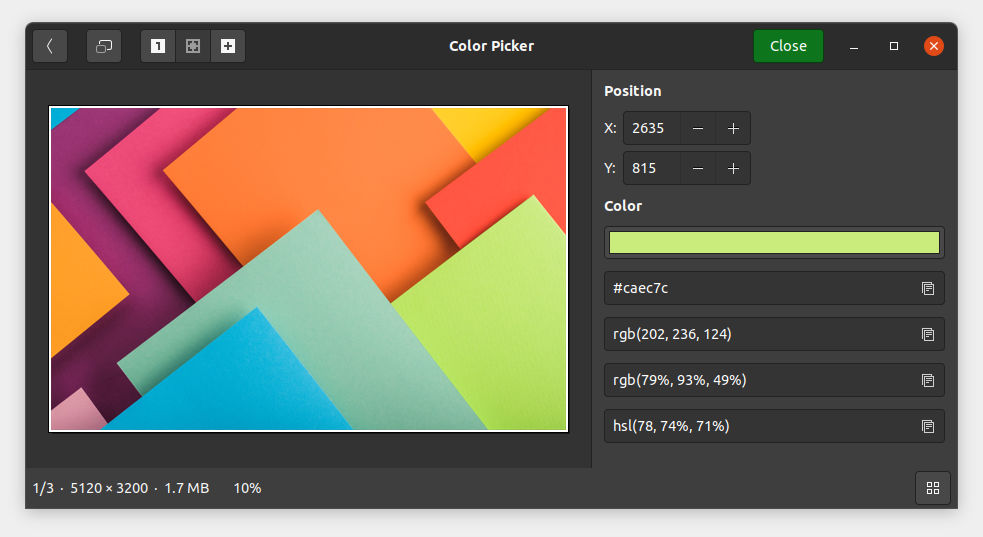
Besides that, it improved file navigation for directory contains thousands of images. The file list now starts more thumbnailers in parallel, status bar has button to show the progress dialog. And the color picker tool shows colors in two more formats: rgb in % and hsl. Others include:
Allow to set shortcuts to activate filters.
Allow to mount unmounted volumes.
Add file actions to the viewer context menu.
Read color profiles from png files as well.
Option to show/hide the status bar.
For those already running gThumb 3.11.4, there are only bug-fixes and translation updates.
How to Install gThumb 3.12.0 in Ubuntu:
The software does not provide official binary package. Besides building from the source tarball, you may install it via the unofficial Ubuntu PPA.
1. Add the Ubuntu PPA.
The PPA so far provides packages for Ubuntu 20.04, Ubuntu 21.04, Ubuntu 21.10, and Linux Mint 20. It contains package for Ubuntu 18.04 but lacks JPEG XL support.
Firstly open terminal either from start menu or by pressing Ctrl+Alt+T on keyboard. When it opens, paste the command below into terminal and hit run:
sudo add-apt-repository ppa:ubuntuhandbook1/apps
2. Update system package cache.
Adding PPA will automatically refresh the package cache in Ubuntu 20.04 and higher. However old versions and some Ubuntu based systems does not. To do it manually, simply run command in terminal:
sudo apt update
3. Install / Upgrade gThumb.
Finally, either run the apt install command in a terminal window to install the image viewer:
sudo apt install gthumb
Or use the Software Updater (Update Manager) utility to receive package updates. Un-check other packages from the PPA if you don’t want them.
Uninstall / Restore gThumb:
You can restore to the stock version of the image viewer and organizer by purging the PPA repository. To do so, simply run command:
You may also keep the gThumb package but remove the Ubuntu PPA, since it contains many other software packages that you don’t prefer. To do so, either run command in terminal:
The GNOME image viewer and organizer app, gThumb 3.11.4 was released! PPA updated with Ubuntu 18.04, Ubuntu 20.04, Ubuntu 21.04, and upcoming Ubuntu 21.10 support.
Thanks to libheif library, the new release introduced HEIF file format support, so it can now handle photos imported from your iOS devices. Also AVIF, an image file format specification for storing images or image sequences compressed with AV1 in the HEIF file format is supported, and you can save file as AVIF.
There’s a performance improvement for browsing directory with thousands of images, so users will get a smoother experience. The file list now starts more thumbnailers in parallel, status bar has a button to show the progress dialog. And the color picker tool shows colors in two more formats: rgb in % and hsl.
Other changes include:
Allow to set shortcuts to activate filters.
Added a template editor to edit text values with special codes: script commands, rename templates, print header and footer, etc.
Allow to mount unmounted volumes.
Allow to keep browsing while executing long-running external tools.
Show the properties in a single column to save horizontal space.
Bug-fixes and translation updates.
How to Install gThumb 3.11.4 in Ubuntu:
The software lacks a repository for Ubuntu packages. Besides building from the source tarball, I’ve made the packages into the unofficial PPA for Ubuntu 18.04, Ubuntu 20.04, Ubuntu 21.04, Ubuntu 21.10, Linux Mint 20 and derivatives.
1.) Add the PPA
To add the PPA, open terminal either from the ‘show applications’ menu or by pressing Ctrl+Alt+T on keyboard. When terminal opens, run command:
sudo add-apt-repository ppa:ubuntuhandbook1/apps
2.) Install / Upgrade gThumb
You can then either upgrade the image viewer from an old version via Update Manager (Software Updater), or run command in terminal:
sudo apt install gthumb
NOTE for Linux Mint, you have to run sudo apt update to refresh package cache first.
Uninstall gThumb & the Ubuntu PPA
To remove gThumb image viewer, run command:
sudo apt remove --autoremove gthumb gthumb-data
To remove the Ubuntu PPA, either run the apt-add-repository command with --remove flag, or use Software & Updates -> Other Software.
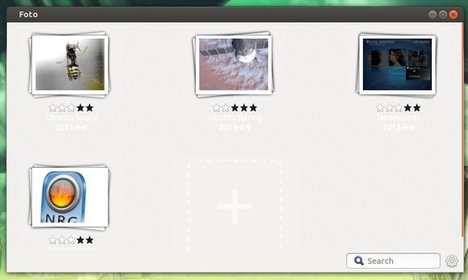
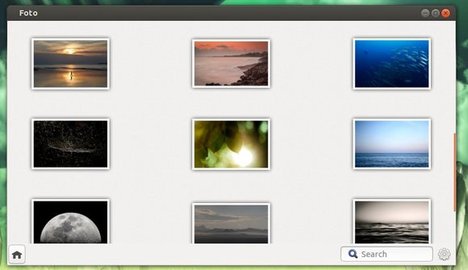
Foto is a very simple image viewer and album manager written in Vala using Gtk3, Clutter, Cairo and Granite. Here are the screenshots:
Foto is a new project, and it’s still in early development stage. If you are interested, install it in Ubuntu 13.04, Ubuntu 12.10, Ubuntu 12.04 and Linux Mint via PPA (press Ctrl+Alt+T to open terminal):