
![]()
PhotoQt is an open-source Qt based image viewer designed to be fast, simple, good looking, yet powerful and highly configurable.
This full screen image viewer features:
- Based on Qt5
- Support of many image formats (use of GraphicsMagick)
- Rotating, flipping, zooming images – no permanent changes
- Scaling images – permanent change
- Basic File Management (Renaming, Deleting, Moving, Copying)
- Keyboard and Mouse Shortcuts
- Set-as-Wallpaper function
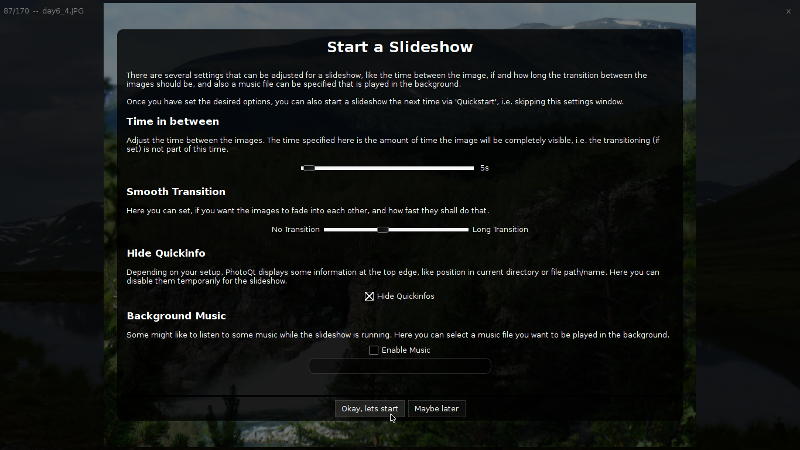
- Slideshow feature
- Exif information
- Highly Adjustable to your custom preference
- Interface that doesn’t get into your way
- Very fast and flexible
- Thumbnail Cache
- System Tray Usage
- Command Line Options
- Several translations available
- and much more…


Install PhotoQt in Ubuntu:
The most recent release PhotoQt 1.2 brings XCF and PSB/PSD support. It’s available in PPA for Ubuntu 14.10, Ubuntu 14.04 and Linux Mint 17.
To install it, open terminal from the Dash or by pressing Ctrl+Alt+T on keyboard. When it opens, do:
1. Run command to add the PPA:
sudo add-apt-repository -y ppa:samrog131/ppa
Type in your user password when it asks.
2. Update system package cache by running command:
sudo apt-get update
3. Finally install the image viewer:
sudo apt-get install photoqt
If for some reason you want to remove PhotoQt as well as the PPA repository, run below command in terminal:
sudo apt-get remove photoqt && sudo add-apt-repository -r ppa:samrog131/ppa
That’s it.


