Birdie 2.0, an open-source twitter client for Elementary OS, now is in public beta, available in daily build PPA for test.
This beta release features:
- An absolutely massive redesign
- Great new pop-out media viewer
- Automatically load more Tweets when you reach the bottom (infinite scrolling)
- A native Instagram photo viewer
- Circular avatars
- Direct Messaging with conversation views
- User account, hashtag, and link highlights
- The icons in the timeline switcher change to alert you to new mentions and messages
- Click the home button to return to the top of your timeline
- Stars are out, hearts are in
- Higher resolution images throughout
- and much more!

picture from birdie website
How to install Birdie 2.0 Beta in Freya:
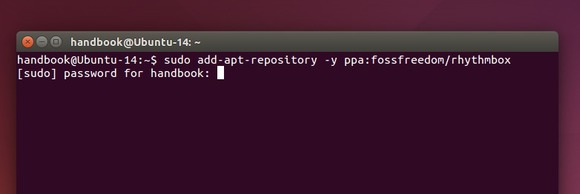
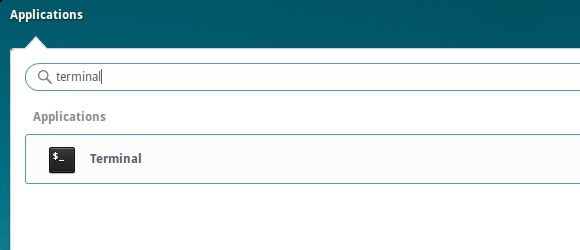
1. Launch terminal from Applications launcher:
2. Add Birdie daily build PPA by running below command in terminal:
sudo add-apt-repository ppa:birdie-team/daily
Type in your password (no visual feedback when typing) when it asks and hit Enter to continue.

3. Birdie 2.0 requires the latest version of Granite, so also add elementary OS Daily PPA for the dependencies via command:
sudo add-apt-repository ppa:elementary-os/daily
4. Finally run commands to update and install birdie, the last command will also install the latest Granite and other dependencies:
sudo apt-get update

sudo apt-get install birdie
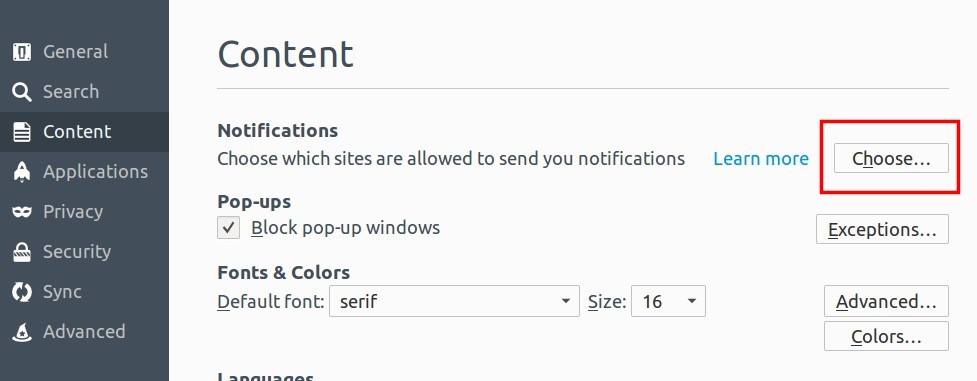
5. Since the Elementary OS daily PPA contains other unstable updates, it is recommended to remove / disable the PPA after installation.
To do so, launch Software & Updates and navigate to Other Software tab, then un-check or remove the two PPAs