Scroll down and click package links and download the xxxthumbnailer_xxx.deb packages from expanded pages (Work on Ubuntu 14.04 though they’re built against 15.04).
Finally install these three .deb packages by clicking on each of them to open with Ubuntu Software Center and click the install button.
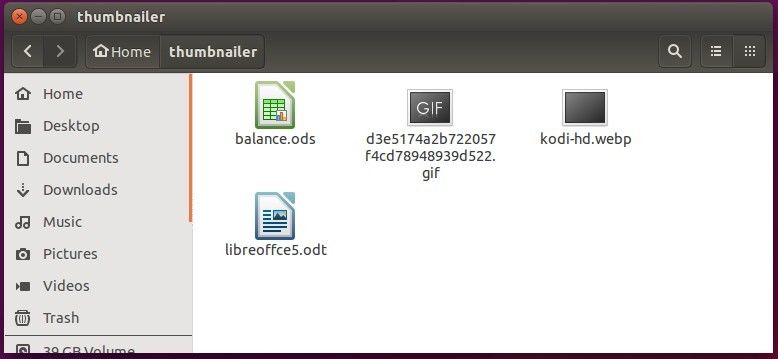
To apply changes, remove the thumbnail caches and restart Nautilus by running below commands one by one:
NOTE: This post is outdated!! Ubuntu user may follow this tutorial to install the app. And Elementary OS may just get it from app store.
Haguichi, LogMeIn Hamachi GUI for Linux desktop, has reached 1.3.0 release which is ported to GTK+ 3.x and Vala.
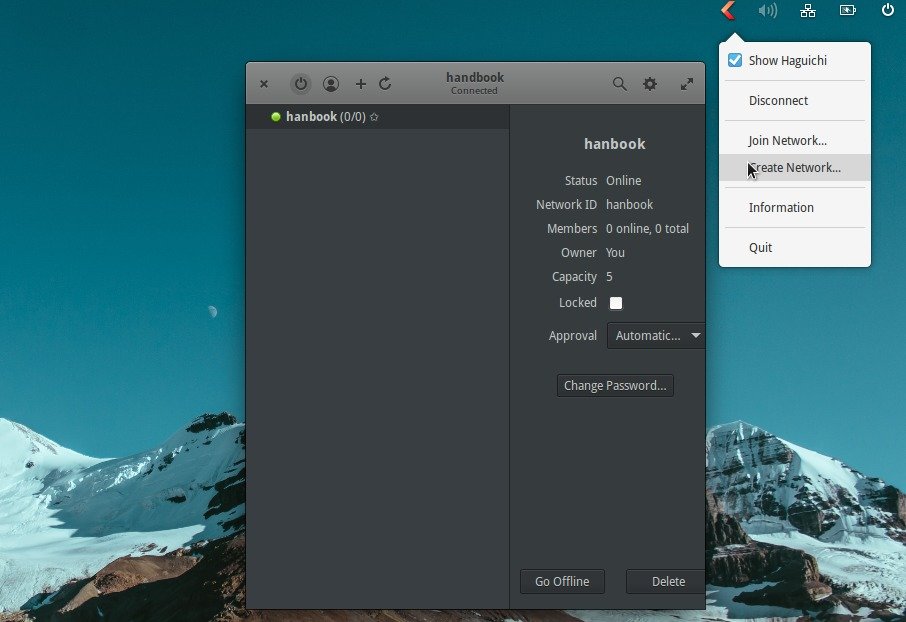
Haguichi 1.3.0 is a big release that brings a completely revamped user interface. Now it’s based on GTK+ >= 3.14 and fully ported from Mono to Vala. It also features:
New GTK headerbar (client side decorations). A classic titlebar is used on Unity, MATE, Cinnamon, etc.
Flexible Layout, the user interface now adapt dynamically to the window size
Haguichi now looks crispy as hell on HiPDI displays.
added a sidebar shows details and actions for the selected network or member.
New logo icon.
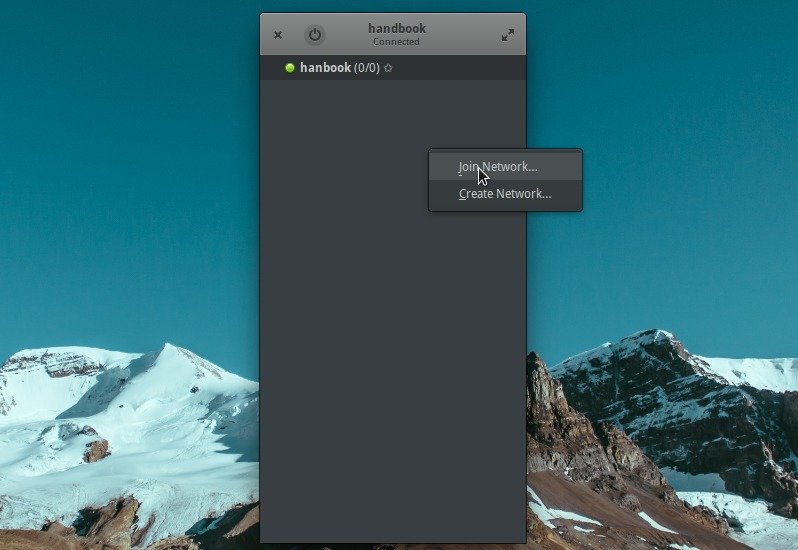
Added short text to empty network list on how to add a network.
Added symbolic application and panel icons for adwaita-icon-theme.
Commands that don’t actually exist are not shown as member action anymore.
Unicode characters are now used for ellipsis and quotation marks.
Changed autostart .desktop file installation path back to /usr/etc/xdg/autostart.
Dropped support for Hamachi version 2.1.0.81 and older.
Removed deprecated status icon.
updated translations.
How to Install Haguichi 1.3.0 in Ubuntu:
Thanks to Webupd8 Team, the new release has been made into PPA for Ubuntu 15.10 and Ubuntu 15.04. Also an old version available for Ubuntu 14.04/12.04.
1. To add the PPA, open terminal from the Dash, App Launcher, or via Ctrl+Alt+T shortcut key. When it opens, run command:
sudo add-apt-repository ppa:webupd8team/haguichi
2. After that, update system cache and install the LogMeIn Hamachi GUI via Synaptic Package Manager or by running below commands one by one:
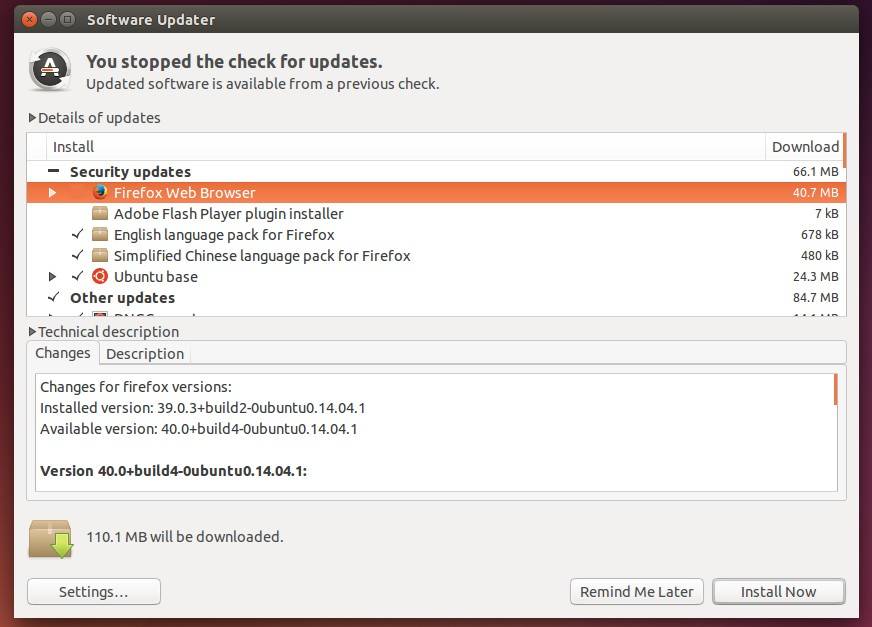
Mozilla Firefox 40 was released yesterday and available for upgrade in Ubuntu 15.10, Ubuntu 15.04, Ubuntu 14.04 and Ubuntu 12.04 repositories.
Release highlights according to the official release note:
Support for Windows 10
Added protection against unwanted software downloads
User can receive suggested tiles in the new tab page based on categories Firefox matches to browsing history (en-US only).
Hello allows adding a link to conversations to provide context on what the conversation will be about
New style for add-on manager based on the in-content preferences style
Improved scrolling, graphics, and video playback performance with off main thread compositing (GNU/Linux only)
Graphic blocklist mechanism improved: Firefox version ranges can be specified, limiting the number of devices blocked
Add-on extensions that are not signed by Mozilla will display a warning
NPAPI Plug-in performance improved via asynchronous initialization
Smoother animation and scrolling with hardware vsync (Windows only)
JPEG images use less memory when scaled and can be painted faster
Sub-resources can no longer request HTTP authentication, thus protecting users from inadvertently disclosing login data
IndexedDB transactions are now non-durable by default
Implemented AudioBufferSourceNode.detune to modulate playback rate in cents, a logarithmic unit of measure used for musical intervals
Improved Performance tools in the developer tools: Waterfall view, Call Tree view and a Flame Chart view
New rules view tooltip in the Inspector to tweak CSS Filter values
Console API messages from SharedWorker and ServiceWorker are now displayed in web console
New page ruler highlighting tool that displays lightweight horizontal and vertical rules on a page
Inspector now searches across all content frames in a page
Fix that Kannada text does not display properly in built-in pdf viewer
security fixes.
How to upgrade:
The packages has been made into Ubuntu updates and security repositories. Just search for and launch Software Updater and install the updates after checking for updates:
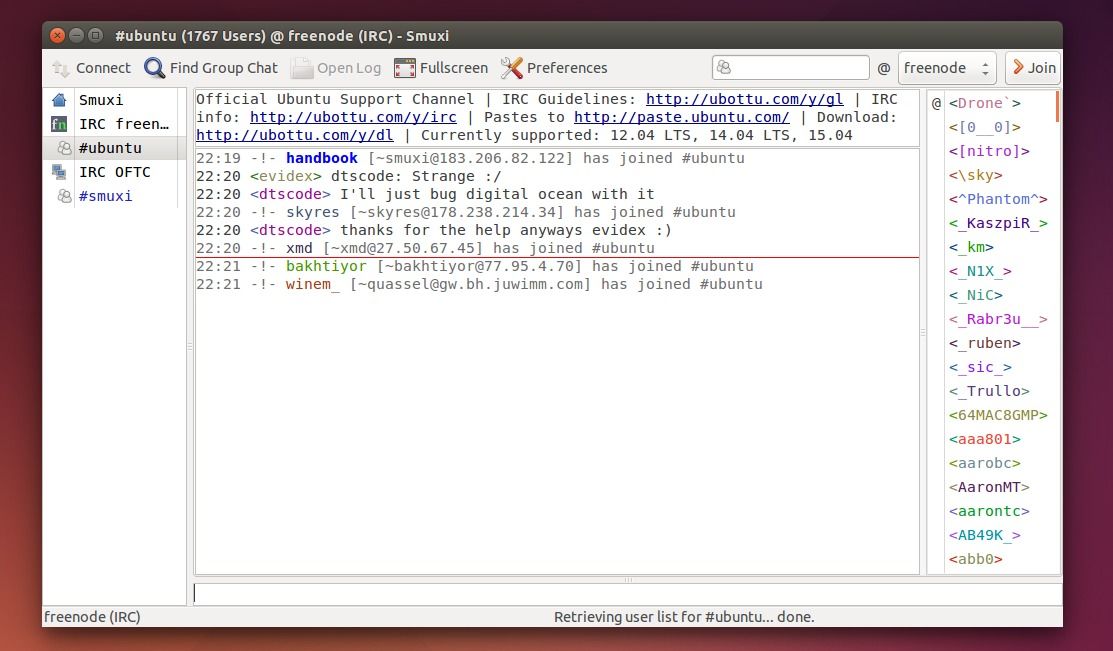
Smuxi IRC client finally reached the 1.0 release. Here’s how to install or upgrade it in Ubuntu 15.04, Ubuntu 14.04, Ubuntu 12.04 and derivatives, e.g., Linux Mint 13/17.x, Elementary OS Freya and Luna.
Smuxi is an open-source, distributed and user-friendly IRC / Twitter / XMPP / Campfire / JabbR client for Linux, Windows and Mac OS X based on GNOME / GTK+.
The 1.0 release was announced recently when it’s 10 years old and features:
Message Persistence – messages sent and received are now stored on the disk in a way they can automatically be retrieved/loaded when you restart Smuxi.
new command line tool smuxi-message-buffer allows to convert and export the message history.
4 new plugins:
topic-diff: Shows the word differences of the topic after topic changes. (meebey)
away-nick: Automatically appends and removes $AWAY_SUFFIX to/from the nick name when you go away using the /away command or by disconnecting all frontends from the smuxi-server. (meebey)
system-info: Shows system info. Includes system kernel version, distro name, and CPU vendor information. (AK0)
now-playing: This plugin is not new but was rewritten in Python to get rid of the spaghetti code monster which was written in Bash. (jamesaxl)
UI, text frontend, twitter and other enhancements. See details
Install/Upgrade Smuxi in Ubuntu:
1. Open terminal from the Dash, App Launcher, or via Ctrl+Alt+T shortcut keys. When it opens, run command to add its stable PPA:
sudo add-apt-repository ppa:meebey/smuxi-stable
2. If you have an old version installed on your system, just launch Software Updater/Update Manager and upgrade the software after checking for updates.
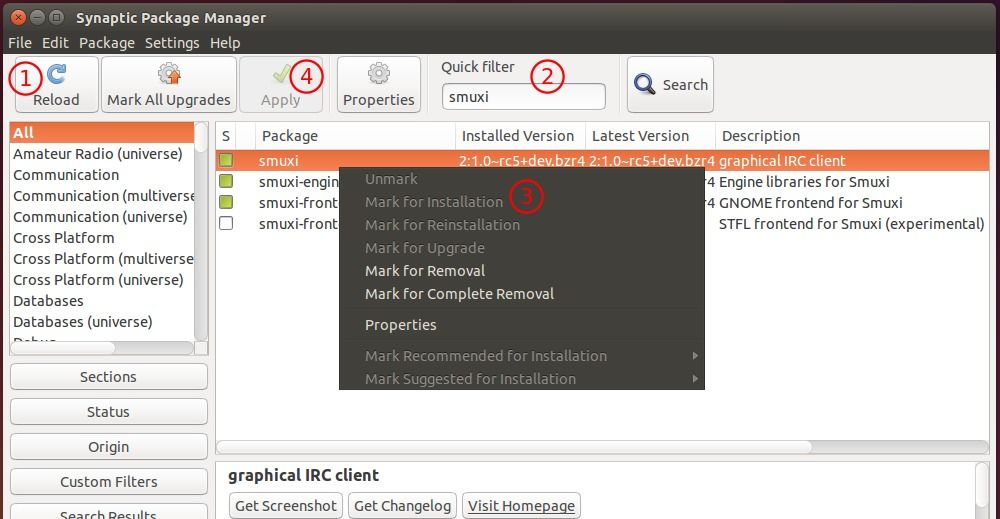
Or use Synaptic Package Manager (available in Software Center) to check for updates and install Smuxi 1.0:
For those who are familiar with command line, just run below commands one by one:
digiKam Software Collection 4.12.0 has been released recently with a huge bugs fixed. KDE Frameworks 5 port is planed to be completed before end of this year.
Philip Johnsson is maintaining PPAs with latest digiKam packages for current Ubuntu releases (e.g., Ubuntu 14.04, Ubuntu 15.04). It’s easy to install or upgrade the software in supported Ubuntu releases via below steps:
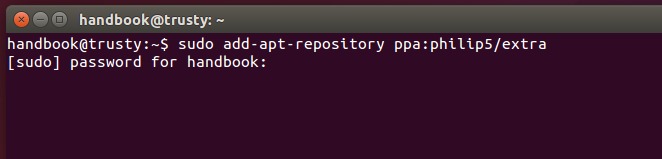
1. For (K)Ubuntu 15.04 and (K)Ubuntu 14.04 with default KDE, open terminal emulator from app launcher and run below command to add PPA:
sudo add-apt-repository ppa:philip5/extra
2. For (K)Ubuntu 14.04 who has upgrade to KDE 4.14 via Kubuntu Backports PPA, add another PPA instead:
3. After adding one of previous PPAs, upgrade digiKam through your package manager after reload system cache. Or run below commands one by one in terminal:
sudo apt-get update

sudo apt-get install digikam
4. (Optional) To downgrade digiKam to the default version available in system repository, install ppa-purge and purge the PPA:
Variety wallpaper changer sees a new release. Here’s how to install it in Ubuntu 15.10, Ubuntu 15.04 and their derivatives.
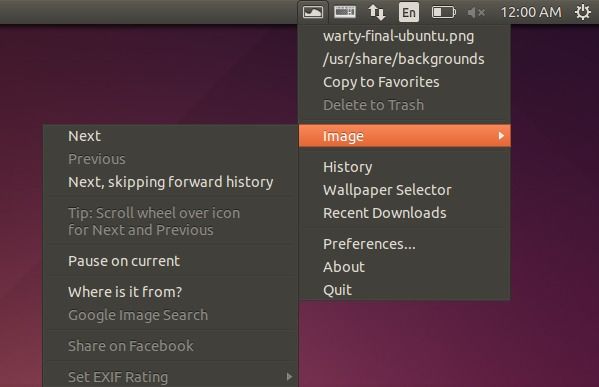
Variety is an automatic wallpaper changer that rotates your desktop wallpaper on a regular basis using local images or images downloaded from various online sources. It runs quietly on the background. To control it, use the indicator applet on the system tray.
variety wallpaper changer indicator on panel
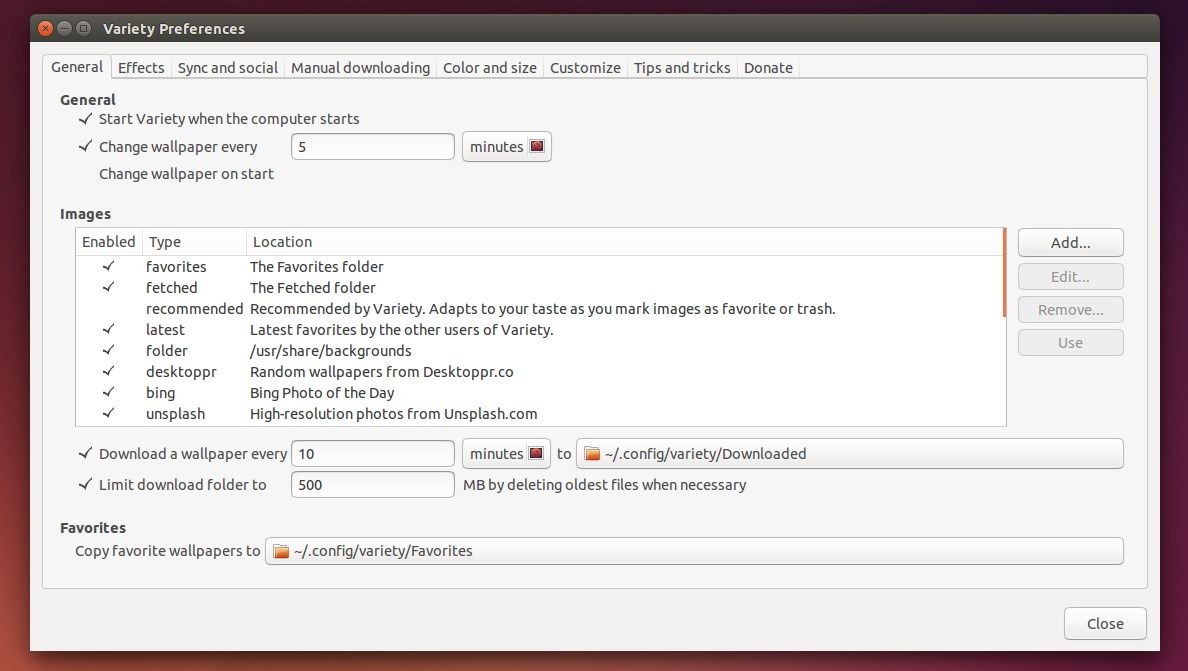
variety wallpaper changer settings window
The latest Variety 0.5.4 was released a few days ago with UI fixes, dependency updates, and some other improvements.
Since the default Unity desktop doesn’t provide a built-in wallpaper changer, you may try Variety in Ubuntu via below steps:
1. Add the deverloper’s PPA. Open terminal from the Dash or via Ctrl+ALt+T shortcut keys. When it opens, run command:
sudo add-apt-repository ppa:peterlevi/ppa
2. Then you can search for and install variety package via Synaptic Package Manager after clicking Reload button.
Or just run below commands one by one in terminal to refresh system package cache and install the package:
sudo apt-get update

sudo apt-get install variety
For those who don’t want to add PPA, grab the .deb installer from launchpad page.
3 (Optional) To remove this application, use Synaptic Package Manager or run below command in terminal:
sudo apt-get remove variety
Also remove/disable PPA through “Other Software” tab of the “Software & Updates” utility (search it from the Dash).
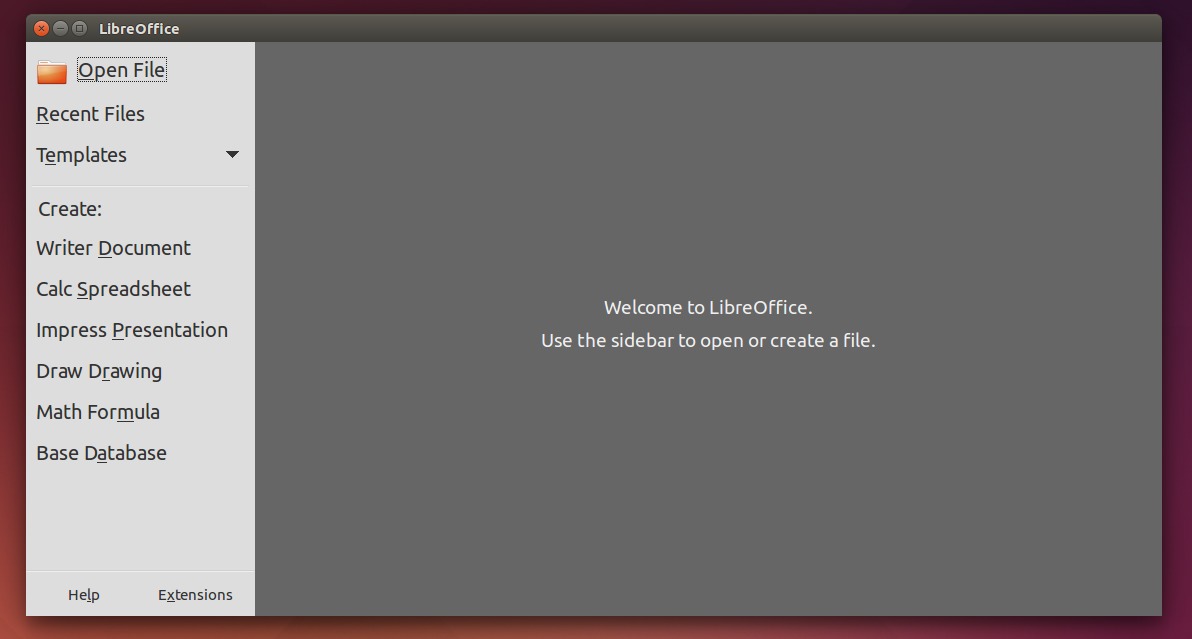
The Document Foundation finally announced the release of LibreOffice 5.0 and updated its PPA for Ubuntu 15.10, Ubuntu 15.04, Ubuntu 14.04, Ubuntu 12.04, and derivatives (e.g., Linux Mint 13/17, Elementary OS Freya/Luna).
What’s New in LibreOffice 5.0:
Below are the descriptions from its new features page. For more, see the release note.
LibreOffice 5.0 ships an impressive number of new features for its spreadsheet module, Calc: complex formulae image cropping, new functions, more powerful conditional formatting, table addressing and much more. Calc’s blend of performance and features makes it an enterprise-ready, heavy duty spreadsheet application capable of handling all kinds of workload for an impressive range of use cases.
New icons, major improvements to menus and sidebar: no other LibreOffice version has looked that good and helped you be creative and get things done the right way. In addition, style management is now more intuitive thanks to the visualization of styles right in the interface.
LibreOffice 5 ships with numerous improvements to document import and export filters for MS Office, PDF, RTF, and more. You can now timestamp PDF documents generated with LibreOffice and enjoy enhanced document conversion fidelity all around.
How to upgrade to LibreOffice:
For all current Ubuntu releases and based systems, the best way is to upgrade LibreOffice 5.0 through the official PPA.
1. Open terminal from the Dash, Launcher, or via Ctrl+Alt+T shortcut keys. When it opens, run command to add PPA:
sudo add-apt-repository -y ppa:libreoffice/ppa
2. After that, open Software Updater/Update Manager and install all updates for LibreOffice after checking for updates, though the new packages named with ~rc5:
As the PPA description says “This PPA might contain the release candidate that is assumed to become the final release even before it is declared so by the Document Foundation (e.g. usually release candidate 2 for minor updates).”
Or you can run below commands to do the upgrade process after adding the PPA:
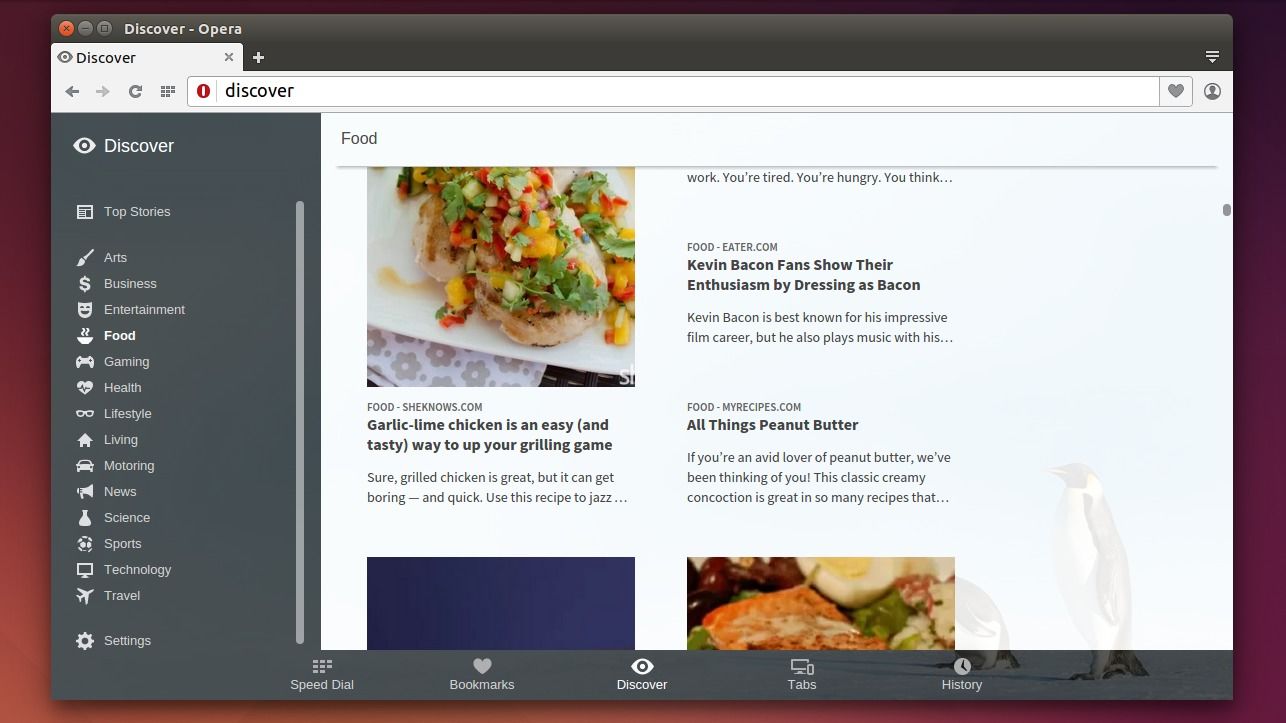
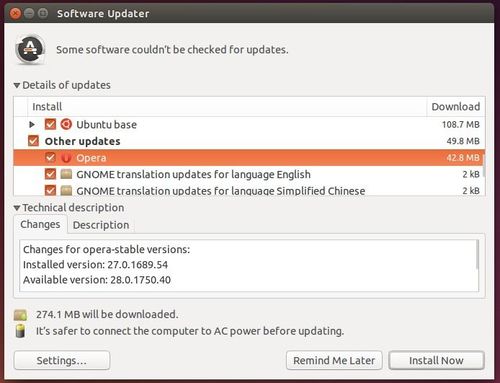
The 31 release of Opera web browser has been announced today with big improvement on its start up time.
According to the release note, Opera for desktops now starts up to 70% faster in comparison to previous versions, which is especially important and helpful for devices with slower, traditional hard drives.
Opera 31 also has redesigned pages so everything looks nice and modern.
How to install/upgrade to Opera 31:
If you have a previous version installed on your system and agreed to add Opera for Linux repository when you were installing the browser, just run Software Updater to upgrade Opera to the latest.
old opera upgrade picture
Or you can directly download the .deb installer from its Linux download page:
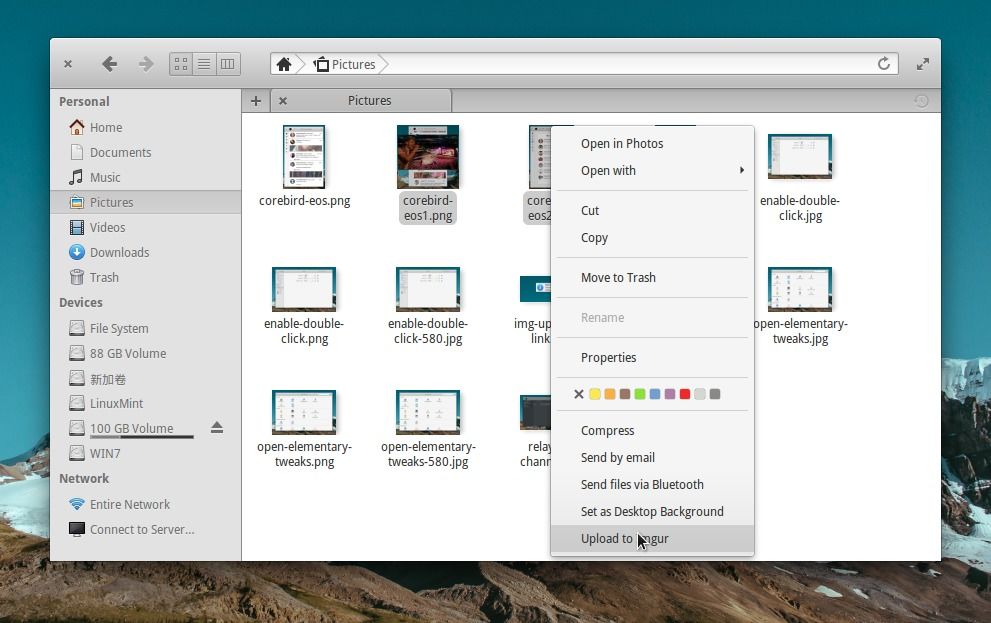
This tutorial shows how to upload your images to Imgur hosting service easily through files’ right-click context menu in Elementary OS Freya and share the image link with your friends.
Thanks to Stefan Ric (cybre) who wrote a plugin for Pantheon file browser to make uploading to Imgur easier in Elementary OS.
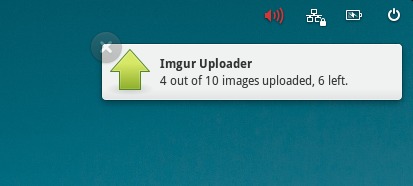
All you need to do is right click on your image file or files and select Upload to Imgur option. After that, system notifications pop up with uploading process:
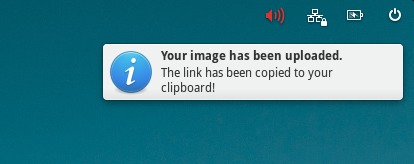
Once done, it prompts that the image link has been copied to your clipboard.
To install Imgur uploader plugin:
Just open terminal from the application launcher and run below commands one by one to install it from developer’s PPA:
The second alpha of Ubuntu 15.10 Wily Werewolf has been released yesterday afternoon, features images for Kubuntu, Lubuntu, Ubuntu MATE, UbuntuKylin and the Ubuntu Cloud images.
Alpha 2 includes a number of software updates that are ready for wider testing. It’s based on Linux Kernel 4.1:
Kubuntu 15.10 Alpha 2: Plasma 5.3 desktop and KDE Applications 15.04.1.
LXQt is still in development, Lubuntu 15.10 Alpha 1 is set to be another bug fix release.
Ubuntu MATE 15.10 Alpha 1 added new wallpapers, Ubuntu MATE Welcome 1.0.1, updated boot splash and Mate Tweak 3.5.0.
For Ubuntu flavor developers and those who want to help in testing, reporting and fixing bugs, download Ubuntu 15.10 Alpha 2: