Ubuntu 14.10 Utopic Unicorn finally reached the end of its life on July 23, 2015. No more package updates will be accepted to 14.10. That means 14.10 users won’t get latest software (e.g, Firefox, Thunderbird), security notices/fixes through Software Updater. And Launchpad PPAs will no longer update for 14.10.
Ubuntu 14.10 was released 9 months ago, on October 23, 2014. As a non-LTS release, it has a 9-month month support cycle and, as such, the support reached the end of life on last Thursday. Users of Ubuntu 14.10 may upgrade to Ubuntu 15.04 (ends on January 2016), or install Ubuntu 14.04 LTS which has a 5-year support (until 2019).
Oracle finally made the Virtualbox binary packages for Ubuntu 14.10 Utopic available in its official Linux repository. Which means running regular system updates via Software Updater will keep your Virtualbox release always up-to-date.
While Ubuntu 14.10 repositories provide the Virtualbox 4.3.18, the latest has reached the version 4.3.20. For the changelog, see the web page.
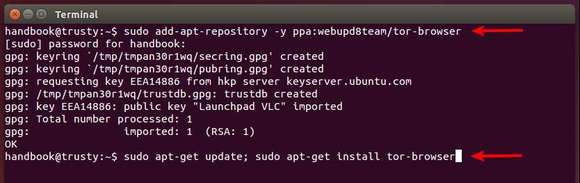
How to Add Virtualbox Repository in Ubuntu:
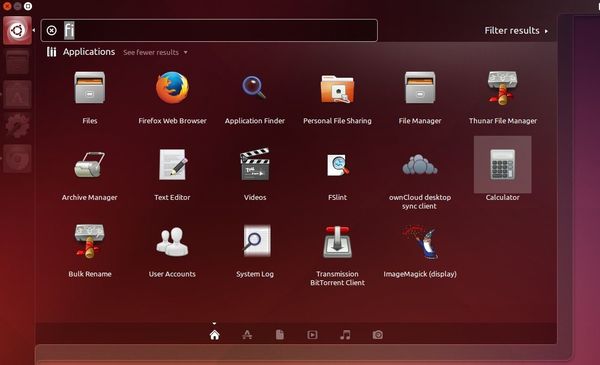
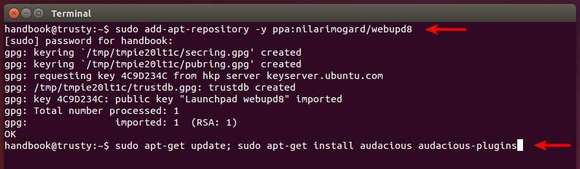
Open terminal from the Unity Dash or just press Ctrl+Alt+T on keyboard. When it opens, paste the command below into terminal and run to get the key:
This quick tutorial shows how to improve your Ubuntu experience by speeding up the Unity Dash (search utility) response in Ubuntu 14.10 or Ubuntu 14.04.
1. Remove undesired search results
By default, the Dash displays Unity lens, scopes, Amazon online search results, and records file and application usage. You can disable some of them via below tips:
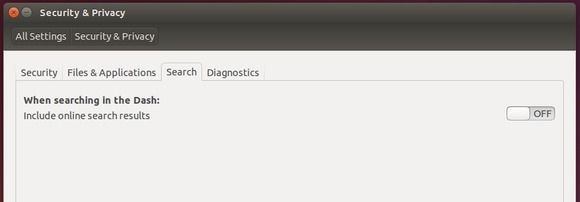
Disable online search results:
Launch System Settings and go to Security & Privacy, under “Search” tab turn off the switch which says “When searching in the Dash: include online search results”
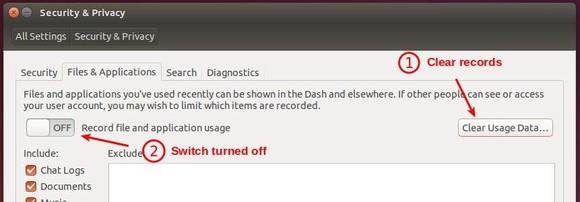
Stop recording file and app usage:
Also launch System Settings and go to Security & Privacy, under “Files & Applications” tab first clear records and then turn off the switch:
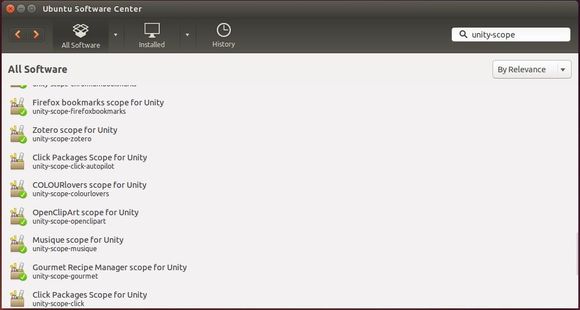
Remove unwanted Unity lens, scopes:
Open Ubuntu Software Center and search for unity-scope. In the results, check the information of installed scopes and remove the scopes you don’t need.
Do same to Unity lens by searching unity-lens.
2. Reduce Graphics Settings.
First click the link below to bring up Ubuntu Software Center and click install Compiz Config Settings Manager.
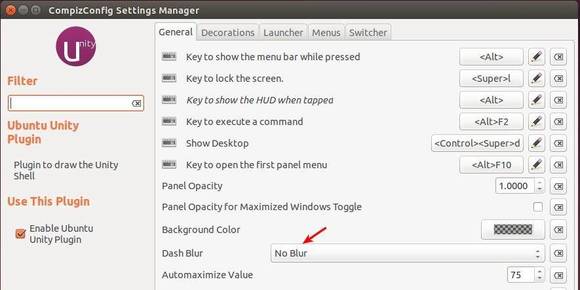
Then launch CCSM from the Unity Dash and do below changes:
Go to Ubuntu Unity Plugin page under the Desktop category. Select No Blur from the drop-down box for Dash Blur.
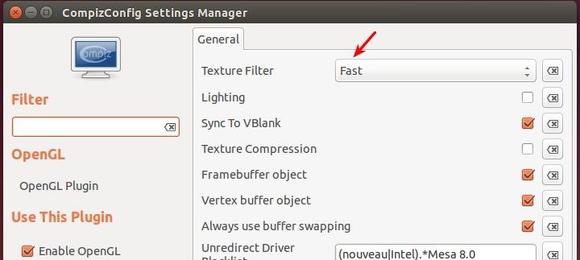
Go back and then go to OpenGL settings page under General category. Select Fast from the drop-down box for Texture Filter.
Note that this change would affect the whole Ubuntu System graphics and not Unity alone.
To apply all the changes, restart your computer. Enjoy!
Ubuntu 14.10 Utopic Unicorn and its flavors including the newest Kubuntu, Lubuntu, Ubuntu Gnome, Xubuntu, Ubuntu Kylin, and Ubuntu Studio were officially released today.
According to the release note, there have been updates to many core packages, including a new 3.16-based kernel, a new AppArmor with fine-grained socket control, and more.
Ubuntu Desktop has seen incremental improvements, with newer versions of GTK and Qt, updates to major packages like Firefox and LibreOffice, and improvements to Unity, including improved High-DPI display support.
Ubuntu Server 14.10 includes the Juno release of OpenStack, alongside deployment and management tools that save devops teams time when deploying distributed applications – whether on private clouds, public clouds, x86 or ARM servers, or on developer laptops. Several key server technologies, from MAAS to Ceph, have been updated to new upstream versions with a variety of new features.
Kubuntu 14.10:
Kubuntu 14.10 comes in two flavours, the stable Plasma 4 running the desktop we know from previous releases, and a tech preview of the next generation Plasma 5 for early adopters.
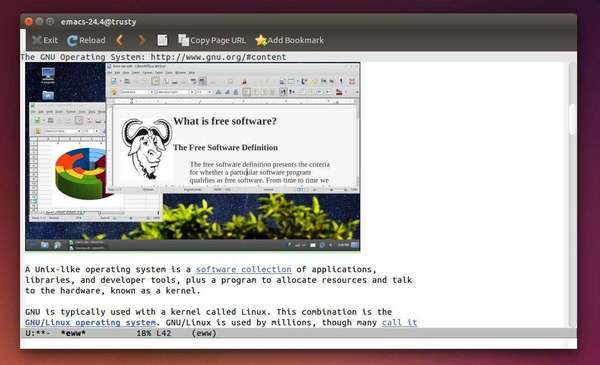
GNU Emacs has finally reached version 24.4 with many new features and improvements. The most notable is that the text editor brings a built-in web browser.
GNU Emacs is the most popular and most ported Emacs text editor, and it was created by Richard Stallman for the GNU Project.
The latest release Emacs 24.4 was released a few hours ago. The new release features:
A built-in web browser (M-x eww)
Improved multi-monitor and fullscreen support
“Electric” indentation is enabled by default
Support for saving and restoring the state of frames and windows
Emacs Lisp packages can now be digitally signed
A new “advice” mechanism for Emacs Lisp
File notification support
Pixel-based resizing for frames and windows
Support for menus in text terminals
A new rectangular mark mode (C-x SPC)
How to Install Emacs 24.4 in Ubuntu:
At the moment of writing this tutorial, there’s no PPA repository that contains Emacs 24.4. Fortunately, it’s not hard to build it from the source tarball. I’ve done it successfully in 64-bit Ubuntu 14.04 LTS. Below steps will show you how:
1. If have the old Emacs 24.3 installed, you may first remove it from Ubuntu Software Center so that you can install the new version over it.
2. Press Ctrl+Alt+T on keyboard to open terminal, or open it from the Unity Dash.
3. Run command below to install the build-essential:
sudo apt-get install build-essential
4. Install the required dependencies:
sudo apt-get build-dep emacs
While the installing process, you’ll be asked to configure the Postfix.
5. Now download Emacs 24.4 from its official FTP download page.
6. Extract the source and go into the result folder in terminal:
cd ~/Downloads && tar -xf emacs-24.4.tar.* && cd emacs-24.4
7. Finally compile the package by running commands below one by one.
./configure

make

sudo make install
Once done, you should be able to launch Emacs by running emacs or emacs-24.4 in terminal and lock the shortcut to the Unity Launcher.
To create a launcher for Emacs 24.4. Thanks to Emad Khoury, run command to create a .desktop file and edit it with Gedit text editor:
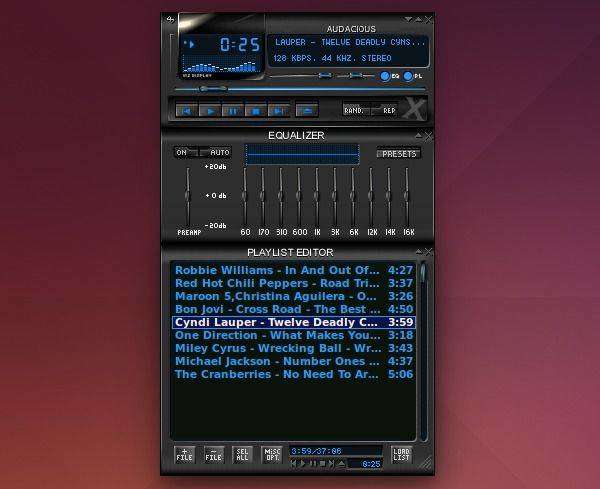
Audacious, the default audio player in Lubuntu, has just reached version 3.5.2 with updated translations and a few bug fixes.
Audacious is a free and open source audio player with a focus on low resource usage, high audio quality, and support for a wide range of audio formats. It contains built-in gapless playback and supports plugins and Winamp 2 skins.
Audacious GTK interface
Audacious Winamp Skin
Audacious 3.5.2 is the final release in 3.5 series. The developers are now working hard on Audacious 3.6. Bug fixes in v3.5.2:
Installing Minecraft in Ubuntu is quite easy. All we need to do is install Java, download and run the .jar executable from its official website.
1.) To get better game experience, you may first install graphics driver for your video card:
For Intel graphics, you’re good to go with the default open-source driver.
For NVIDIA or AMD graphics, it’s better to use a proprietary video driver. Open Additional Drivers utility from the Unity Dash, select the NVIDIA or AMD driver from the list and install it.
2.) For Java, you can either install OpenJDK Java 7 from Ubuntu Software Center or install Oracle Java from PPA.
To install OpenJDK Java 7, click the button below to bring up Ubuntu Software Center and click the install button.
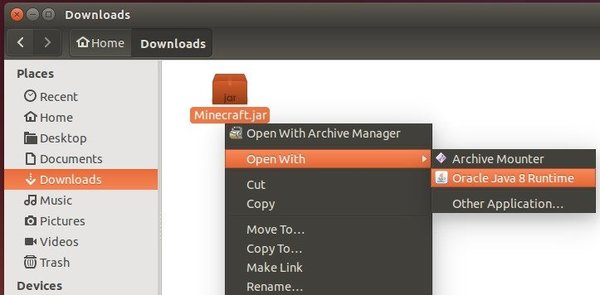
To install Oracle Java, see this post or just run commands below one by one in terminal:
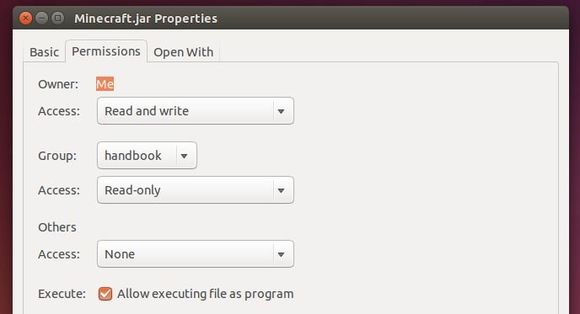
To do so, right-click on the file in Nautilus browser and go to its Properties windows -> Permissions tab and finally check the box where it says “Allow executing file as program”.
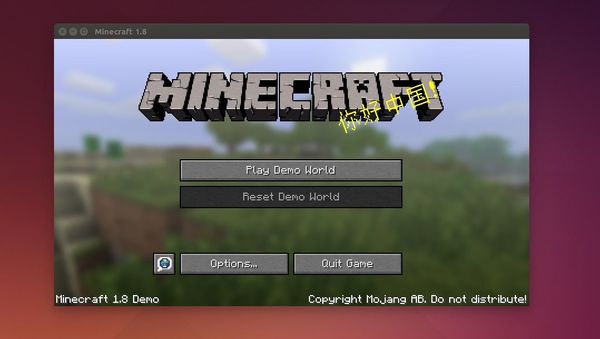
5.) Finally start the Minecraft Launcher:
When the launcher opens, log-in with your account and click the Play button. After downloading required packages, you’re finally able to play the game:
This quick tutorial shows you how to easily create applications shortcut icons on your Ubuntu’s default Unity Desktop.
Due to permission issue, it’s not possible to drag and drop application shortcuts from the Unity Dash to the Desktop. You will get below error dialog when trying to do so:
As a workaround we can directly copy and paste the application shortcuts from /usr/share/applications directory into desktop.
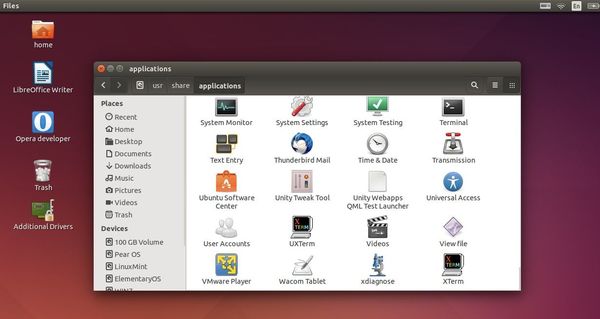
1.) Open “Files”, Nautilus file browser, from the left Launcher and navigate to Computer (left panel) / usr / share / applications.
You will see all the applications’ icons there.
2.) Select one or more icons and press Ctrl+C to copy it/them. Then click on blank area of your desktop and press Ctrl+V to paste the icon(s). Note that drop and drop won’t work
That’s it, just so easy!
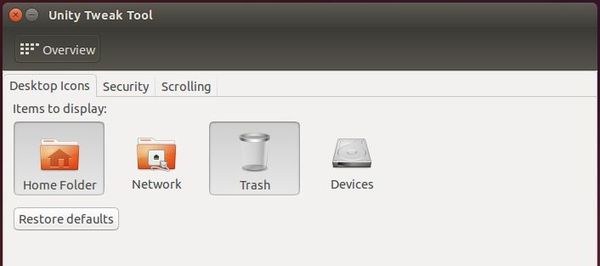
3.) For those who want to place Home, Network, Trash, and Devices icons on desktop, open Unity Tweak Tool (available in Ubuntu Software Center) from the Unity Dash and enable them from Desktop Icons utility.
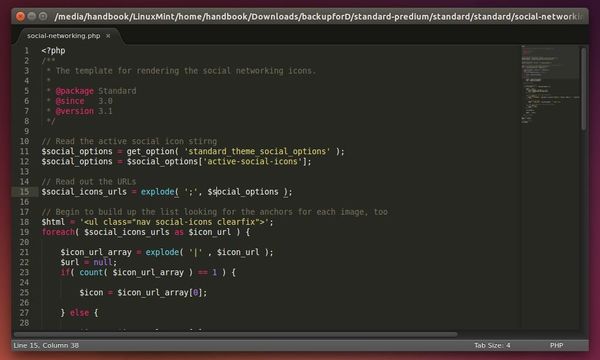
Quick tutorial to install Sublime Text 2 stable, so far its 2.0.2, or Sublime Text 3 Beta in Ubuntu 14.10 Utopic Unicorn.
Sublime Text is a close-source text and code source editor with an Python API. It may be downloaded and evaluated for free, however a license must be purchased for continued use.
For the features and supported languages, see the wikipedia page.
Sublime Text 2 in Ubuntu 14.10
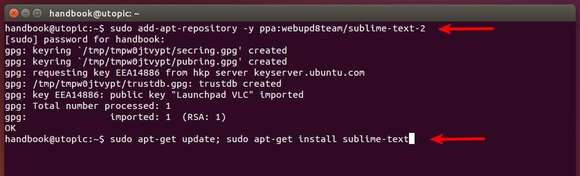
Install Sublime Text in Ubuntu:
Thanks to WebUpd8 Team, an installer has been made into PPA that automatically downloads the stable or beta release of Sublime Text from its official site and installs it on your system.
Press Ctrl+Alt+T on keyboard to open the terminal. When it opens, run below commands one by one: