![]()
Rhythmbox, Gnome’s default music player, has reached the 3.3.1 release with a few improvements, bug fixes, and translation updates.
According to the changelog, Rhythmbox 3.3.1 features:
- Better handling of locked Android devices
- Simplified ReplayGain processing that might crash less
- Switched to webkit2 API, except for the context plugin which is disabled
- Notifications behave better when actions aren’t available
And a few reported bugs has been solved in this release:
- Rhythmbox segfaults when trying to access Android 4.0 MTP device already mounted by Nautilus
- Rhythmbox crashes when trying to access Android device.
- Port to WebKit2
- CD playing with cross fading on crashes rhythmbox
- Display notifications about playing song when pausing
- RhythmDB-CRITICAL **: rhythmdb_entry_get_entry_type: assertion ‘entry != NULL’ failed
- Gtk-WARNING **: Drawing a gadget with negative dimensions. Did you forget to allocate a size? (node grid owner RBHeader)
- Rework logic of Python support option
How to Install/upgrade Rhythmbox 3.3.1 in Ubuntu:
Besides building from the source, fossfreedom is maintaining a PPA to make it easy to install the latest Rhythmbox music player for all current Ubuntu releases.
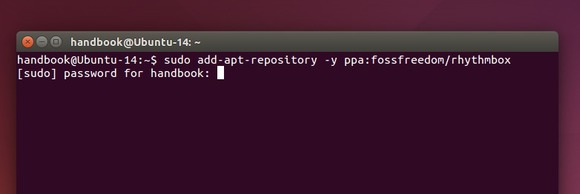
1. Launch terminal (Ctrl+Alt+T) and run below command to add PPA:
sudo add-apt-repository ppa:fossfreedom/rhythmbox
Type in your password (no visual feedback just type in mind) when it asks and hit Enter to continue.
2. After that, launch Software Updater and install updates for Rhythmbox, or just run below commands one by one in terminal:
sudo apt-get update

sudo apt-get install rhythmbox
3. (Optional) To downgrade to the stock version of Rhythmbox in your Ubuntu release, use ppa-purge:
sudo apt-get install ppa-purge

sudo ppa-purge ppa:fossfreedom/rhythmbox