![]()
Whisker Menu, the default application menu for Linux Mint Xfce edition, has reached the 1.5 release with some new features and bug fixes.
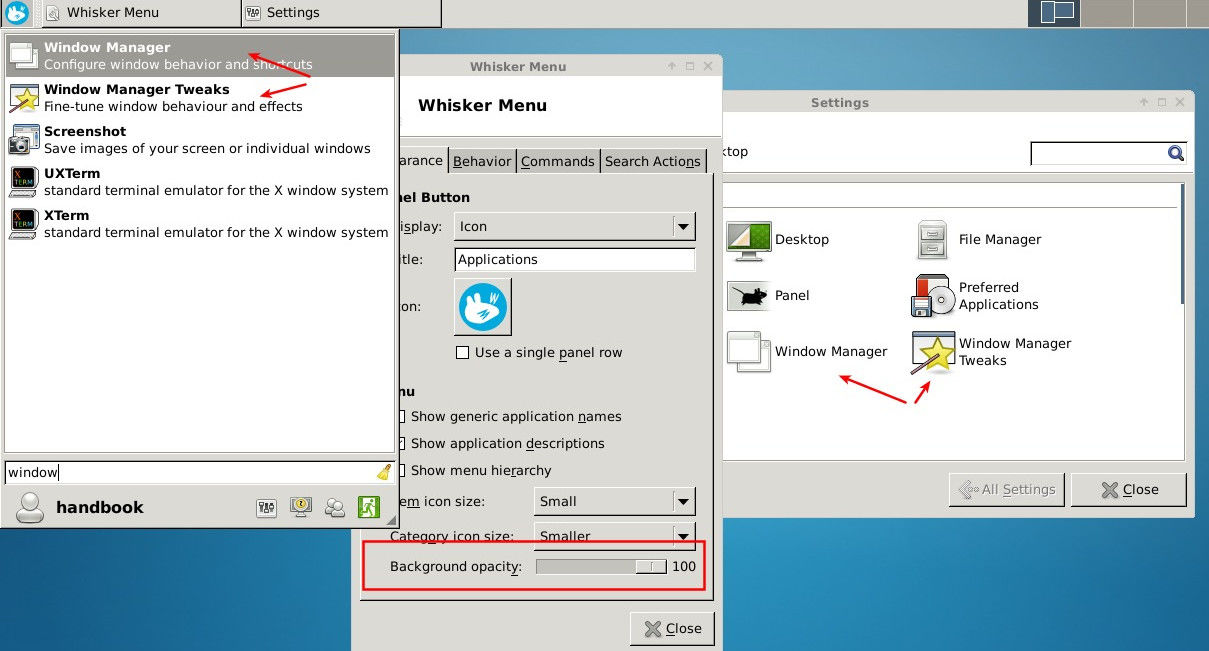
According to the release note, Whisker Menu 1.5 adds an option to set background opacity and allows searching Xfce settings manager items.
There are also a few bug fixes, UI improvements and translations updates. See the full changes:
- Fix search activation to allow input methods (bug #11271)
- Fix broken menu when closed by window manager (bug #11287)
- Fix unnecessary assignment to NULL
- Fix possible null pointer dereference
- Add option to set background opacity
- Add command to edit profile
- Add profile picture
- Add customizable limit for recently used
- Add support for non-square panel button icon
- Add items of Xfce settings manager to allow searching
- Expand subcategories when activated
- Load default settings from XDG location
- Make launchers executable when they are added to desktop
- Rearrange options in configuration dialog
- Refactor list page code
- Rename option for including favorites in recently used
- Rename option to use single panel row
- Rename button to match default menu applet
- Use a single instance of the garcon menu
- Translation updates: Bulgarian, Catalan, Dutch, French, German, Hebrew, Italian, Japanese, Lithuanian, Polish, Portuguese, Slovak, Slovenian, Spanish, Swedish, Turkish, Chinese (Taiwan)
How to Install/Upgrade Whisker Menu:
For Linux Mint 17.1 (or 17), (X)Ubuntu 12.04, (X)Ubuntu 14.04, and later, this software and future updates are available in the developer’s PPA.
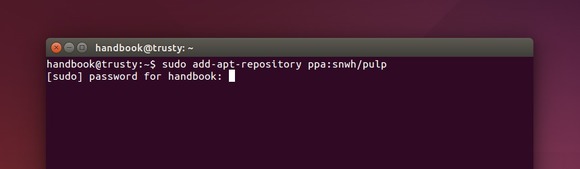
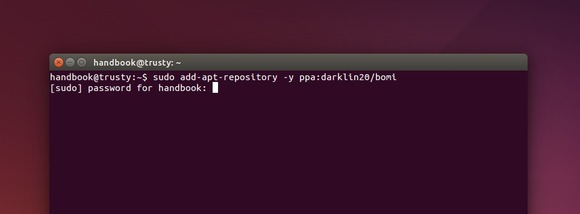
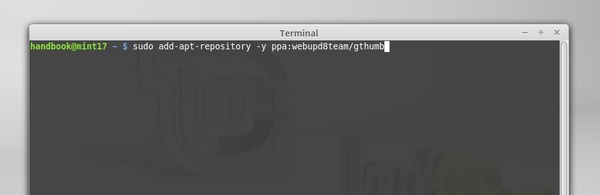
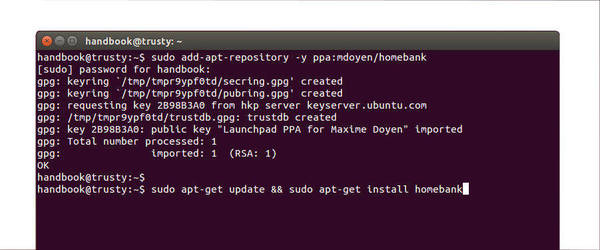
To add the PPA, open terminal and run command:
sudo add-apt-repository ppa:gottcode/gcppa

Then update your system package cache and install/upgrade the app via below 2 commands:
sudo apt-get update

sudo apt-get install xfce4-whiskermenu-plugin
If you’re first time using this app launcher, you have to manually add it to panel from panel preferences -> panel items.