![]()
HPLIP, the HP developed Linux driver for HP printers and Scanners, released version 3.23.5 this Monday!
The new release features many new HP devices support. They are:
- HP Color LaserJet Enterprise 6700dn / 6700
- HP Color LaserJet Enterprise 6701dn / 6701
- HP Color LaserJet Enterprise X654dn / X654
- HP Color LaserJet Enterprise X65455dn / X65465dn
- HP Color LaserJet Enterprise X654 65 PPM
- HP Color LaserJet Enterprise X654 55 to 65ppm License
- HP Color LaserJet Enterprise X654 Down License
- HP Color LaserJet Enterprise MFP 6800dn
- HP Color LaserJet Enterprise Flow MFP 6800zf / 6800zfsw / 6800zfw+
- HP Color LaserJet Enterprise MFP 6800 / 6801 / 6801 zfsw
- HP Color LaserJet Enterprise Flow MFP 6801zfw+
- HP Color LaserJet Enterprise MFP X677 55 to 65ppm License
- HP Color LaserJet Enterprise MFP X677 65ppm
- HP Color LaserJet Enterprise Flow MFP X677z
- HP Color LaserJet Enterprise MFP X67765dn / X67755dn
- HP Color LaserJet Enterprise Flow MFP X67765zs / X67765z+
- HP Color LaserJet Enterprise MFP X677 / X677s
- HP Color LaserJet Enterprise Flow MFP X67755zs / X67755z+
- HP Color LaserJet Enterprise MFP X677dn
- HP Color LaserJet Enterprise Flow MFP X677zs / X677z+
- HP Color LaserJet Enterprise 5700dn / 5700
- HP Color LaserJet Enterprise X55745dn / X55745
- HP Color LaserJet Enterprise MFP 5800dn / 5800f / 5800
- HP Color LaserJet Enterprise Flow MFP 5800zf
- HP Color LaserJet Enterprise MFP X57945 / X57945dn
- HP Color LaserJet Enterprise Flow MFP X57945zs / X57945z
How to Install HPLIP 3.23.5 in Ubuntu Linux
HPLIP offers official .run installer available to download at the link below:
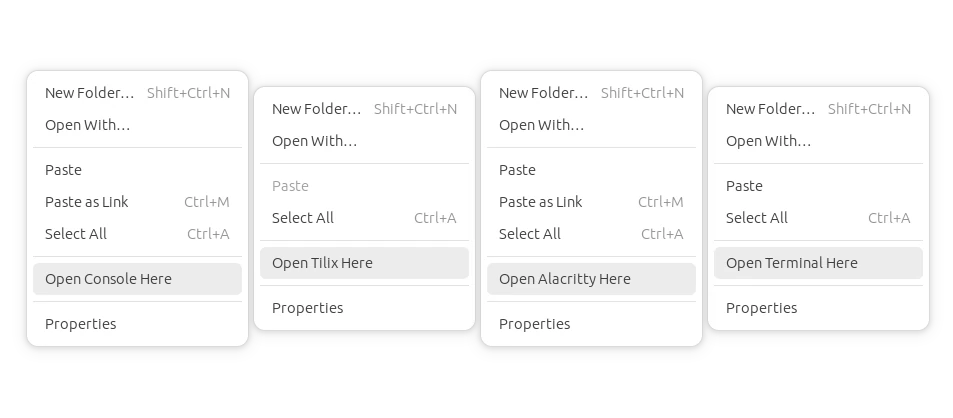
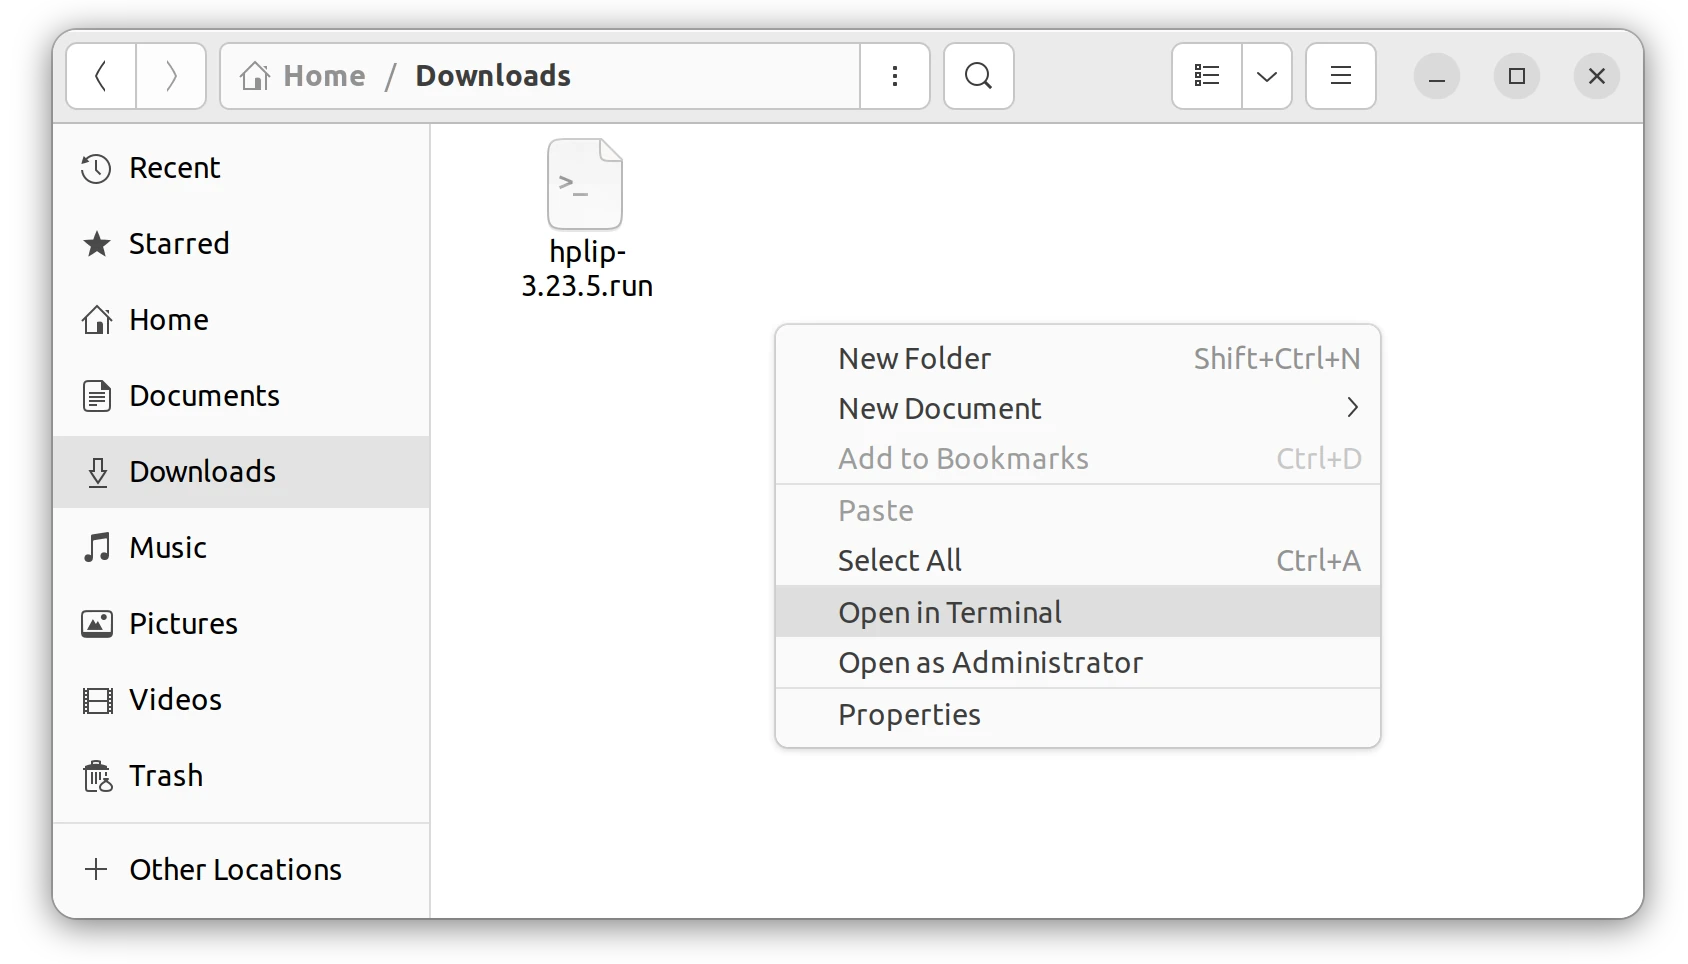
Once you downloaded the file, right-click on blank area in ‘Downloads’ folder and select “Open in Terminal”.
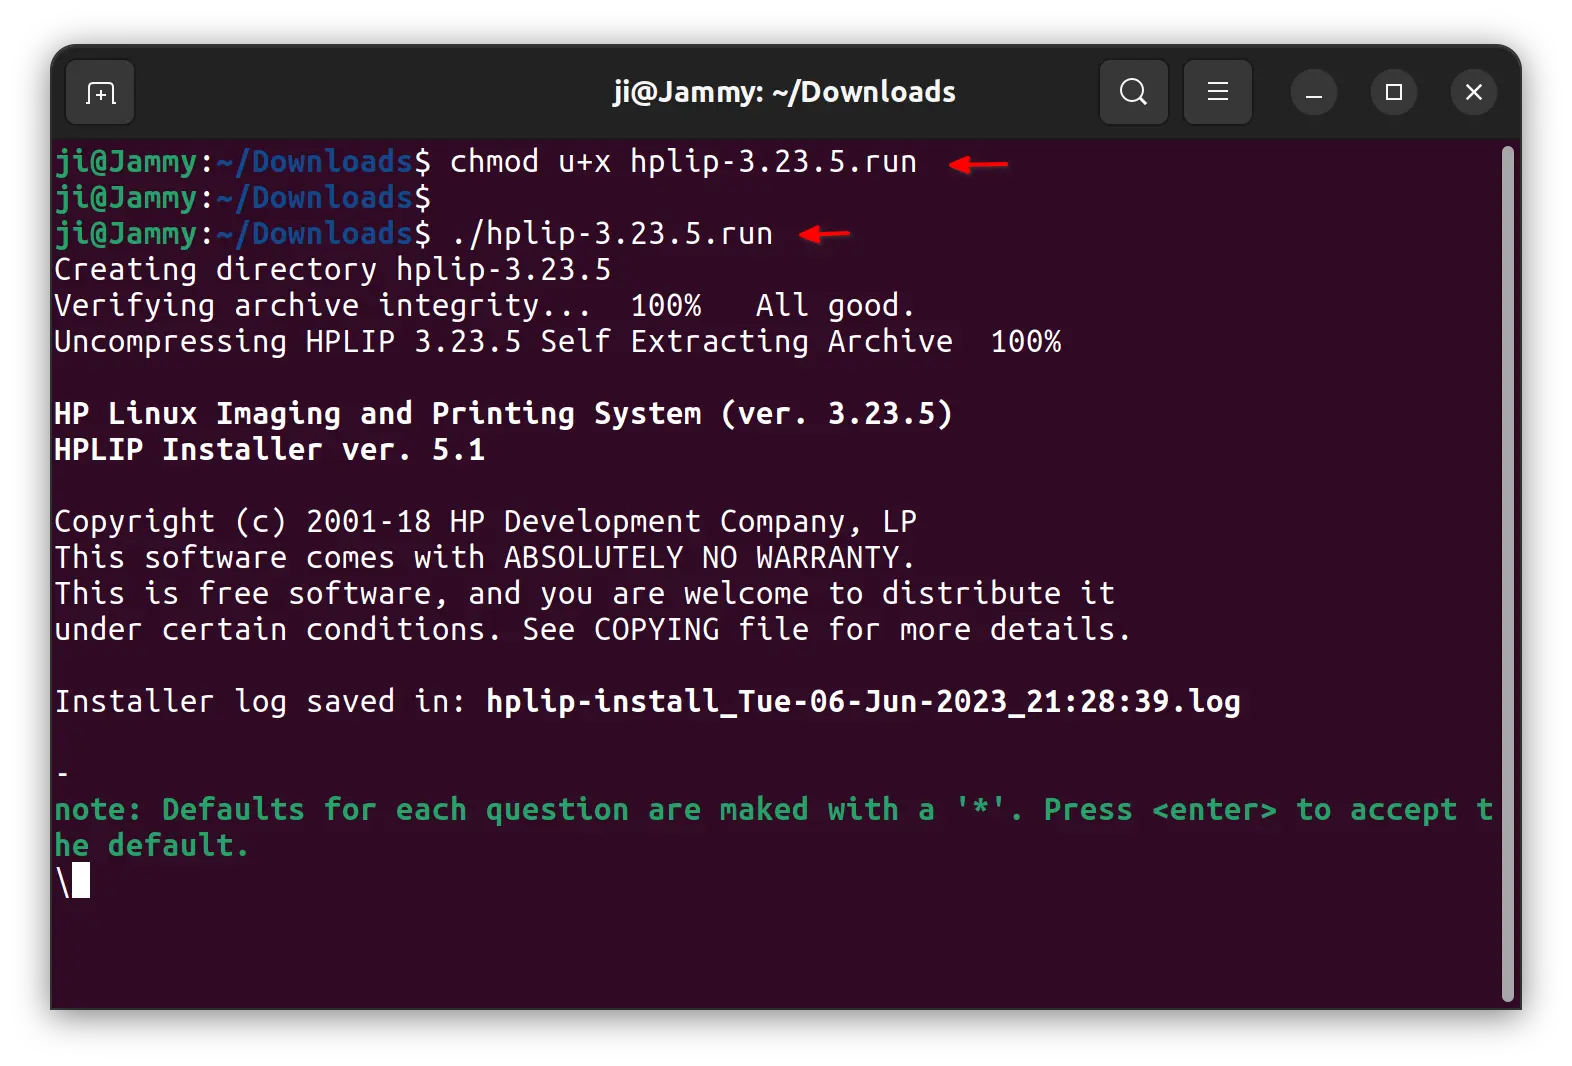
When terminal opens, run the commands below one by one:
- Add executable permission for the file:
chmod u+x hplip-3.23.5.run
- Run the file, follow the on-screen prompt and answer some questions:
./hplip-3.23.5.run
Until the command done without errors, you can plug or re-plug your HP printer for the new driver to work.
NOTE: The .run installer so far does not support Ubuntu 23.04! But, after running the previous commands, it generated the source folder in user ‘Downloads’ folder. Right-click on that folder and select ‘Open in Terminal’, then 23.04 user can run the commands below one by one to build from source:
Install build dependencies:
sudo apt install --assume-yes libcups2-dev libdbus-1-dev build-essential ghostscript openssl libjpeg-dev libsnmp-dev libtool-bin libusb-1.0-0-dev wget python3-pil policykit-1 policykit-1-gnome python3-pyqt5 python3-dbus.mainloop.pyqt5 python-gi-dev python3-dev python3-notify2 python3 python3-reportlab libsane-dev xsane libavahi-client-dev libavahi-core-dev avahi-utils
Configure, make & install:
./configure --prefix=/usr --enable-qt5 --disable-qt4
make -j4
sudo make install
Uninstall HPLIP 3.23.5
As mentioned above, running the installer will create a source folder in user ‘Downloads’ folder.
Right-click on that folder and select “Open in Terminal”. Then run the uninstall script in pop-up terminal window to remove HPLIP:
sudo ./uninstall.py