![]()
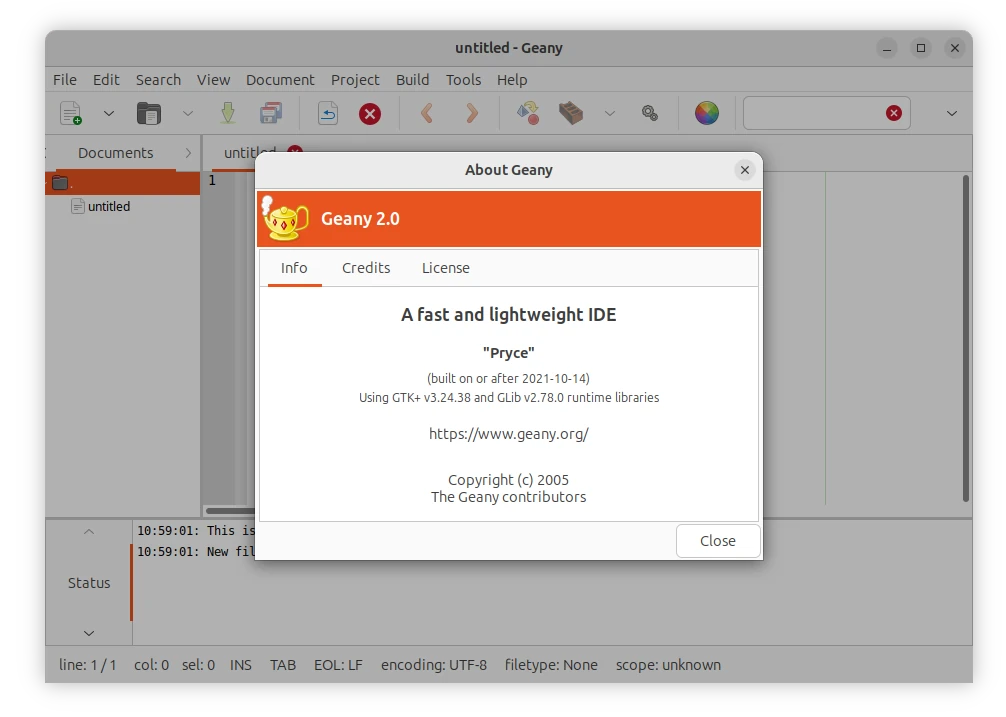
Geany, the small and fast IDE, released version 2.0 hours ago! Here are the new features as well as how to install guide for Ubuntu users.
Changes in Geany 2.0 according to the official release note:
- Split “session data” into session.conf, preferences are written to and read from geany.conf.
- Re-add ability to scroll over document tabs.
- Use new tree view as default for the document list in the sidebar.
- Dark-theme friendly colors for compiler messages
- Confirm dialog on search & replace for the whole session.
- Filter entry for symbol tree.
- Simplify project creation from existing directories with sources.
- Add option to show symbols in symbol tree without category groups.
- Add option to only show line endings if they differ from file default.
- Make tab label length and window title length configurable.
- Make Go to Symbol commands show signature list.
- Scintilla 5.3.7 and Lexilla 5.2.7
- Add “Change history” feature (disabled by default)
- Sync many parsers from the Universal Ctags project
- Improved support for the ctags file format
- Update Kotlin, Nim, PHP, Python filetype config
- Apply Markdown header style to the complete header
- Add AutoIt, GDScript filetype
- Remove Ferite filetype
- Enable local variables and improve autocompletion for C/C++ and some other languages
- Use “Prof-Gnome” GTK theme and GTK dialogs on Windows.
How to Install Geany 2.0 in Ubuntu:
Geany does not provide official packages for Linux. Besides building from source code, user can choose to use the universal Flatpak package or an unofficial Ubuntu PPA.
Option 1: Flatpak package
The Flatpak package is an universal package format can be installed in most Linux, however it runs in sandbox.
To install Geany as Flatpak package, press Ctrl+Alt+T on keyboard to open terminal. Then, run the 2 commands one by one:
- First, install Flatpak daemon in case you don’t have it:
sudo apt install flatpak
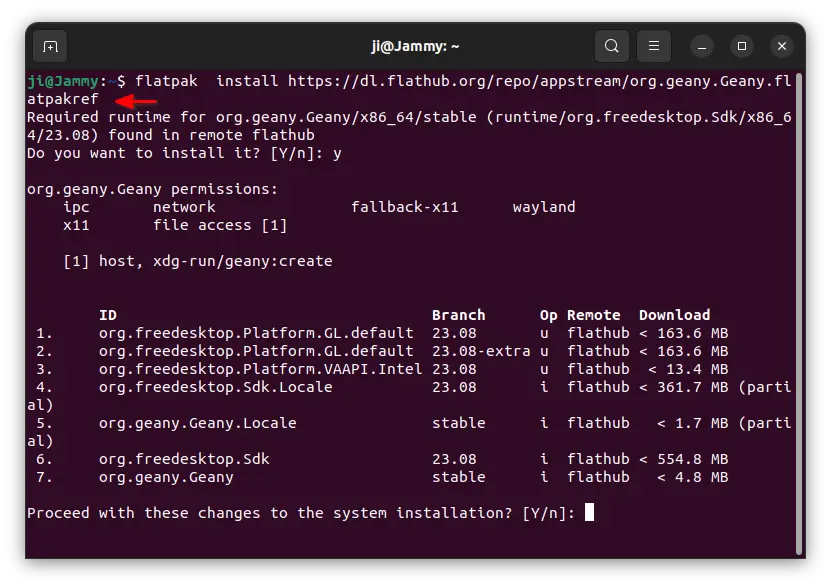
- Then, install Geany Flatpak package:
flatpak install https://dl.flathub.org/repo/appstream/org.geany.Geany.flatpakref
After installation, search for and launch Geany from either overview screen or start/application menu depends on your desktop environment.
NOTE: For first time installing Flatpak app, needs a log out and back in to make app icon visible.
Option 2: Ubuntu PPA
For those who hate running app in sandbox, I’ve uploaded the package into this unofficial PPA. So far, it supports for Ubuntu 20.04, Ubuntu 22.04, Ubuntu 23.04, and Ubuntu 23.10 on x86_64, arm64/armhf CPU architecture types.
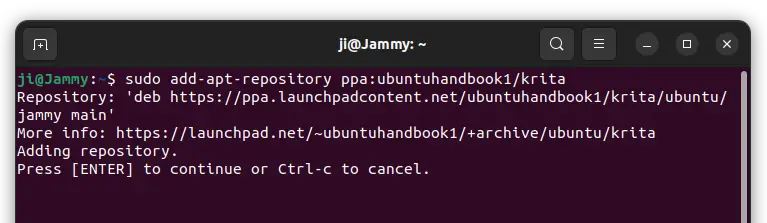
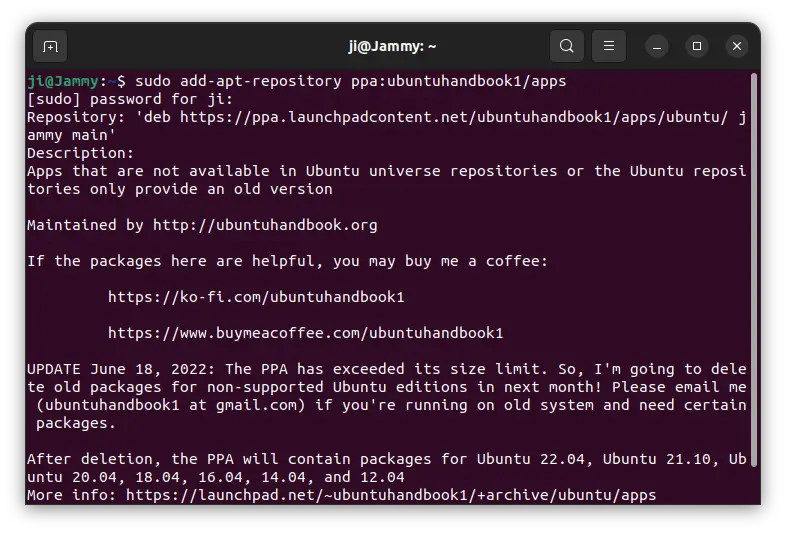
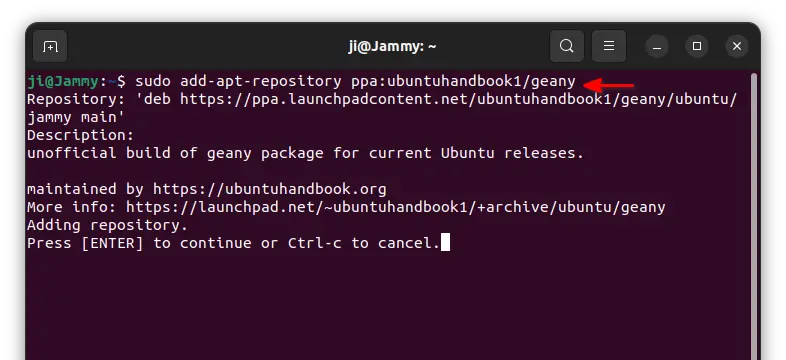
1. First, press Ctrl+Alt+T on keyboard to open terminal. When terminal opens, run command to add the PPA:
sudo add-apt-repository ppa:ubuntuhandbook1/geany
Type user password (no asterisk feedback) when it asks and hit Enter to continue.
2. Linux Mint users may need to manually refresh system package cache after adding PPA, though it’s done automatically in Ubuntu 20.04 and higher.
To do so, run command:
sudo apt update
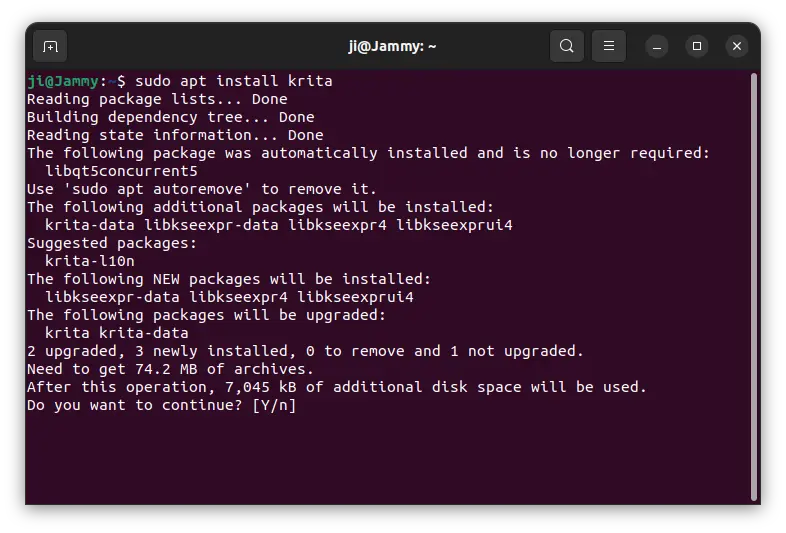
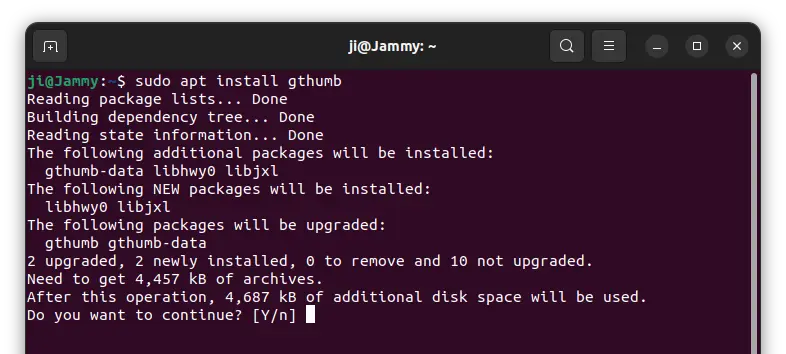
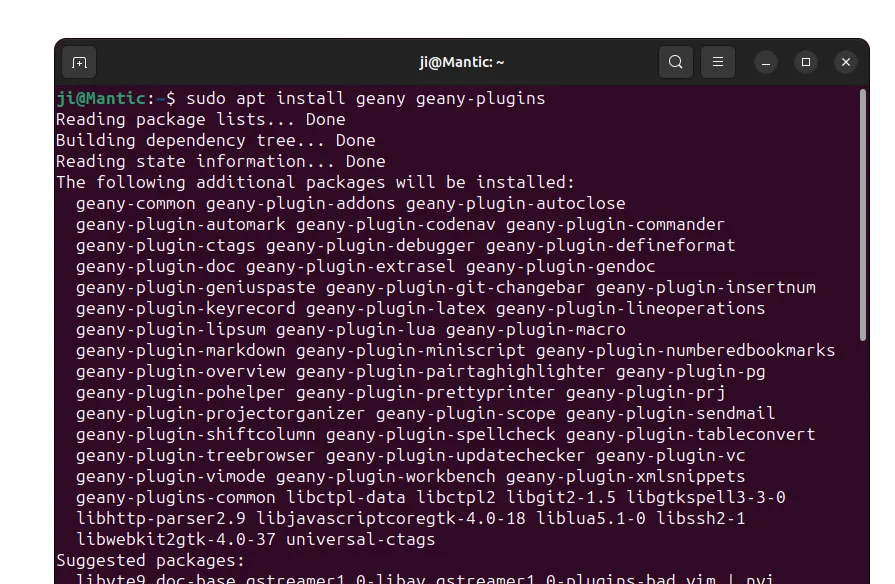
3. Finally, install Geany 2.0 as well as plugins by running command:
sudo apt install geany geany-plugins
After successfully installed the packages, search for and launch the IDE from overview or application menu and enjoy!

Uninstall Geany 2.0
For Geany IDE installed as Flatpak package, just run the command below to remove it:
flatpak uninstall --delete-data org.geany.Geany
Also, run flatpak uninstall --unused to clear useless run-time libraries.
For the IDE installed from Ubuntu PPA, remove it by running command in terminal (Ctrl+Alt+T):
sudo apt remove --autoremove geany geany-plugins-common
Also, remove the PPA either by running command in terminal:
sudo add-apt-repository --remove ppa:ubuntuhandbook1/geany
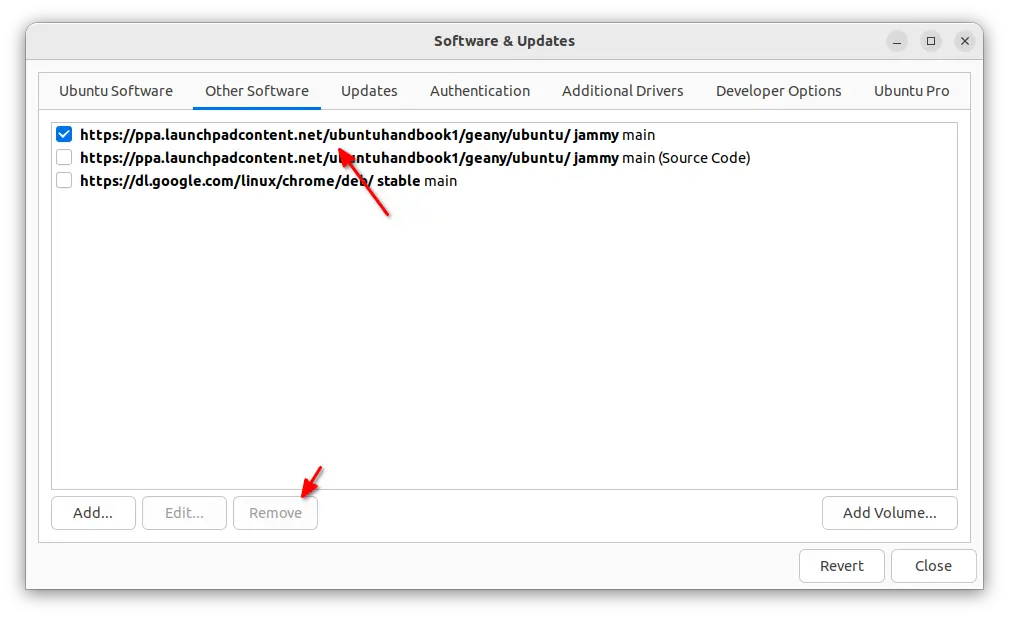
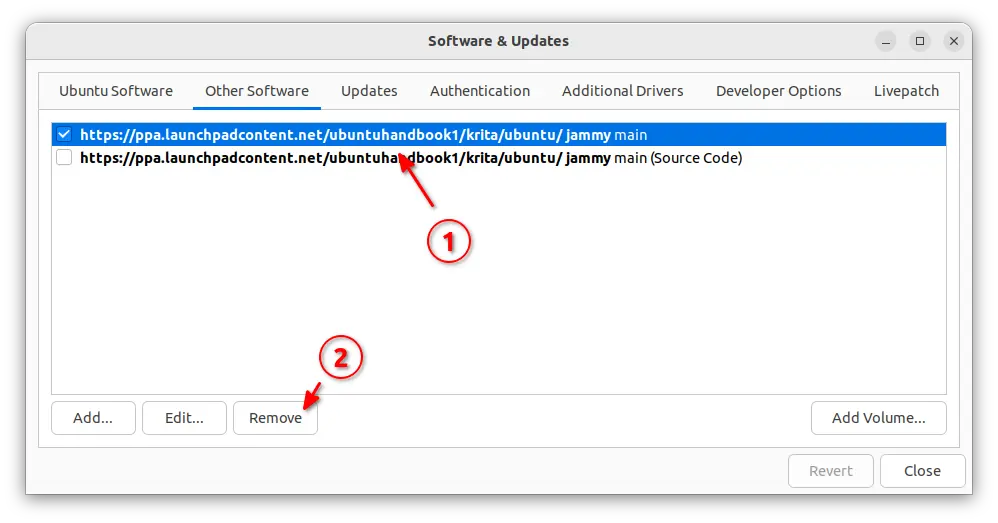
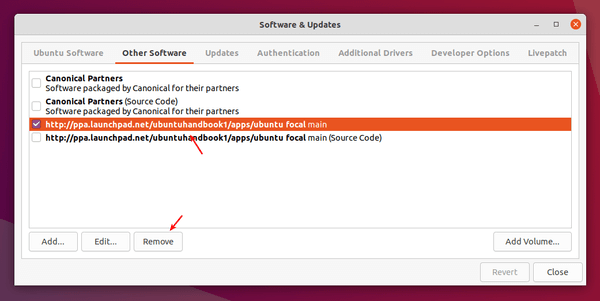
Or, use “Software & Updates” by removing the source line under ‘Other Software’ tab.