Ptyxis, the default terminal emulator for Ubuntu since 25.10, released version 50 RC yesterday.
If everything goes well, the new 50 version of this container-oriented terminal emulator will be released in next few weeks, and it will be default for next Ubuntu 26.04 LTS.
Ptyxis, the free open-source container-oriented terminal emulator, released new 49.3 version few days ago.
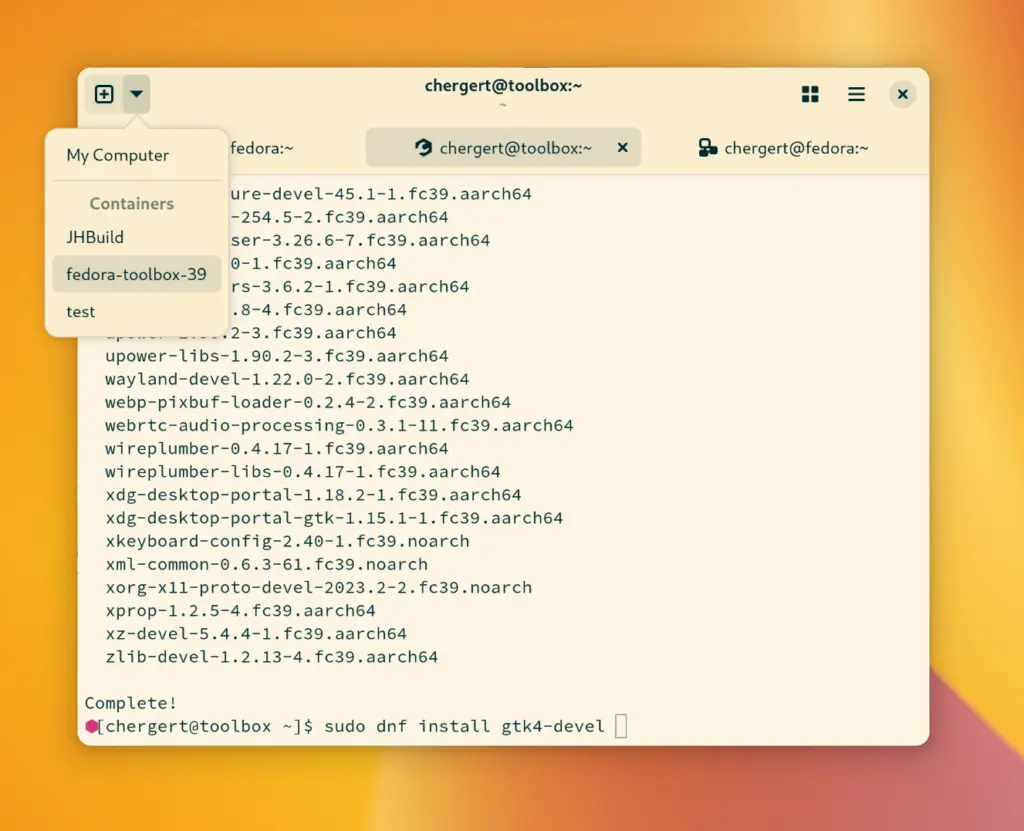
As you may know, Ptyxis is a GTK4 terminal emulator that’s default in Ubuntu since 25.10. It features first-class container integration with automatic discovery, direct spawning, and context preservation support for Podman, Toolbox, Distrobox, and JHBuild.
This is a step by step beginners guide shows how to change the default terminal app in Ubuntu 26.04 Resolute Raccoon and Ubuntu 25.10 Questing Quokka.
To configure which terminal app opens, when you right-clicking on a folder and select “Open in Terminal”/”Open Terminal Here”, here’s an extension to do the job.
While, this tutorial shows how to configure which terminal to open when you press Ctrl+Alt+T keyboard shortcut on keyboard with the new policy since 25.04.
Prompt, the container-oriented terminal emulator, now is re-named to Ptyxis!
GNOME Developer Christian Hergert announced the Prompt terminal emulator a few months ago. It “marries the best of GNOME Builder’s seamless container support, the beauty of GNOME Text Editor, and the robustness of VTE.” described in the blog post.
Due to name confusion to other product, the terminal emulator now has a new name called “Ptyxis”, according to this post “The extremely nice people at Panic let me know they had a product that might be confused with Prompt and I agreed it could be confusing.”
Alacritty, the popular free open-source GPU-accelerated terminal emulator, release new major 0.13.0 version few days ago.
The release introduced new features, including persist config option in hints config section, warnings for unused configuration file options, support for keybindings with dead keys, dynamically loading conpty.dll on Windows, as well as:
Back/Forward mouse buttons support in bindings
Copy global IPC options (-w -1) for new windows
Bindings to create and navigate tabs on macOS
Support startup notify protocol to raise initial window on Wayland/X11
Debug option prefer_egl to prioritize EGL over other display APIs
Inline vi-mode search using f/F/t/T
window.blur config option to request blur for transparent windows
--option argument for alacritty msg create-window
Support for DECRQM/DECRPM escape sequences
Support for kitty’s keyboard protocol
The release now uses TOML instead of YAML for configuration files. Run alacritty migrate command will automatically convert all the configuration files.
Other changes include:
Bundle mode-specific bindings in any mode.
Disable OSC 52 paste ability by default.
Deprecated draw_bold_text_with_bright_colors, key_bindings, and mouse_bindings.
Alacritty, is a free and open-source terminal emulator, written in Rust programming language. It works in Linux, Windows, MacOS, and uses OpenGL API for GPU hardware acceleration for fast response and high performance.
The terminal emulator features vi mode, allows to move around the viewport and scrollback using the keyboard. And, vi search and normal search for anything in the scrollback buffer.
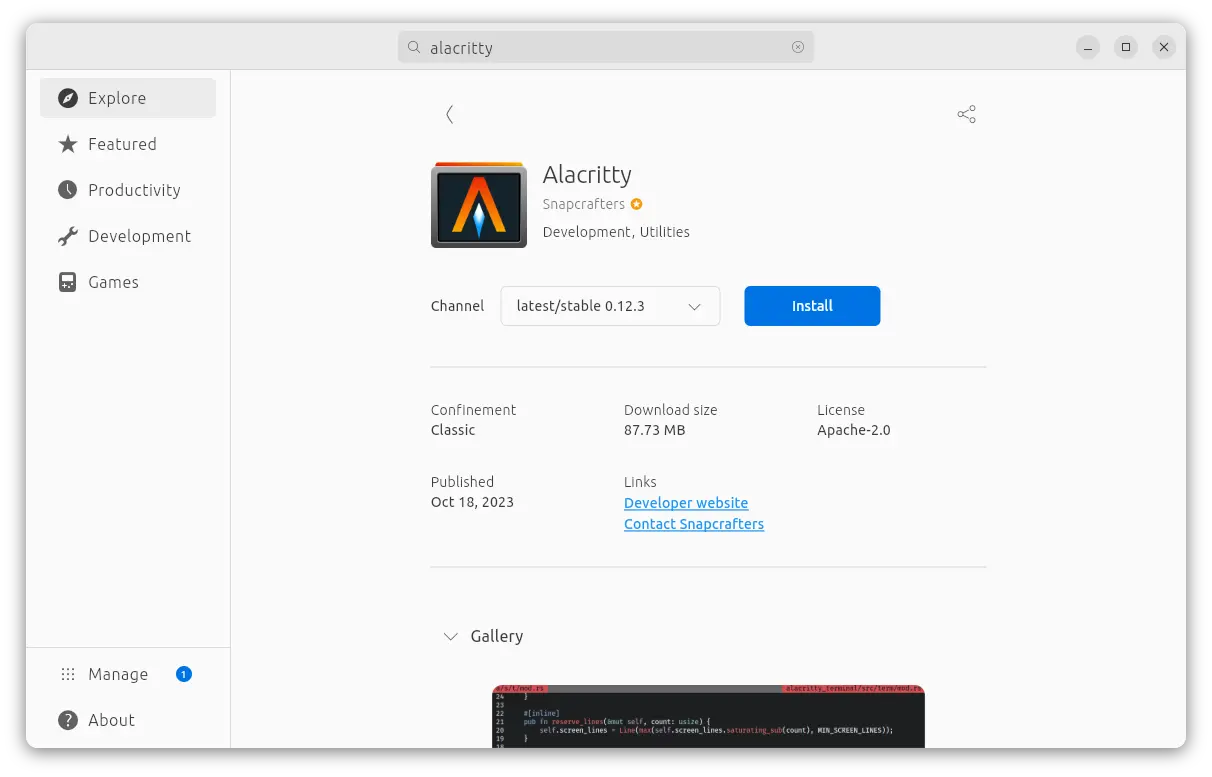
Option 1: Install Alacritty via Snap package
For Ubuntu users, the easily way to install the terminal emulator is using the Snap package. It’s available in Ubuntu Software (App Center for 23.10), though run in sandbox.
Alacritty terminal emulator in App Center
Or, user can install it by running the command below in terminal:
snap install alacritty --classic
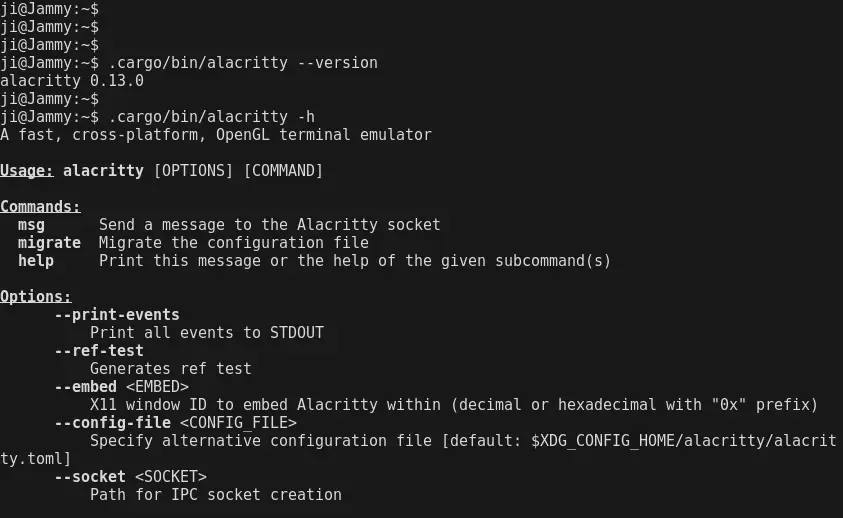
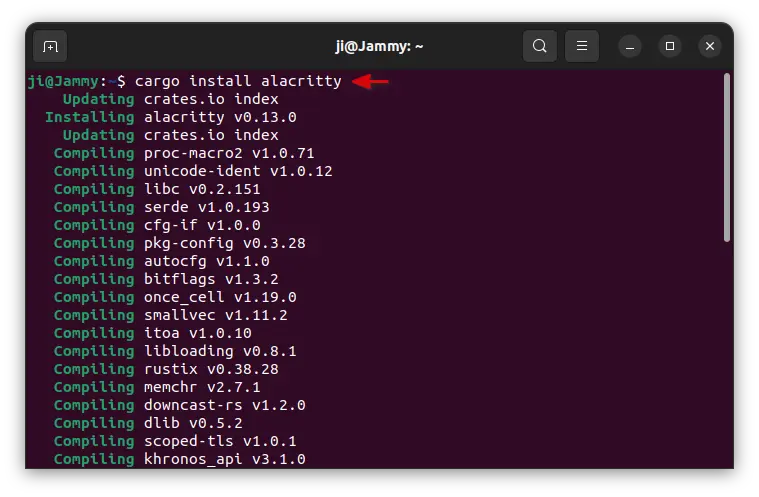
Option 2: Install Alacritty through Cargo (official)
The terminal emulator is also available to install through Cargo, the Rust package manager.
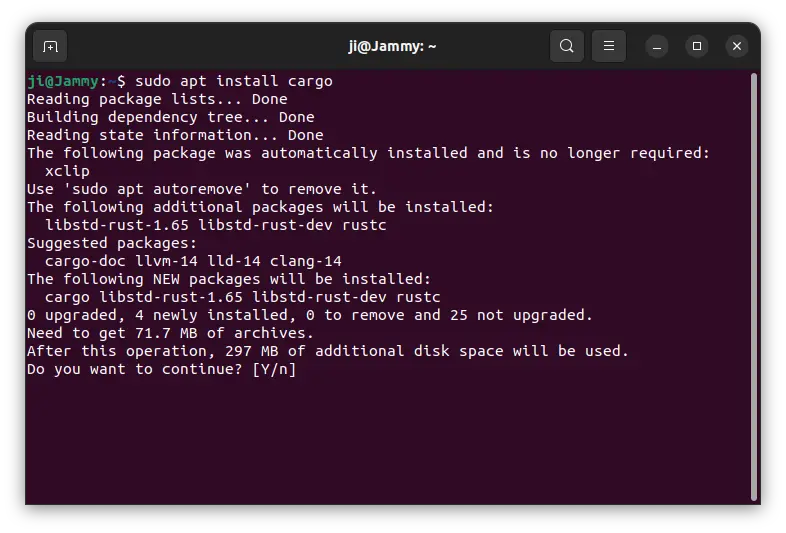
1. Just open terminal (Ctrl+Alt+T) and run command to install Cargo first:
sudo apt install cargo
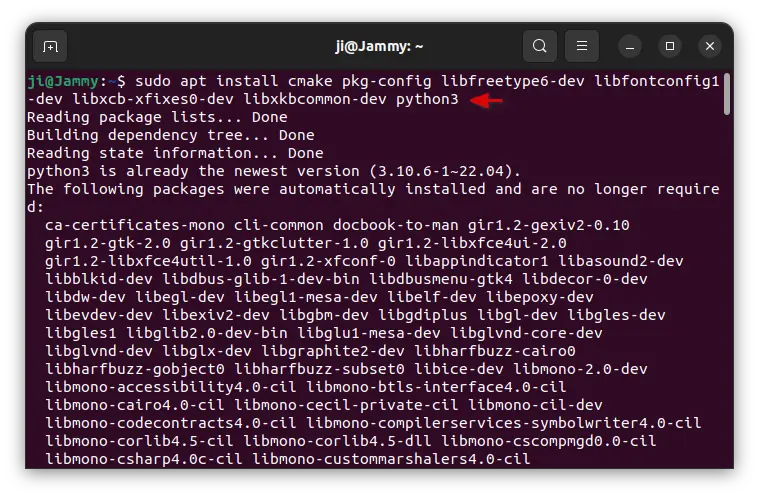
2. Then, install the required dependency packages:
Want to let “Open in Terminal” context (right-click) menu option work for another terminal emulator? Here’s an extension to do the similar job for Nautilus.
When right-clicking on either a folder or blank area in file manager, there’s an “Open in Terminal” menu option to launch system default terminal with that folder as working directory.
The option in Ubuntu so far is provided by the built-in gnome-terminal package. Meaning no way to use the option for another terminal emulator. However, there’s an extension can add similar option to open terminal from in-side folder.
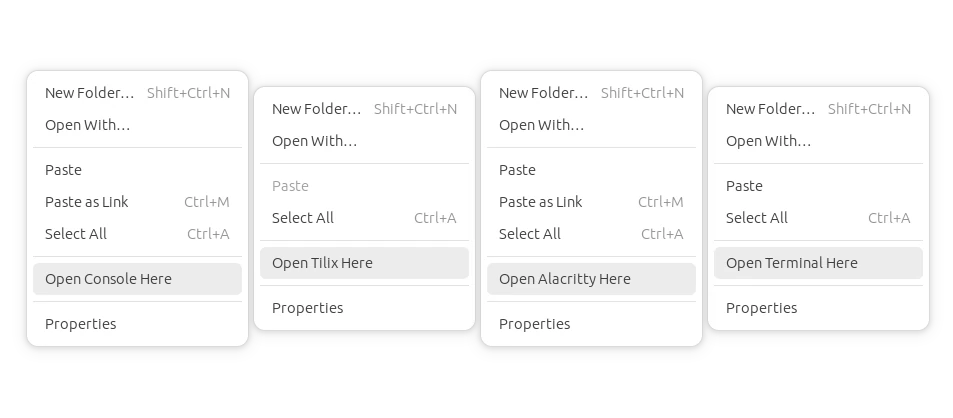
And not only for Gnome Terminal, the extension supports many other terminal emulators:
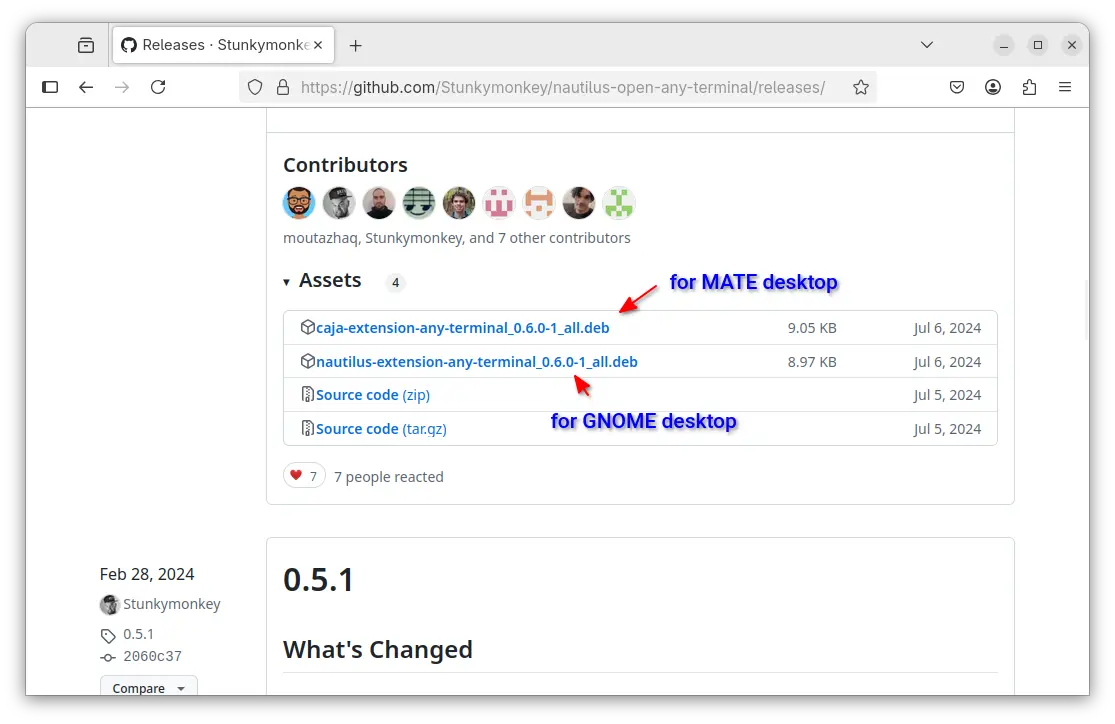
Then, select download either “nautilus extension” for default GNOME desktop or “caja extension” for MATE desktop. Finally, double-click to open it with either AppCenter or Software Install depends on your Ubuntu edition, then click install.
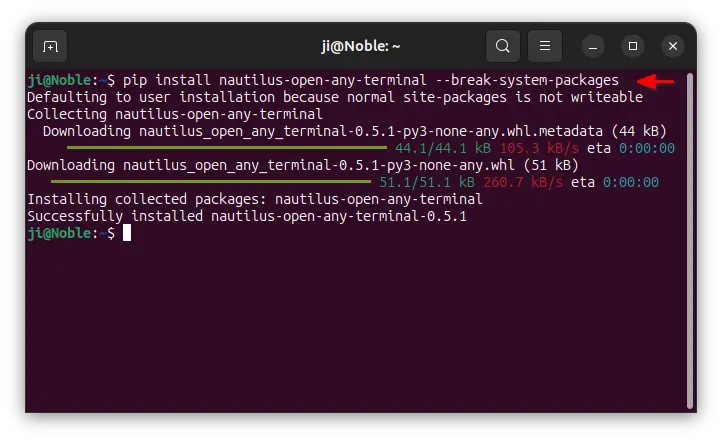
Option 2: Use Python package
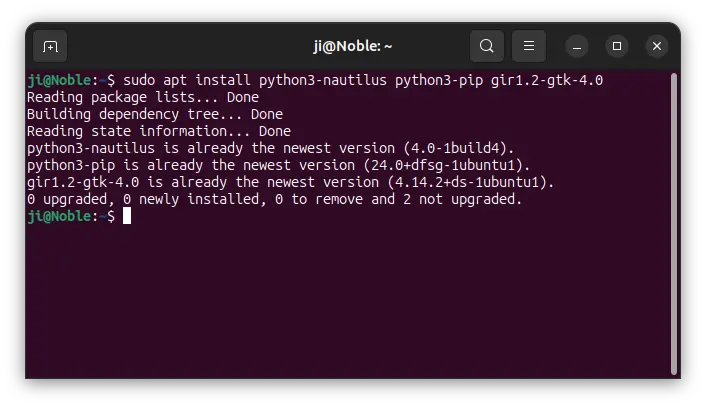
1. First, press Ctrl+Alt+T on keyboard to open terminal. Then run command to install git and python3-nautilus package:
After installed the extension, apply it by running command to quit Nautilus:
nautilus -q
Then, open “Dconf Editor” (install it from Ubuntu Software or App Center) and navigate to ‘com/github/stunkymonkey/nautilus-open-any-terminal‘. Finally, set the value of ‘terminal’ to tell which terminal emulator to use.
You can of course choose another terminal emulator by running command (replace kgx with yours terminal app):
gsettings set com.github.stunkymonkey.nautilus-open-any-terminal terminal "kgx"
Tip: You may also remove the built-in ‘Open in Terminal’ option by running command:
sudo apt remove nautilus-extension-gnome-terminal
Uninstall
To get rid of the context menu option, simply open terminal (Ctrl+Alt+T) and run command to uninstall the python package:
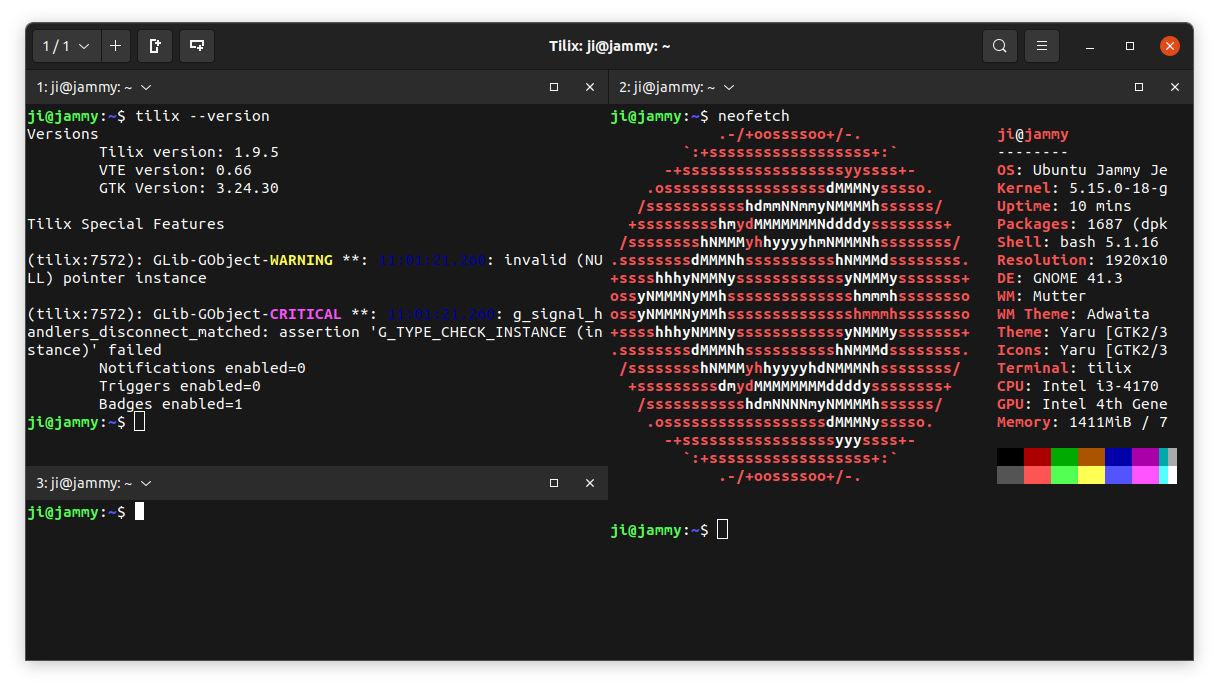
For those who want to install the latest Tilix terminal emulator 1.9.5 in Ubuntu 22.04 LTS. You can now get it from PPA repository.
Tilix is a popular tiling terminal emulator, that allows to split terminal window horizontally and/or vertically, and drag and drop re-arrange them. It also has many other great features including sync input between terminals, background images, quake mode (drop-down terminal), and custom hyperlinks.
The terminal emulator package is available in Ubuntu repository, but old. Though, the latest v1.9.5 has been released for 5 months. Changes in Tilix 1.9.5 include:
Disable advanced paste when there is no linebreak like iTerm2
Add environment variable when in quake mode
Add possibility to configure always enabled regex
And various bug-fixes.
1. Add PPA
The unofficial PPA so far contains the latest package for Ubuntu 22.04 only. Due to dependency issue, it does not build in Ubuntu 20.04.
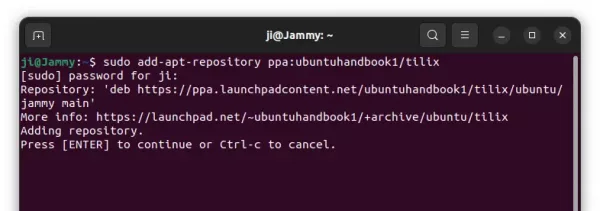
To add the PPA, press Ctrl+Alt+T on keyboard to open terminal and run command:
sudo add-apt-repository ppa:ubuntuhandbook1/tilix
2. Update package cache
Ubuntu now automatically refresh the package cache while adding PPA. But, you have to run apt update command manually in some derivatives, e.g., Linux Mint.
sudo apt update
3. Install Tilix
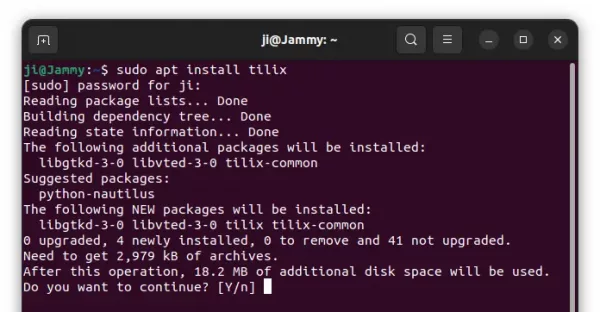
Finally, install the software package by running command in terminal:
sudo apt install tilix
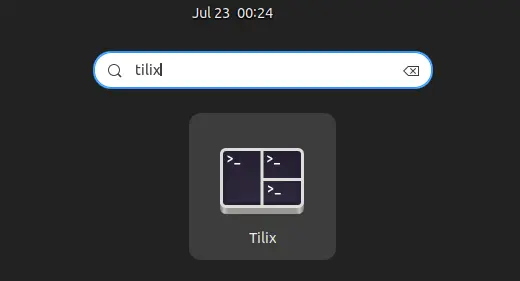
After installation, search for and open Tilix either from start menu or by searching from ‘Activities’ overview, depends on which DE you have.
How to Uninstall:
For any issue, you can install ppa-purge and use the tool to purge PPA. Which will also downgrade all installed packages from that PPA to the stock version in your Ubuntu:
This simple tutorial shows how to change the default terminal emulator from Gnome Terminal to the one that you prefer in Ubuntu 24.04, Ubuntu 22.04, Ubuntu 20.04.
The default Gnome Terminal is great, but there are many good alternatives (e.g., tilix). If you prefer to use another one and want to set it as default, so you may press Ctrl+Alt+T to open it.
UPDATE 2025: for Ubuntu 25.04, there’s new xdg-terminal-exec to do the job.
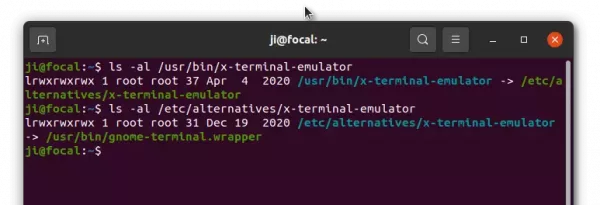
Step 1: Create symbolic link to x-terminal-emulator
Ubuntu so far defaults to x-terminal-emulator, which is a virtual package by default links to Gnome Terminal.
By creating a group of alternatives to the package allows to switch which one to use at any time with a single command.
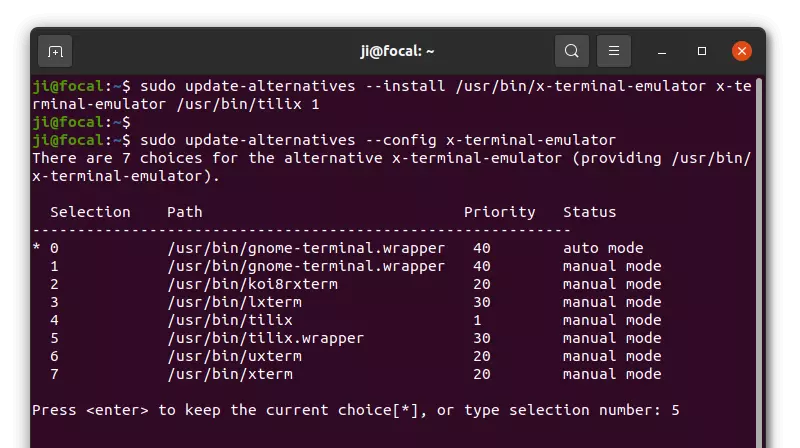
Firstly, open terminal and run command to create a symbolic link (replace /usr/bin/tilix with your terminal emulator):
Type the number for the one that you prefer and hit Enter will set it as default terminal.
In the case, I selected 5: ‘/usr/bin/tilix.wrapper’. It’s a Tilix wrapper with command line arguments that created automatically during installation. Step 1,
Restore and remove the alternative link:
To revert back to Gnome Terminal, just re-run the command in Step 2 and choose number 0 or 1.
And to remove the link created via Step 1, use command (replace ‘/usr/bin/tilix’ accordingly):
Tilix, the popular tiling terminal emulator, released v1.9.5 with a few new features and some bug-fixes.
Tilix is a GTK+3 terminal emulator supports for splitting app window horizontally or vertically. It supports drag and drop re-arranging terminals, quake mode, custom hyperlinks, as well as many other features.
After a year of development, it finally announced the new 1.9.5 with only a few new features due to lack of maintainers.
New features in Tilix 1.9.5 include:
Disable advanced paste when there is no linebreak like iTerm2
Add environment variable when in quake mode
Add possibility to configure always enabled regex
Get Tilix 1.9.5 in Ubuntu:
There’s no binary package for current Ubuntu releases so far, though it’s proposed to be included in Ubuntu 22.04 LTS repository.
User may download the source code and build manually via the link below: