This tutorial shows you how to mount / access VMware Virutal Machine File System (vmfs) on Ubuntu (non host).
VMFS is a clustered filesystem designed to store virtual machine disks for VMware ESX or ESXi Server hosts. There is a command line tool for Linux that allows to access VMFS filesystems from some other non ESX/ESXi host for e.g. maintenance tasks.
First install this tool by searching and installing the package from Ubuntu Software Center. Or run the command below:
sudo apt-get install vmfs-tools
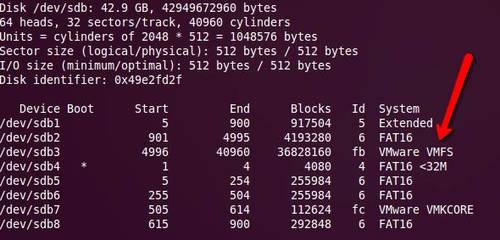
Find you vmfs partition by running this command:
sudo fdisk -l
Then mount vmfs with this tool. For example, /dev/sdb3 is the vmfs that we want to mount. We’re going to mount it to /mnt directory. Run this command in terminal (Ctrl+Alt+T):
sudo vmfs-fuse /dev/sdb3 /mnt/
After that, open your system file manager, and go to the new mounted folder and enjoy!
This simple tutorial will show you how to convert PNG to JPG in Ubuntu, so that it reduce the memory size and speed up loading image time.
1.) Install the required package by running below command in terminal:
sudo apt-get install imagemagick
2.) Then you can convert an .png image to .jpg format via below command. It takes “ubuntuhandbook.png” in the current directory and creates a JPEG image from it.
convert ubuntuhandbook.png ubuntuhandbook.jpg
You can also specify a compression level for JPEG images.
3.) If you want to convert a batch of photo images, for example all .png files in “Pictures” folder, use try this command instead:
cd ~/Pictures && for file in *.png; do convert $file ${file%.png}.jpg; done
4.) To convert all PNG files into JPEG files with that same filename but a different suffix. However be warned that if existing file with the same name will be over-written.
Most Linux remembers the commands that you ran in terminal or command console. It’s useful for finding out what you’ve done to the system, especially for server.
For frequently used command with a long code, you don’t need to type all the code again and again. You can re-run then using history commands option, by just a few key presses.
List history commands
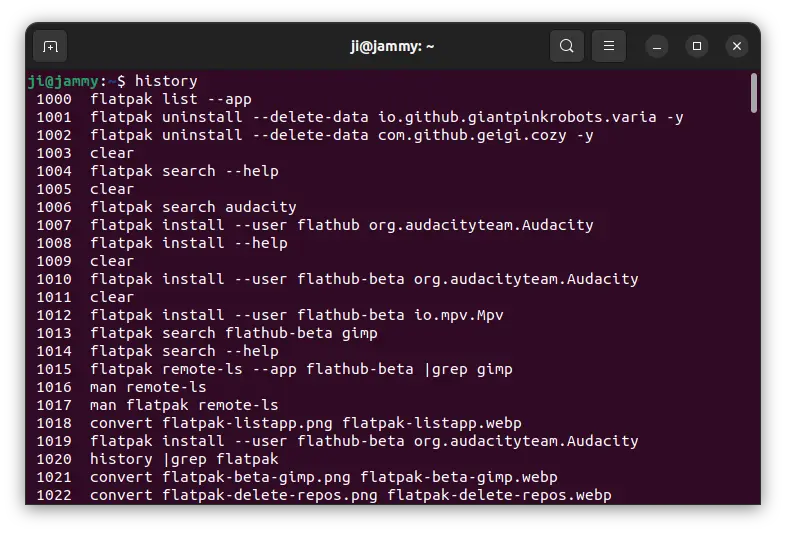
To find out what commands you’ve run in your Linux, simply run command:
history
In the output, you’ll see a large list of commands that you ran before. And, each command has number at its beginning.
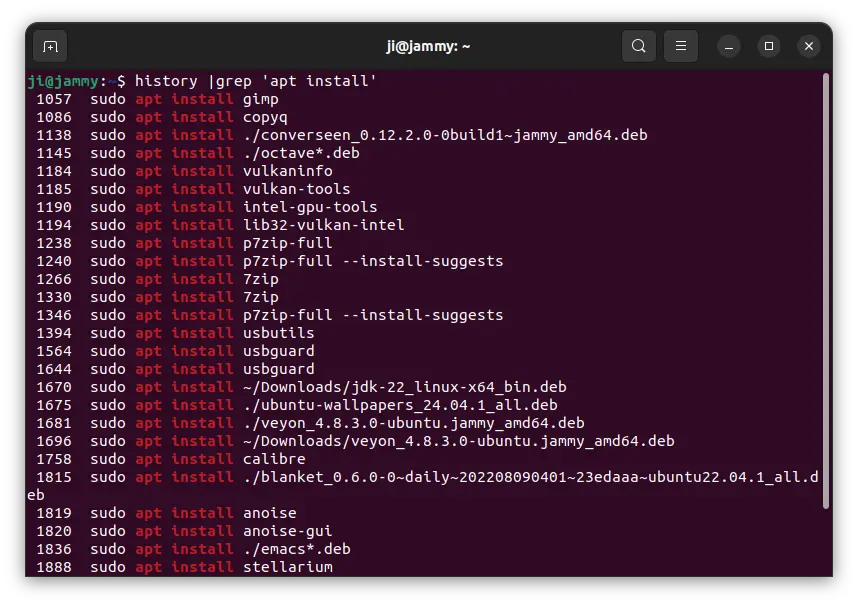
If you have too much history commands, it may be hard to browse and find out a certain command. In the case, add grep option to filter. For example, run command below to find out history commands that include apt install.
history | grep "apt install"
For choice, you may also add -E option after grep to filter with regular expressions.
Re-Run a History Command
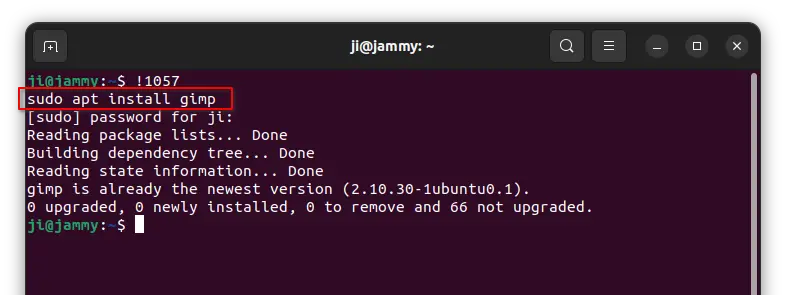
Once you got the history command, that’s too long or you don’t remember, you can simply re-run it by typing !number, where number is the number in front of that command in history output.
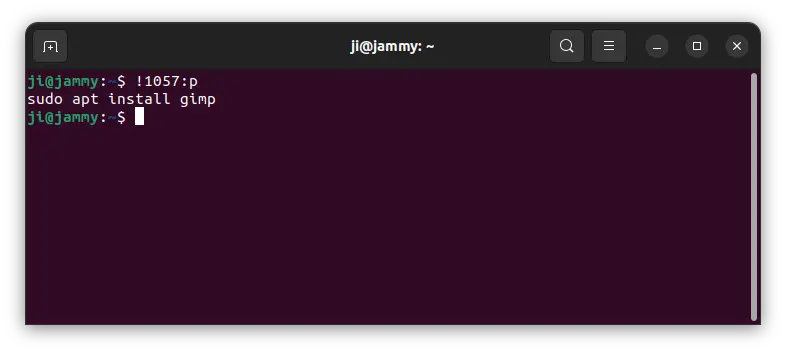
For example, run command below will re-run sudo apt install gimp, according to last screenshot. And, in terminal window it outputs what’s going to run immediately after you hitting Enter. If it’s a sudo command, it will also ask for password authentication.
!1057
To avoid careless mistakes, you may use the command below instead by adding :p in end to first preview that history command:
!1057:p
Then re-run !1057 if you confirm it is indeed the command you want.
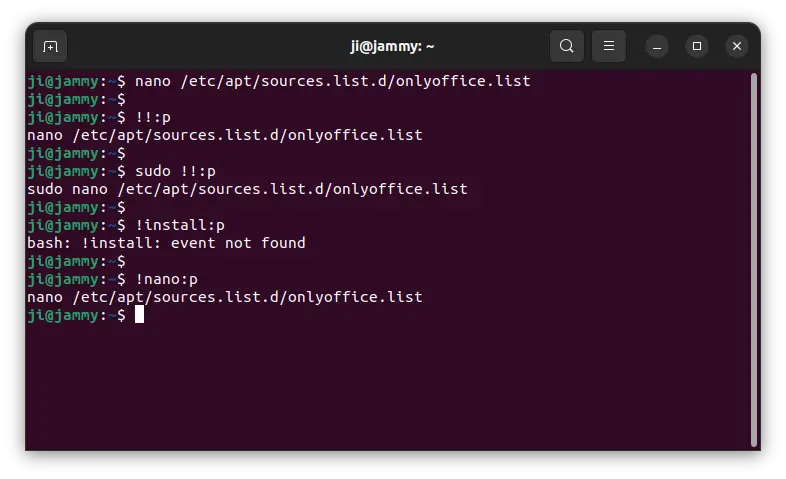
For the last command, without finding out the history number, just use command below will re-run it:
!!
And, you can use it along with other commands. For example, re-run last command with sudo permission:
sudo !!
Or re-run last command, then poweroff:
!! && poweroff
There are also more choices, for example, re-run the last command start with given string:
!sudo
The command will re-run the last command start with sudo.
And, all the commands above can follow with :p to preview command before running.