![]()

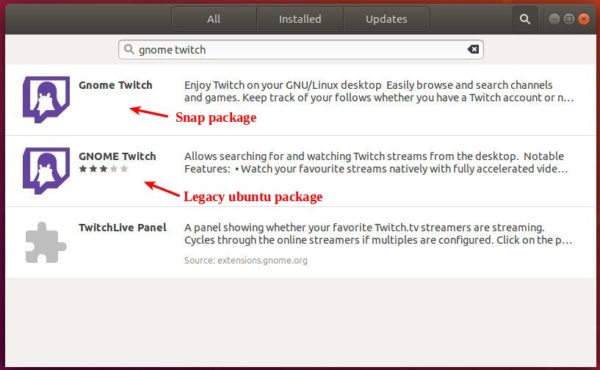
Gnome Twitch 0.4.2, GTK+3 Twitch app for Linux desktop, now is finally available as Snap package in the stable channel.
UPDATE: GNOME Twitch seems NOT in active development! It may or may NOT work in current Ubuntu releases.
While Ubuntu offers an old version of Gnome Twitch .deb package in its official repositories, and there’s no stable PPA repository provides the latest updates, Daniel Llewellyn finally made the snap package for Gnome Twitch 0.4.2 into stable channel.
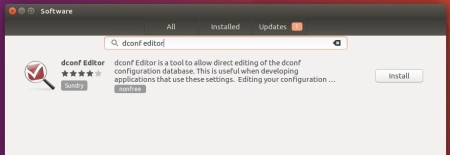
For Ubuntu 18.04, Linux Mint 19.x and higher, simply open Ubuntu Software, search for and install Gnome Twitch:

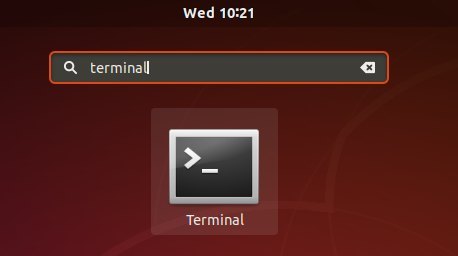
For Ubuntu 16.04 and Linux Mint 18.x, open terminal (Ctrl+Alt+T) and first install snapd via command:
sudo apt install snapd


Then install the snap package via command:
sudo snap install gnome-twitch


Uninstall:
Depends on your system edition, remove the software either via Ubuntu Software or by running command in terminal:
sudo snap remove gnome-twitch