![]()
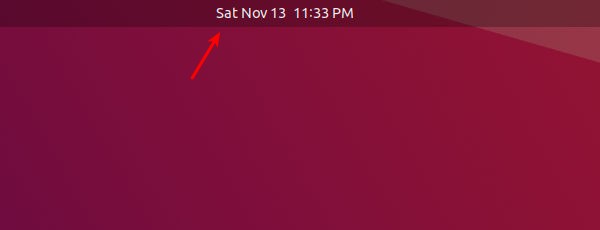
Ubuntu by default displays only date and time in the center of top-bar. Users have to click on it to see which day is today in drop-down calendar.
To make life easier, you may configure the GNOME desktop to show the day of week in top-bar. And, here’s how to do the trick in Ubuntu 20.04, Ubuntu 22.04, and Ubuntu 24.04.
Option 1: Single command to Display Weekday in Top bar:
For those who are familiar with Linux commands, it can be done by running a single gsettings command.
To do so, press Ctrl+Alt+T on keyboard to open up a terminal window. When it opens, paste the command below and hit run:
gsettings set org.gnome.desktop.interface clock-show-weekday true
After that, it shows the weekday name in short (e.g., Sat and Sun) immediately.

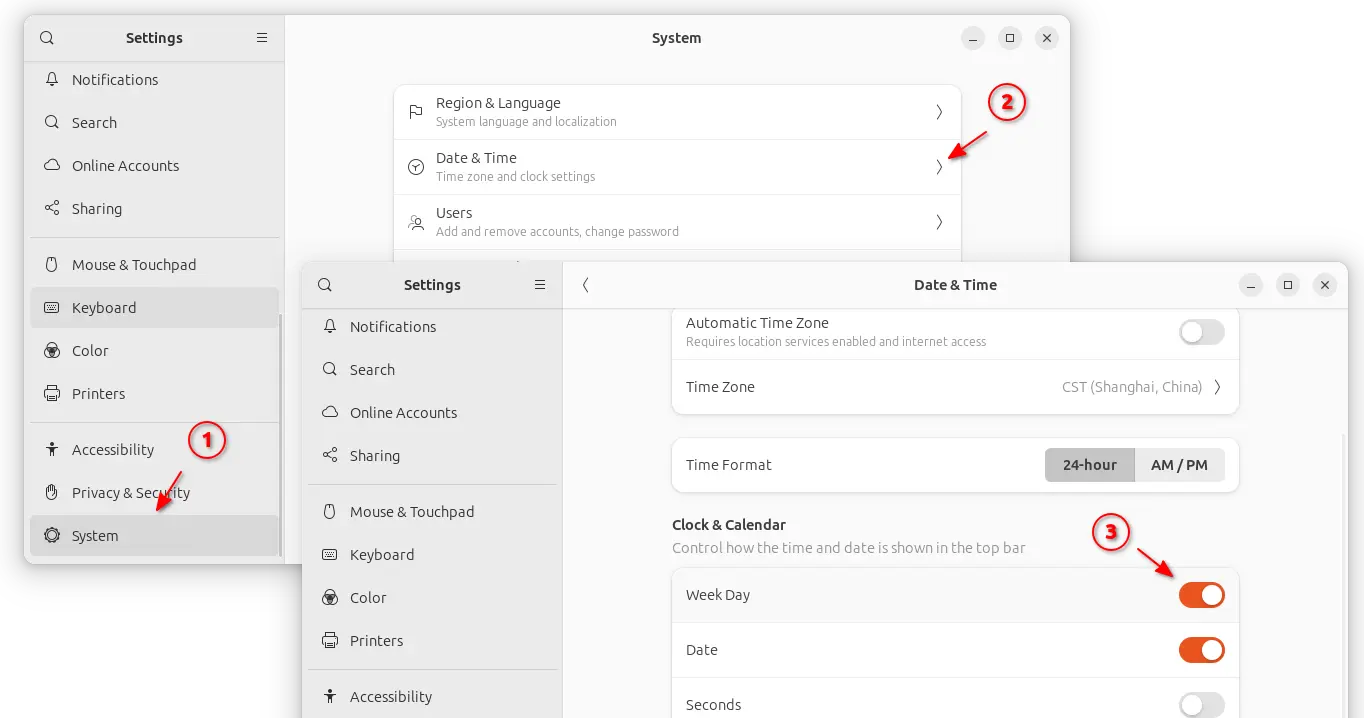
Option 2: Use System Settings (for Ubuntu 24.04)
For Ubuntu 24.04 with GNOME 46, system settings (aka Gnome Control Center) has include a toggle option to show/hide the weekday in top-bar.
First, press Super (Windows logo key) + S to open system status menu (Quick Settings), then click launch “Settings”. When it opens, navigate to System in left, then go to Date & Time, finally turn on the option for “Week Day” to enable this feature.
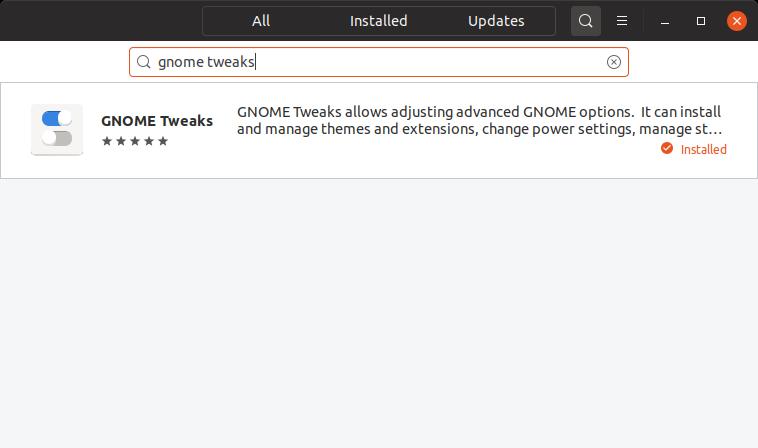
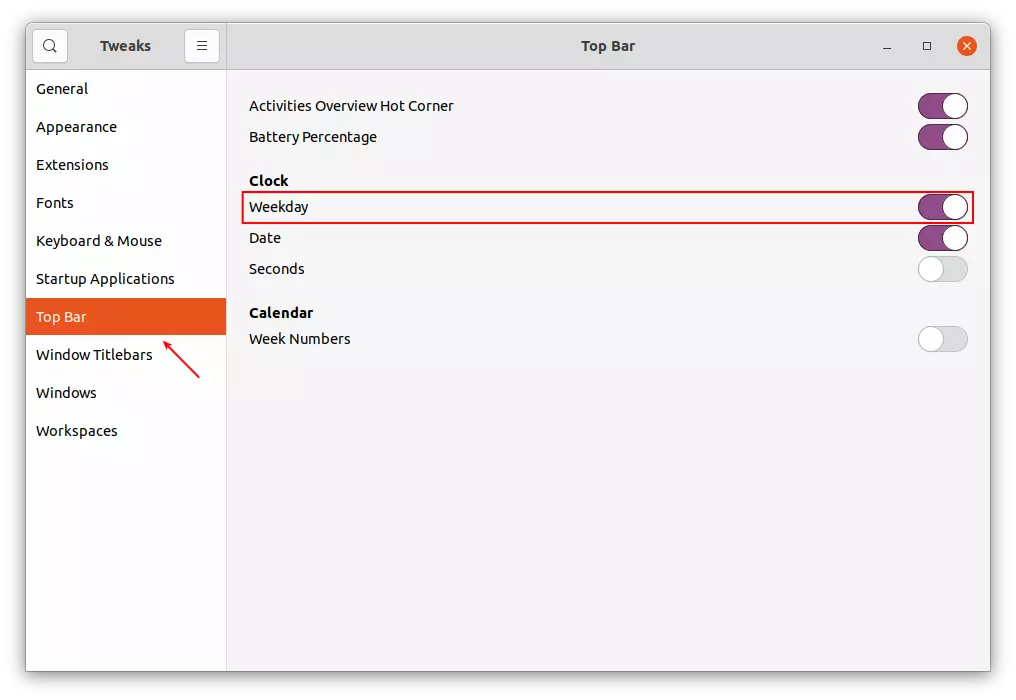
Option 3: Toggle Weekday Display via Gnome Tweaks
For Ubuntu 22.04 and Ubuntu 20.04, the must have GNOME configuration tool ‘Gnome Tweaks’ provides the toggle option for those hate Linux commands. If you don’t have it, search for and install via Ubuntu Software:
Next, press Super/Windows key to bring up activities overview screen. Then search for and launch Gnome Tweaks. Navigate to “Top Bar” from left pane, and then you’ll see the option to toggle “Weekday”.
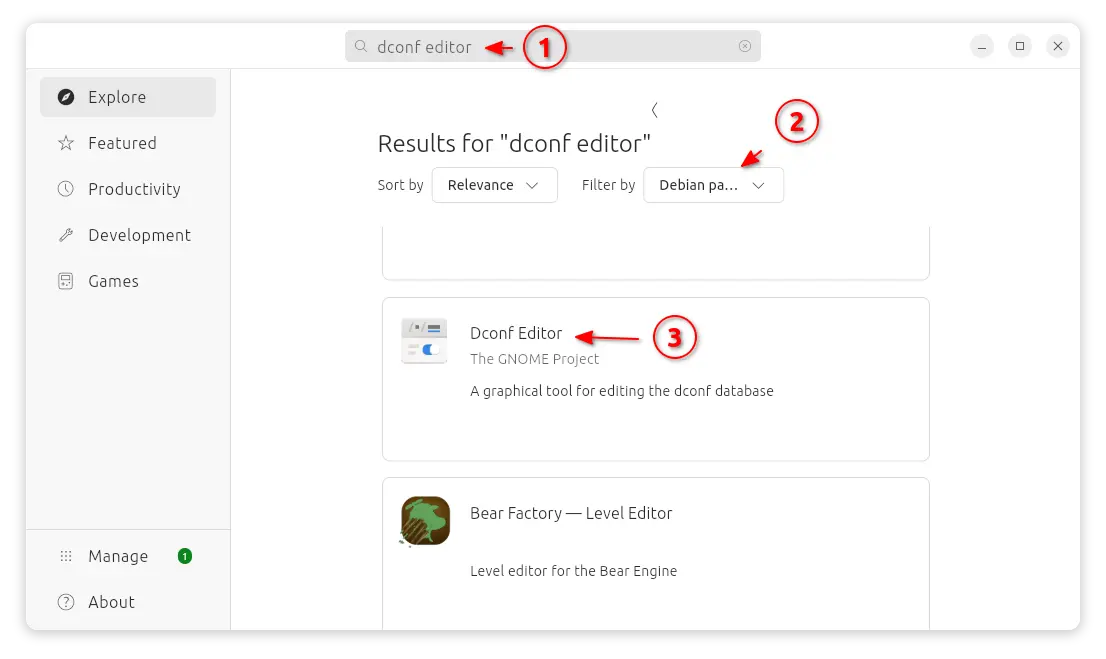
Option 4: Use Dconf Editor
As you may know, the advanced configuration tool “Dconf Editor” also provides a graphical option to toggle this function.
First, search for and install ‘Dconf Editor’ from either Ubuntu Software or App Center.
Then, launch the tool and navigate to “org/gnome/desktop/interface“. Finally, find out and turn on the option for “clock-show-weekday”:
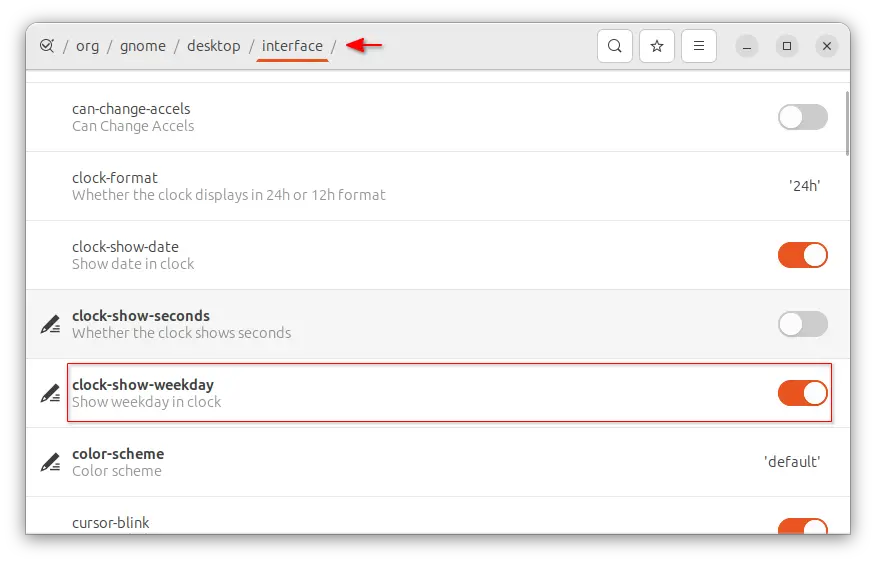
As you see, the tool also provides tons of other configure options. Use them as you want and enjoy!