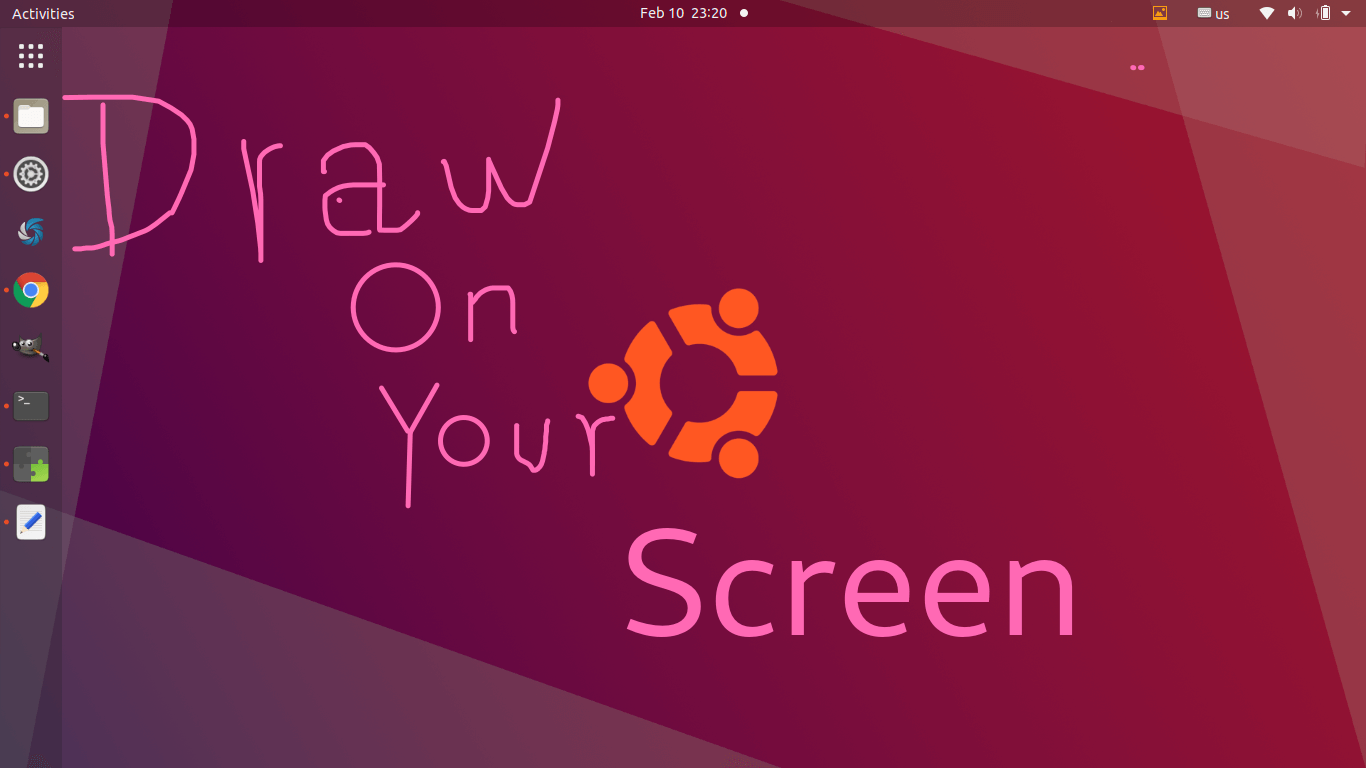
Want to start drawing on your screen and save artwork as PNG or SVG? It’s easy to do this in Ubuntu via Gnome Extension.
“Draw On Your Screen” is a Gnome Shell extension allows to start or stop drawing on screen easily via Alt+Super+D keyboard shortcut. With it, you can start free drawing, create basic shapes, insert text, and export your artwork to SVG file.
1.) Install the Gnome Shell Extension for Ubuntu 20.04:
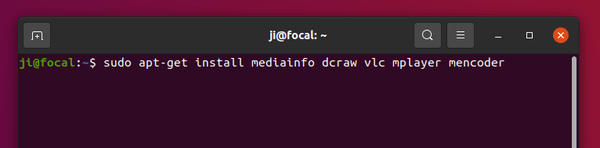
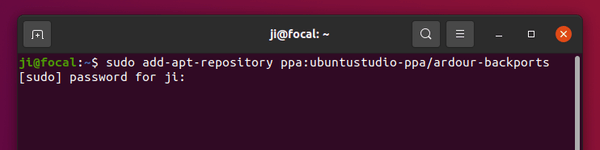
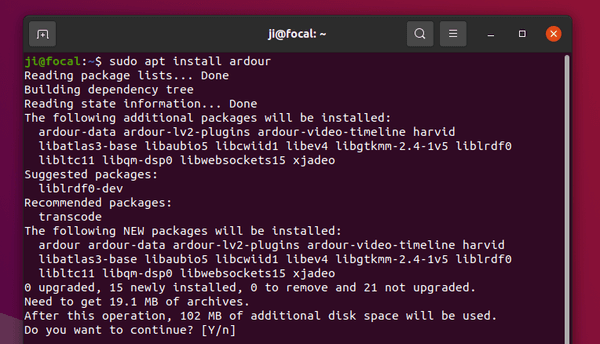
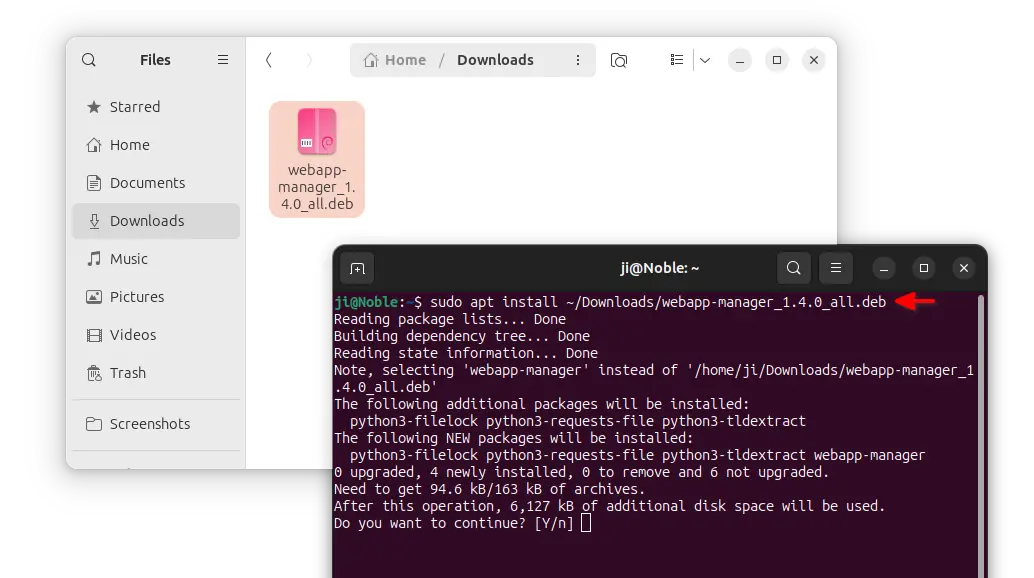
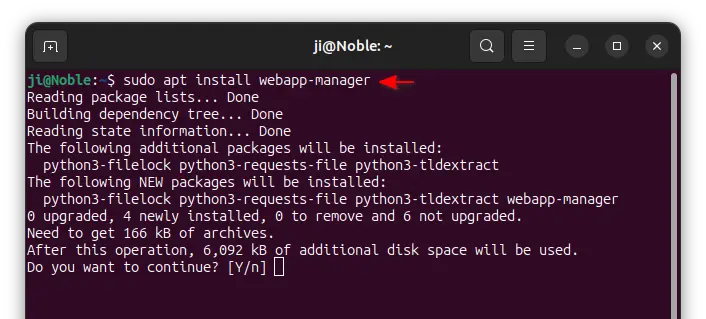
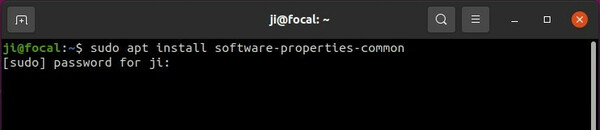
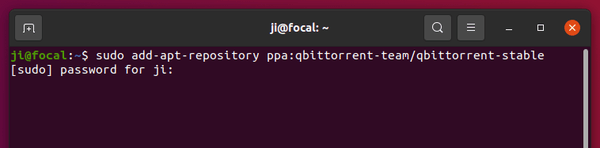
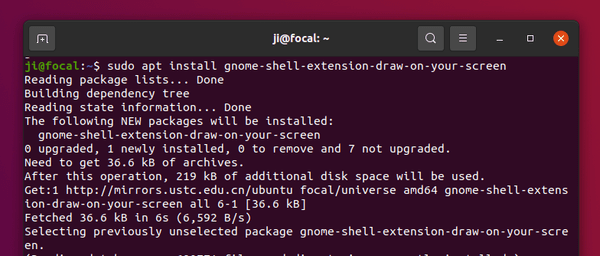
The extension is available as normal software package in Ubuntu repository. Simply open terminal either from your system app launcher, or by pressing Ctrl+Alt+T on keyboard. When it opens, run command to install the extension:
sudo apt install gnome-shell-extension-draw-on-your-screen
Type your user password, if it asks, and hit Enter. For security reason, there’s no asterisk feedback.

2.) Enable the Extension.
The extension is not enabled immediately after installation. So you have to turn it on via the Gnome Tweaks tool.
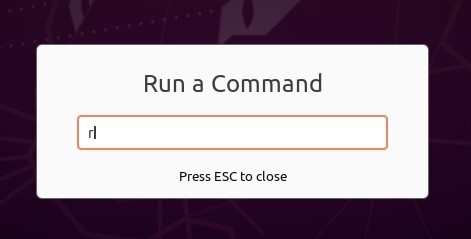
1. First press Alt+F2 to bring up ‘Run a Command’ dialog box, type r, and hit Enter to restart Gnome Shell without losing any running applications.

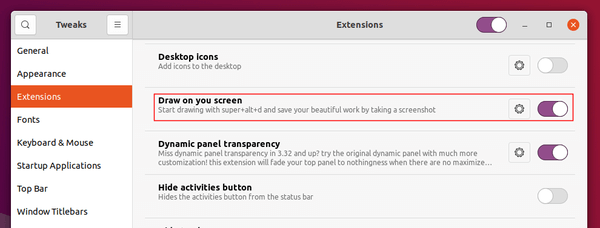
2. Install Gnome Tweaks from Ubuntu Software if you don’t have it. Then open it and navigate to Extensions tab.
There turn on the toggle icon for the extension to enable it.

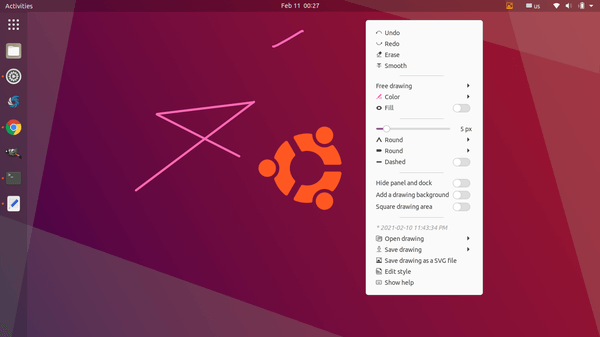
3.) Start drawing on your screen.
Now you can start drawing by pressing Alt+Super+D, and leave the mode either by pressing the keyboard shortcut again or use Esc key.
In the drawing mode, you can right-click on desktop to get a list of menu options.

To draw rectangle, circle, line, insert text, and more shortcuts, press Ctrl+F1 to get help.
For more about the extension, tips and tricks, go to the project page.
Install the Extension for Ubuntu 22.04
The original extension ends supporting up to Gnome 38. For Ubuntu 22.04 users, do the steps below one by one to install the v2 fork.
1. First, open Ubuntu Software then search for and install ‘Extension Manager’.

Install Extension Manager in Ubuntu 22.04+
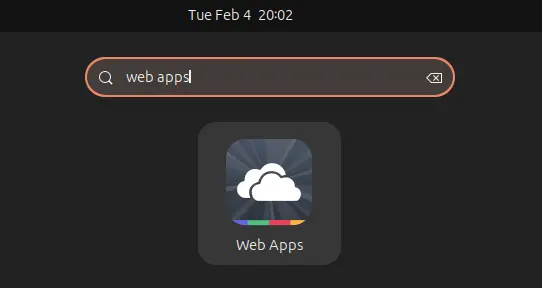
2. Next, launch ‘Extension Manager’ from Activities overview screen (press Windows logo key to activate).

3. Finally use Extension Manager to search and install the tool for drawing on screen:
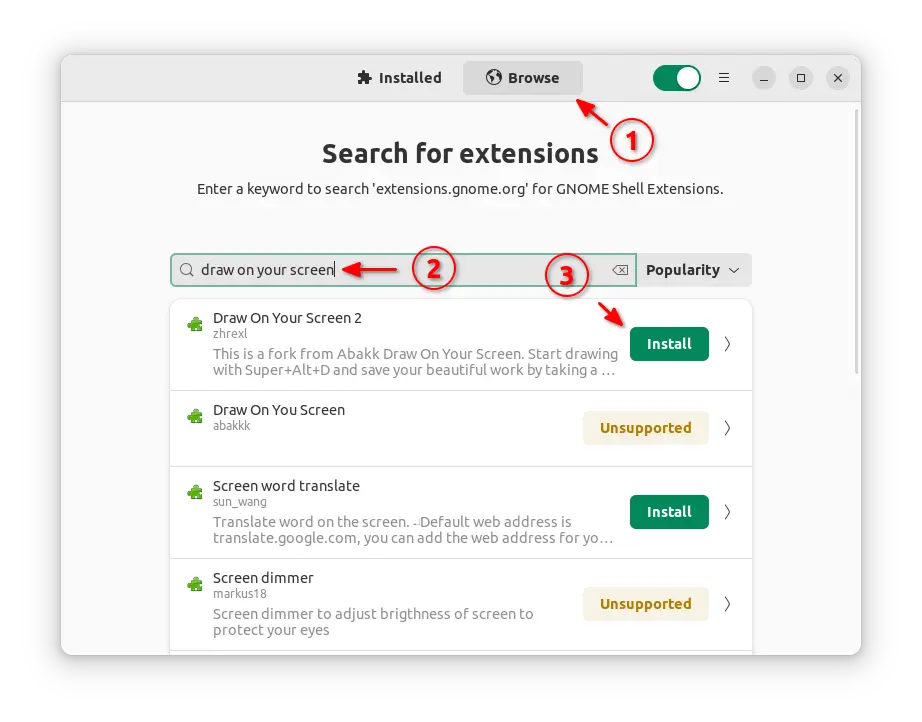
After installed it, you may use the same shortcut (Super+Alt+D) to start drawing in Ubuntu 22.04 screen. Though, you can also go back ‘Installed’ tab in Extension Manager and configure the extension for more options.