This is a step by step tutorial shows how to encrypt Ubuntu, while preserving its data, after you installed it on your computer.
While installing Ubuntu 24.04, if you didn’t choose to use the entire disk, then there’s no graphical option to enable encryption. You can however manually encrypt the full Ubuntu system afterward.
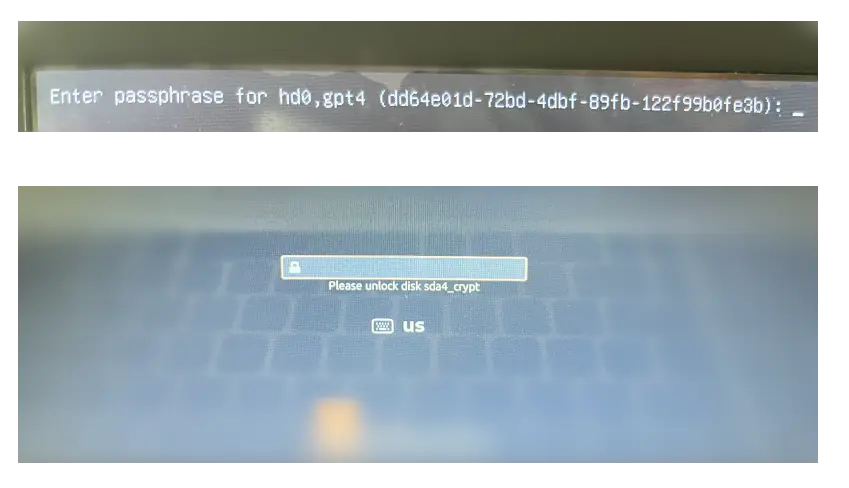
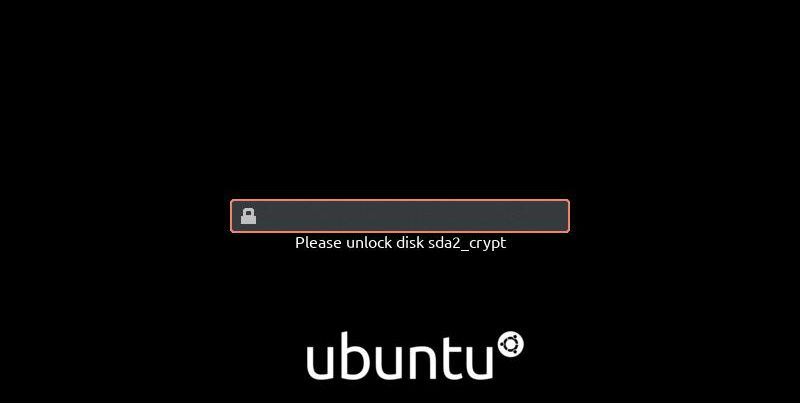
So, on every boot of the Ubuntu system, it asks to input password to unlock boot entry (if /boot partition is also encrypted), then asks again to unlock disk partition before user being able to login.
it asks password twice to unlock boot entry & then root partition
This simple tutorial shows how to easily create encrypted vaults in which you may store files safely in Ubuntu and Debian based systems.
1. Install gocrytfs and cryfs:
In this tutorial, gocrytfs or cryfs will be used as backend. Both use file-based encryption that is implemented as a mountable FUSE filesystem. The encrypted files can be stored in any folder in hard disk, a USB stick or even inside Dropbox folder. And, encrypted files can be synchronized efficiently using standard tools like Dropbox or rsync. Also, the size of the encrypted filesystem is dynamic and only limited by the available disk space.
Gocrytfs is written in Go programming language, it’s fast. CryFS is written in C++. It’s said to be apparently slow and take more disk space than Gocrytfs. You may see here for the comparison. And, install either one or both as you prefer.
Press Ctrl+Alt+T on keyboard to open terminal, and run the command below to install the software:
Install gocryptfs via command:
sudo apt install gocryptfs
Install cryfs via command:
sudo apt install cryfs
2. Install Vaults:
Vaults is a graphical tool provides a stupid simple user interface for creating encryption folders. Only downside could be that the app is available to install as Flatpak package. Some users do not like it.
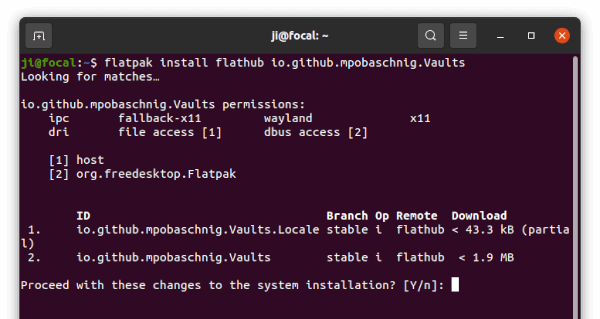
a.) Open terminal (Ctrl+Alt+T) and run command to install flatpak daemon if you don’t have it:
Or use the command in picture after adding the Flathub repository. Vaults is a GTK4 app. It requires separated Gnome 41 platform which takes a few hundred MB disk space if you don’t have it.
3. Create and Use Encrypted Folders:
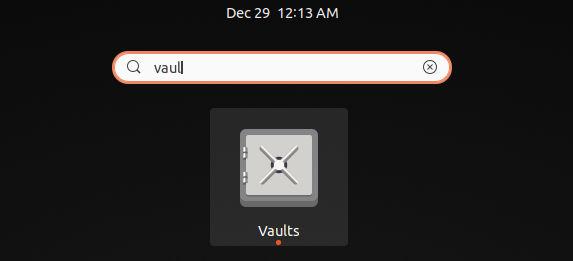
Now, search for and open ‘Vaults’ from Activities overview screen.
Launch Vaults
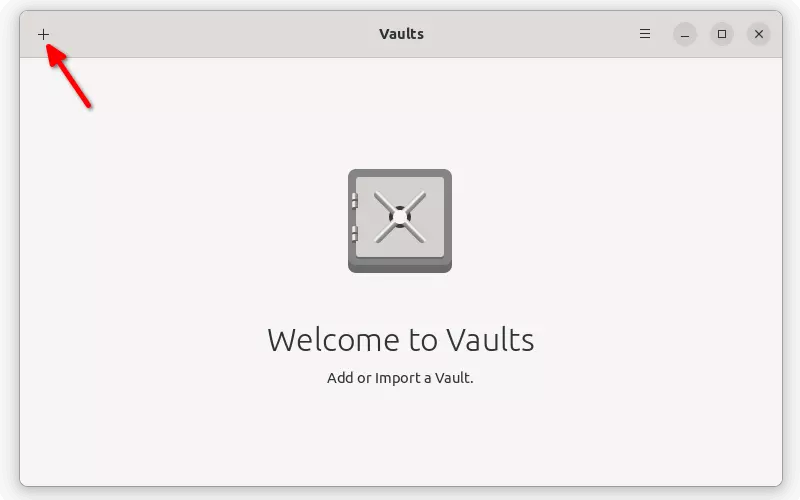
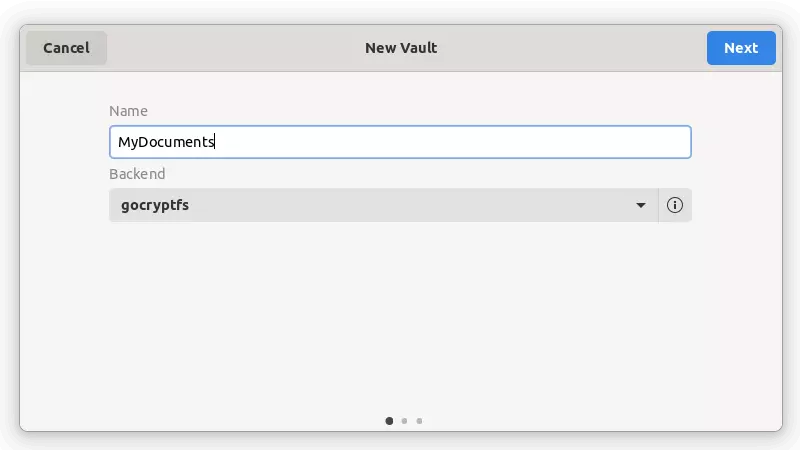
When the app opens, click on ‘+‘ icon on top left and select ‘New Vault‘.
Click ‘+’ to create new encrypted folder
Next, type a name for your new folder and select the encryption software: gocryptfs or cryfs.
Type a name for your folder
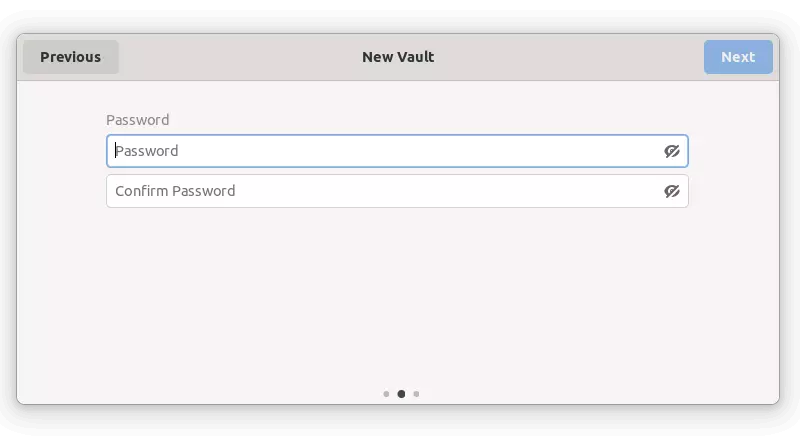
Set password in next page which will be used to mount and access the encrypted folder.
Set password for it
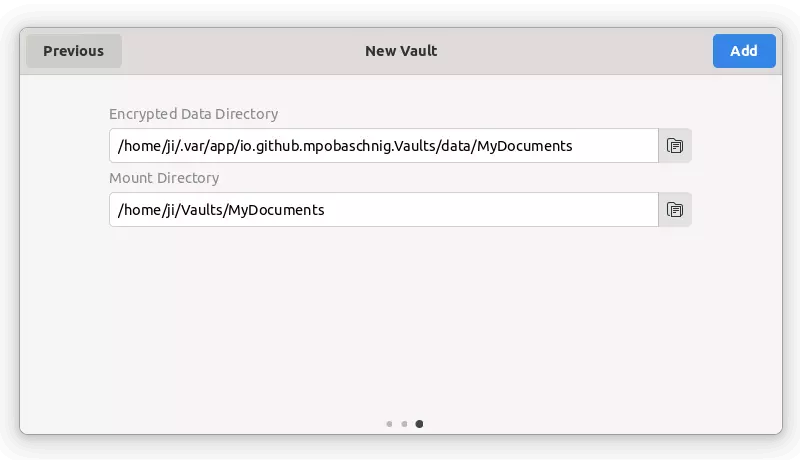
Finally, set the folder location. The default directories are OK. But, as mentioned you may store the data in USB stick or even in Dropbox folder.
Encrypted Data Directory is the folder that stores your files. Files there are encrypted and un-readable.
To decrypt and access your files, you have to mount the Data Directory to the “Mounted Directory” folder.
Set data folder and mount folder
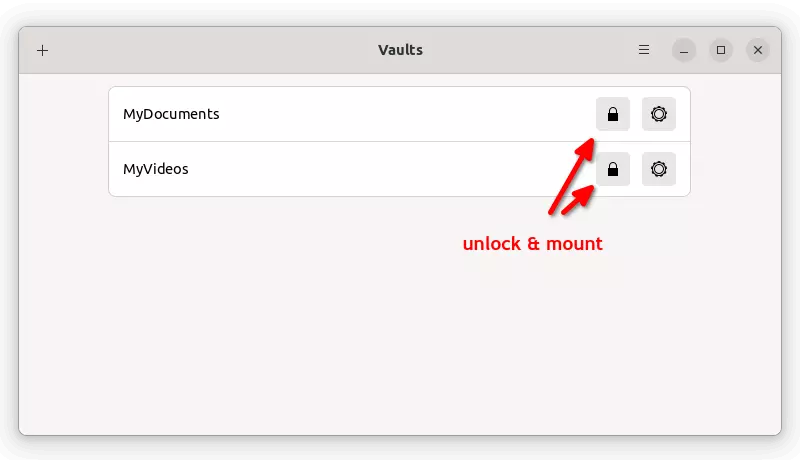
The encrypted folders you created will list in the app window. Click the little lock icon and type the password you set will mount it. (Make sure “Mounted Directory” is empty before unlocking)
Mount encrypted folders
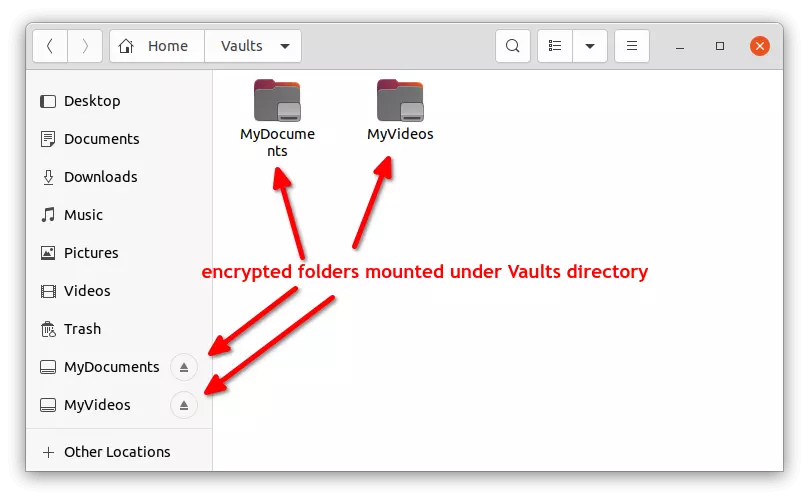
After that, open the file manager. You’ll see the folders in left pane. Create or paste your files into that folder. These files will be encrypted and inaccessible once you unmount the folder (right-click folder in left pane and select unmount)
Put your files into mounted folder and store them safely
Uninstall:
To remove the Vaults app, open terminal (Ctrl+Alt+T) and run command:
This is an easy to follow beginner’s guide shows how to encrypt the full file system while installing Ubuntu.
As you may know, it’s easy to hack against Ubuntu Linux physically. Though users can add password protect to the Grub boot menu, the file system is still accessible via a live system, e.g., bootable USB installer.
To prevent your Ubuntu from physical hacking ultimately, adding password protect to the full system disk can be the best choice. And you can do it during installing Ubuntu.
1.) Firstly, this tutorial is not a full Ubuntu installation guide. If you are not getting started, take a look at this step by step how to install guide.
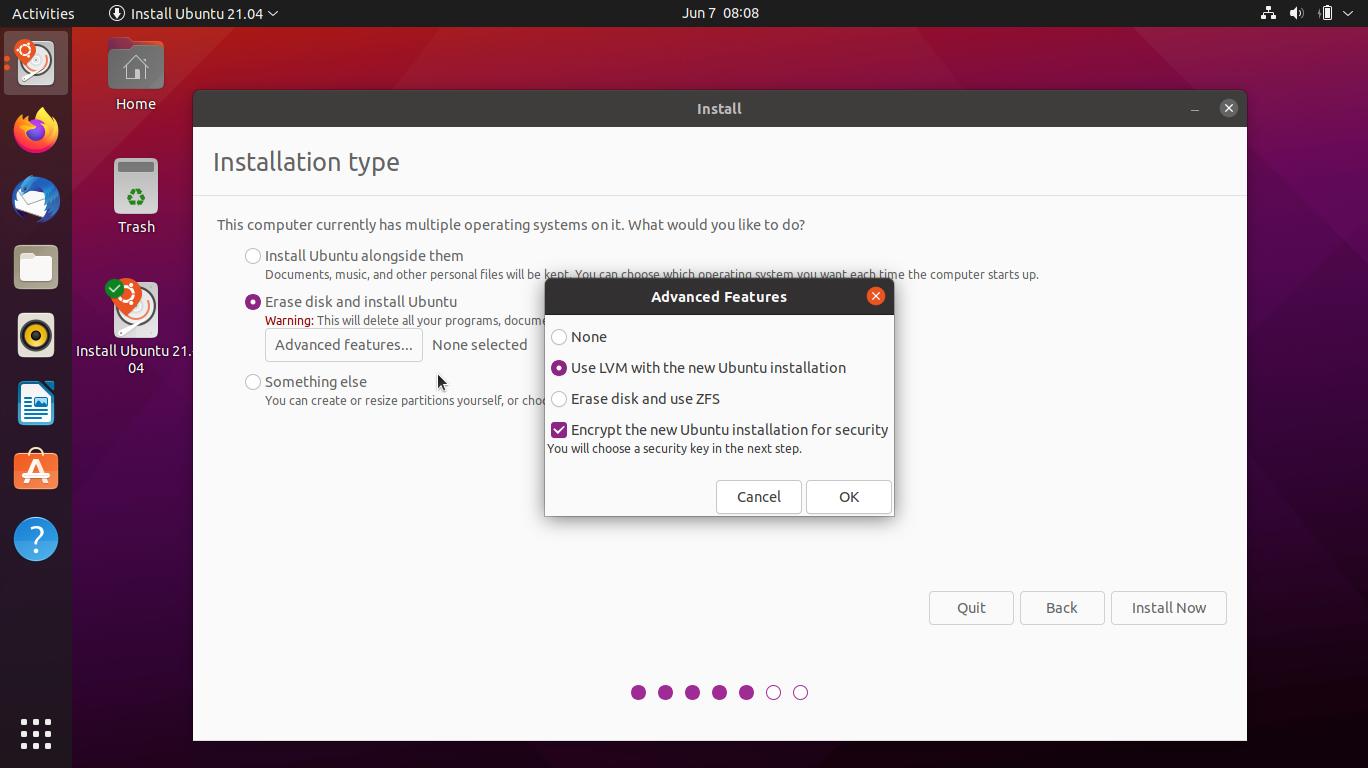
2.) If you’re going to install Ubuntu as the ONLY operating system in the hard drive, just choose ‘Erase disk and install Ubuntu‘ when you’re at Installation type page.
Then click on ‘Advanced features’ to choose either LVM or ZFS and enable ‘Encrypt the new Ubuntu installation for security’.
3.) Mostly I’ll choose ‘Something else‘ to manually create partitions for Ubuntu file system.
Unlike Fedora and Manjaro, Ubuntu does not provide an ‘Encrypt‘ checkbox while creating an EXT4 partition. Instead you need to create a partition use as ‘physical volume for encryption’.
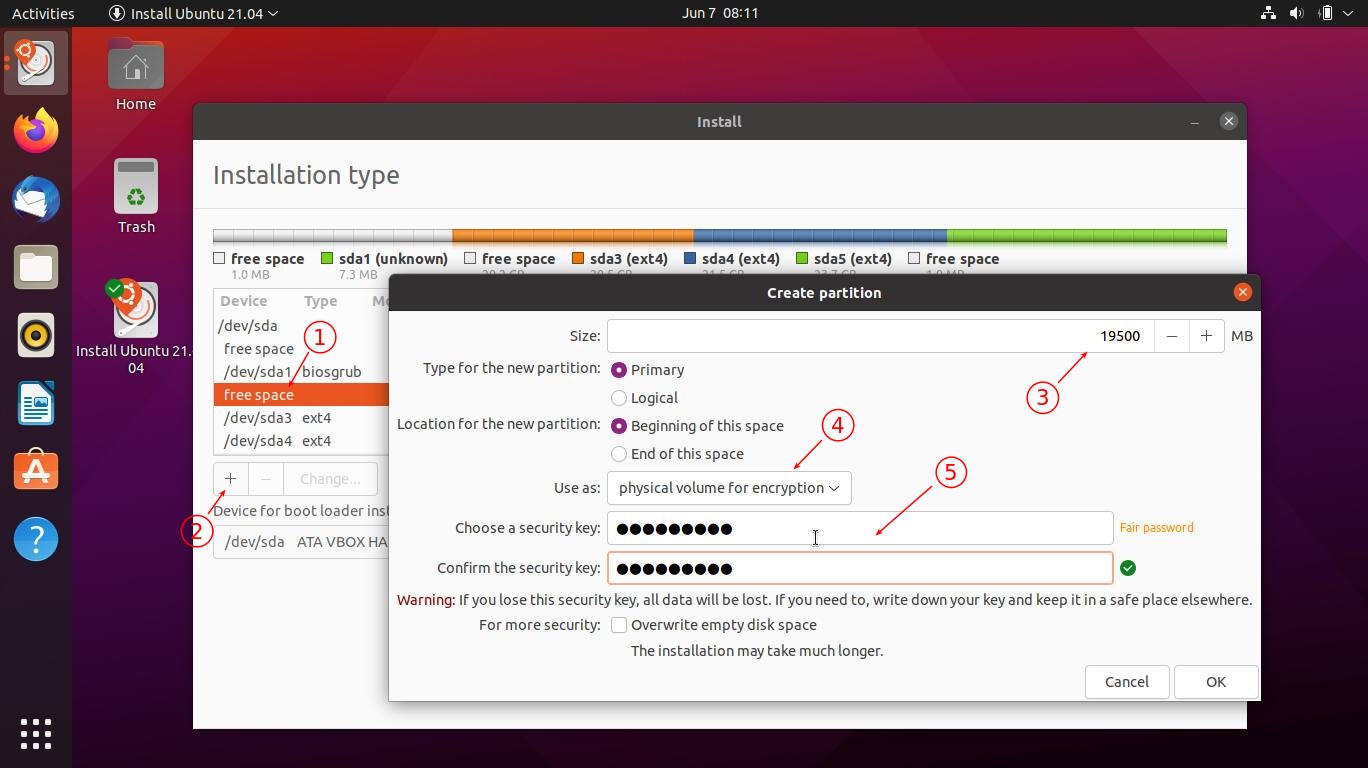
a.) Simply choose the free space and click on ‘+‘ icon on partition table. In the pop-up Create partition dialog do:
Set the size for Ubuntu file system. 20 GB at least. For long time use, as large as possible.
Select use as ‘physical volume for encryption‘.
Set your password and confirm, and finally click OK.
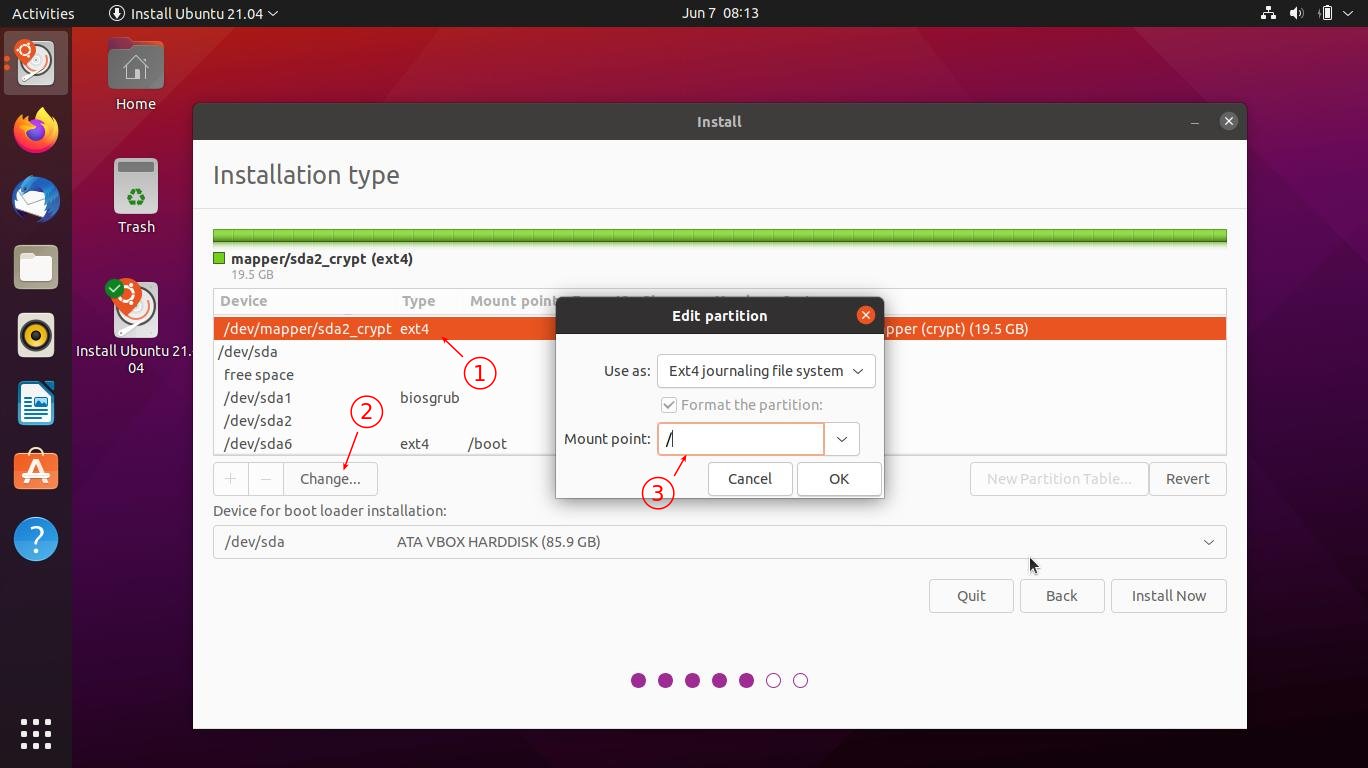
b.) After clicking OK, wait for a few seconds. A new device ‘/dev/mapper/sdaX_crypt‘ will be created as EXT4 file system.
Highlight it, and click on ‘Change‘ button. In the pop-up dialog, set the mount point as /.
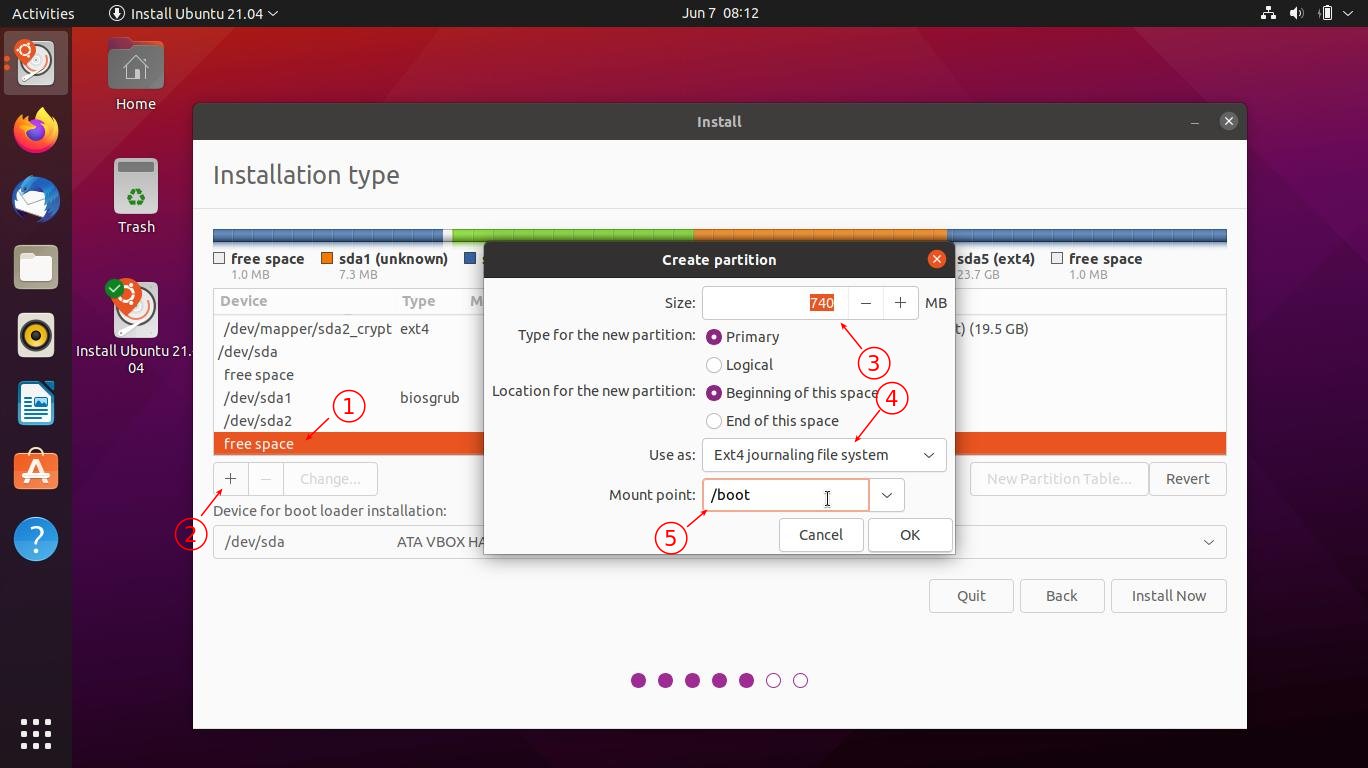
c.) Same to Fedora, you have to create a separated /boot partition, as it can not be encrypted.
To do so, select the free space and click “+” to create:
500 MB should be enough. 1 GB will be better.
use as ‘Ext4 journaling file system’
mount point /boot
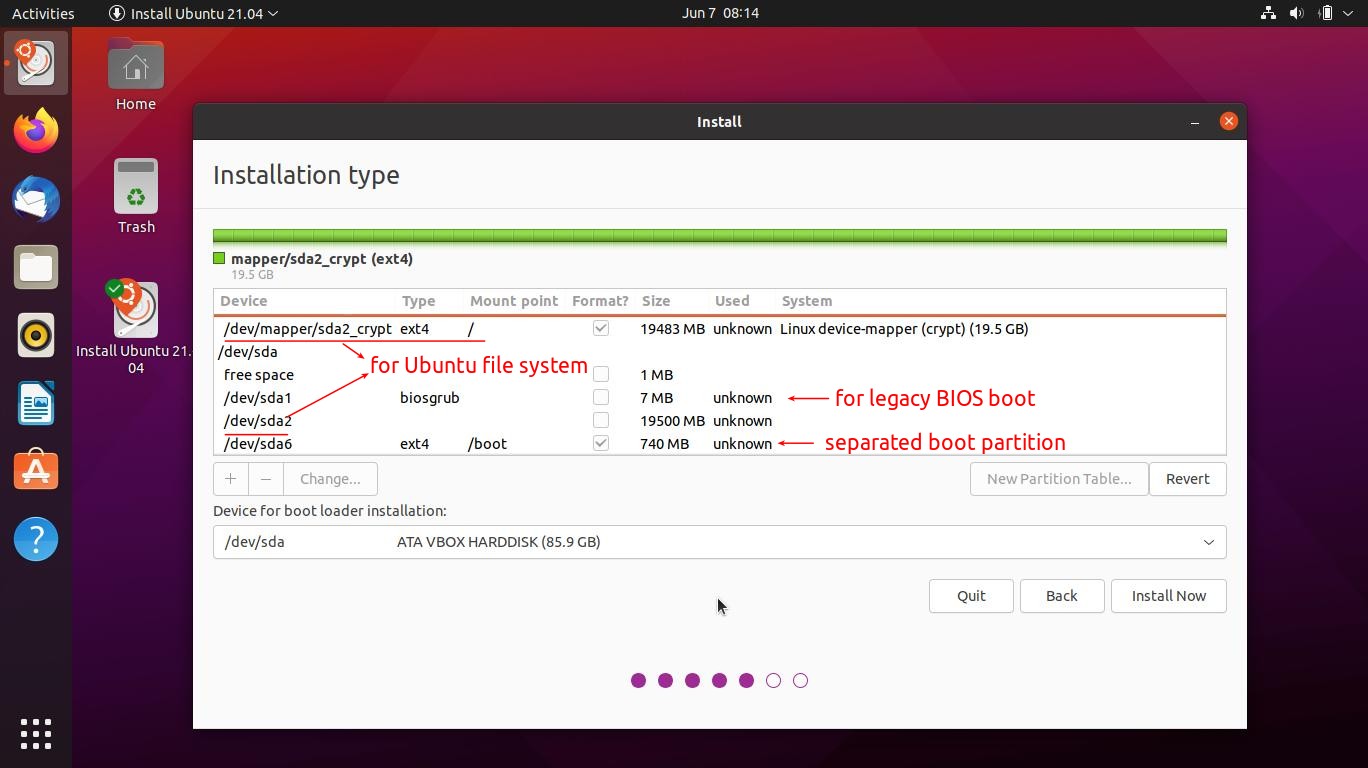
d.) Also create 250 MB ‘EFI System Partition‘ for UEFI boot machine, or 2 MB ‘Reserved BIOS boot area‘ for legacy BIOS boot machine. For small RAM, a swap area is also recommended.
Finally the partition table will look like:
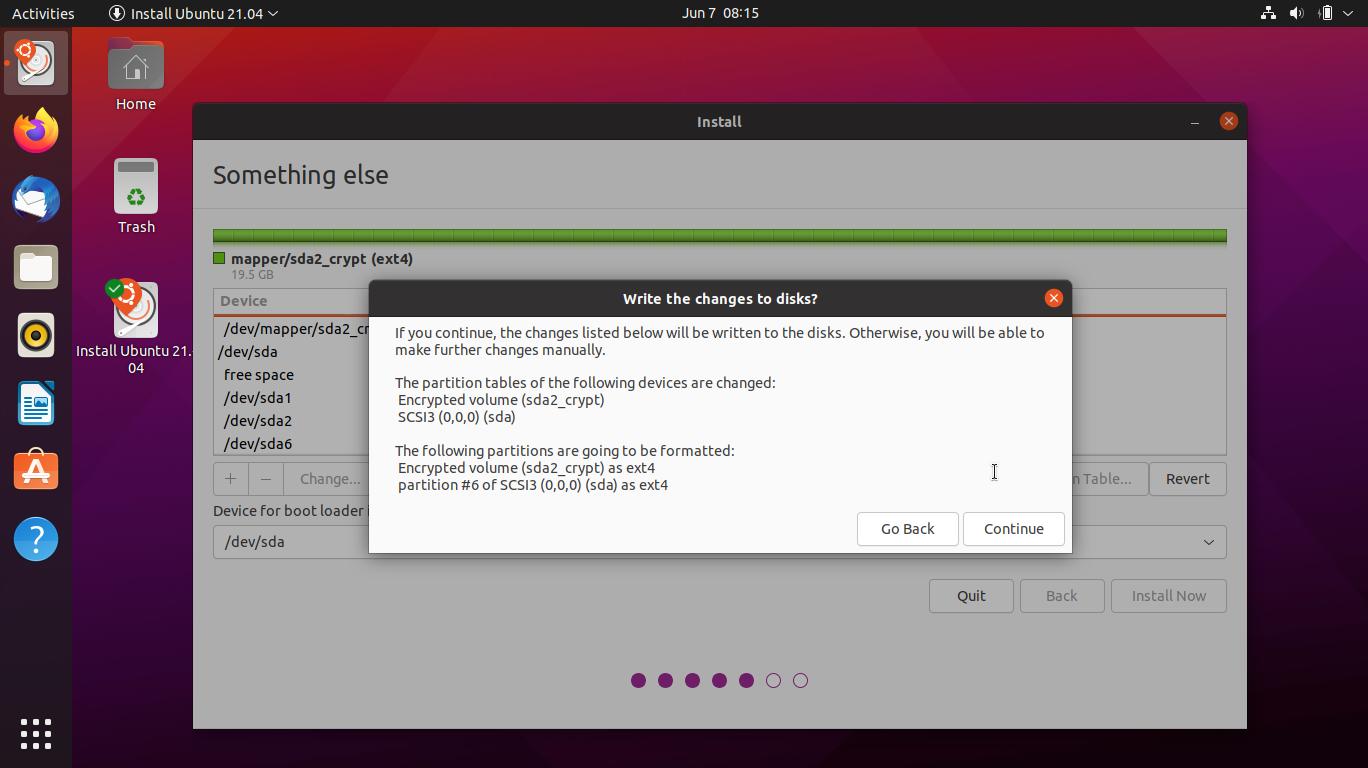
Finally click on “Install Now” button. And confirm on pop-up dialog.
Once you successfully installed Ubuntu, restart and you’ll get into the password prompt when booting Ubuntu (see the top picture). As well, accessing the file system from any other OS need the password you set.
This simple tutorial shows how to install VeraCrypt and create encrypted hard drive, USB stick in Ubuntu 20.04, Ubuntu 18.04, Linux Mint 20, Ubuntu 20.10.
VeraCrypt is a free and open-source disk encryption software based on TrueCrypt 7.1a. It works on Linux, Windows, and Mac OS.
With VeraCrypt, you can:
Creates a virtual encrypted disk within a file and mounts it as a real disk.
Encrypts an entire partition or storage device such as USB flash drive or hard drive.
Encrypts a partition or drive where Windows is installed.
For arm64, armhf, ppc64el packages, there’s an unofficial PPA maintained by the administrator of “XUbuntu Developers” team.
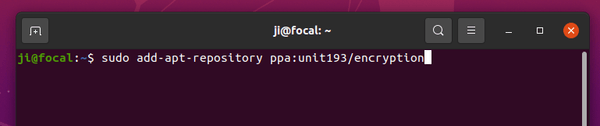
1.) To add the PPA, open terminal from system application launcher and run command:
sudo add-apt-repository ppa:unit193/encryption
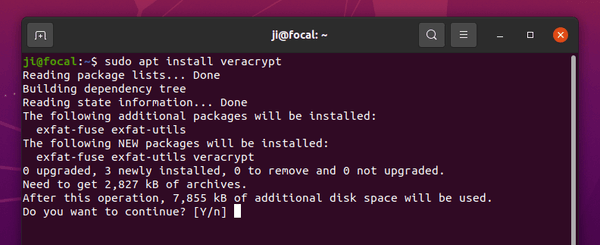
2.) Then refresh system package cache and install the encryption software via commands:
sudo apt update

sudo apt install veracrypt
How to Create an Encrypted Disk via VeraCrypt:
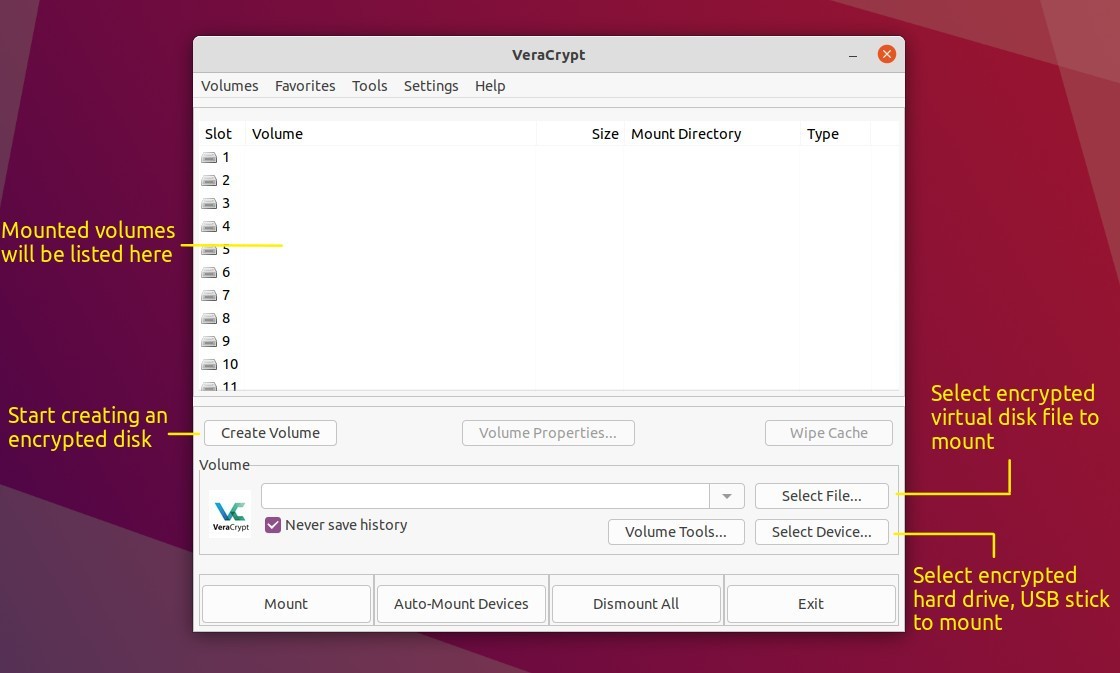
Once installed the software, open it from system application launcher. Then click on the “Create Volume” button to start creating an encrypted disk.
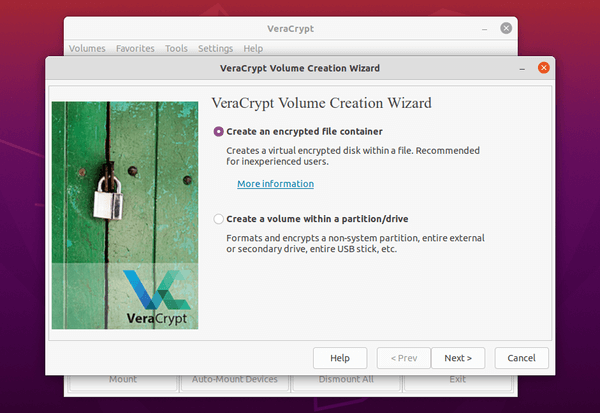
Then either select “Create an encrypted file container” for a virtual encrypted disk within a file, or “Create a volume within a partition/drive” to encrypt non-system partition, external hard drive, or entire USB stick.
Then follow the setup wizard to choose volume type, encryption algorithm, volume password, file system type, and finally click “Format”.
When everything’s done, mount the volume and you’ll be able to access it via Nautilus file browser.