![]()
This is a beginner’s guide shows how to install and setup Tor service and Tor Browser in Ubuntu 26.04, Ubuntu 24.04, and Ubuntu 22.04, and their based systems, .e.g, Linux Mint 22/21. It should also work in Debian 13/12.
Tor, The Onion Router, is a free and open-source service enables people to browser the internet anonymously. While Tor in Ubuntu main repositories is always old, here’s how to install the LATEST version and receive updates via its apt repository.

How to Install Tor via the Official Apt Repository:
Tor has an official apt repository that supports for all current standard supported Ubuntu and Debian releases.
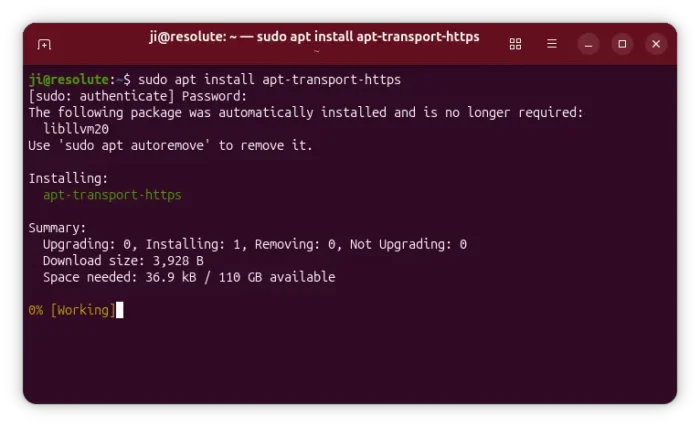
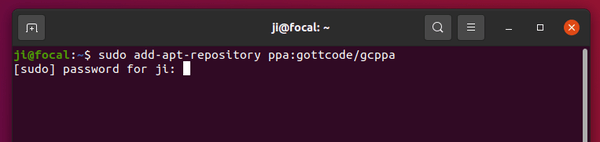
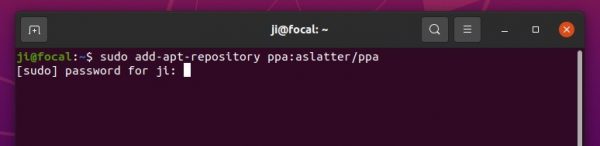
1.) Open terminal either from start menu or by pressing Ctrl+Alt+T on keyboard. Then run command to enable the usage of https support for apt package manager:
sudo apt install apt-transport-https
Type user password (no asterisk feedback) for sudo prompt and hit Enter. NOTE: In recent Debian/Ubuntu, this command is no longer required since apt now support https out-of-the-box!
2.) Create and add source repository for Tor.
Also in terminal window, run the command below to create an apt source config file and edit via nano command line text editor:
sudo nano /etc/apt/sources.list.d/tor-project.sources
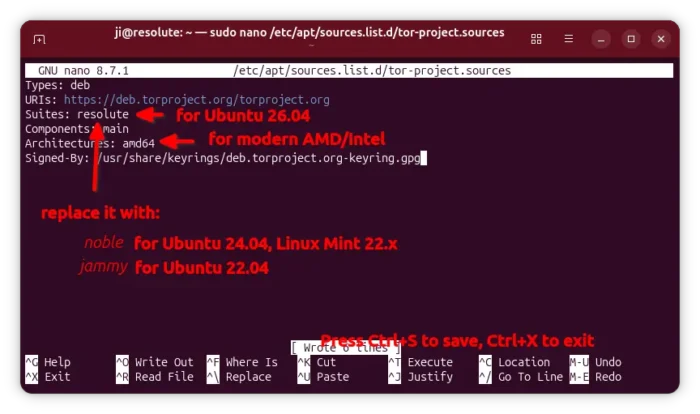
When file opens (in terminal), add following lines and edit accordingly.
Types: deb
URIs: https://deb.torproject.org/torproject.org
Suites: resolute
Components: main
Architectures: amd64
Signed-By: /usr/share/keyrings/deb.torproject.org-keyring.gpg
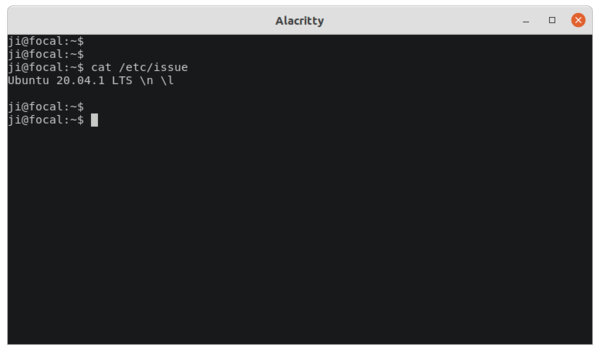
Here you need to replace resolute (for 26.04) with noble for Ubuntu 24.04, or jammy for Ubuntu 22.04. For Debian /Ubuntu based systems, run cat /etc/os-release to tell the code-name your system is based on.
Also, replace amd64 with arm64 for ARM device, such as Raspberry Pi and Snapdragon X laptops.
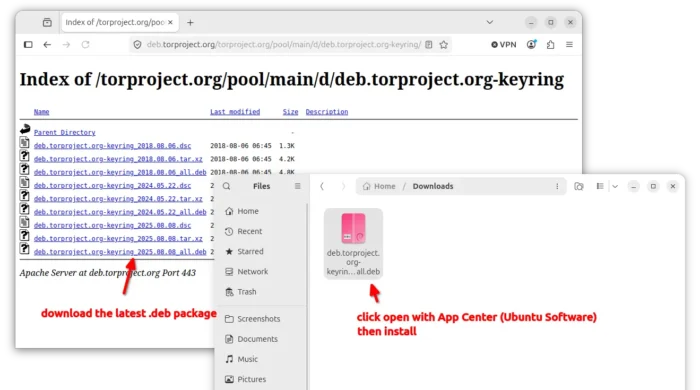
3.) Download and install the key that you specified in last step (via “Signed-By” section), by going to the link button below:
Select download the latest version of .deb package, then click open with App Center (or Ubuntu Software) and install.
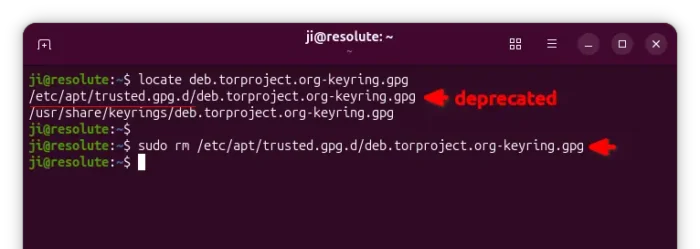
The .deb so far will install two copies of the key files. The one in /etc/apt/trusted.gpg.d is deprecated due to security reason! Run the command below to remove it:
sudo rm /etc/apt/trusted.gpg.d/deb.torproject.org-keyring.gpg
4.) Finally, refresh system package cache by running command:
sudo apt update
The output should include something looks like: “Get:x https://deb.torproject.org/torproject.org …”
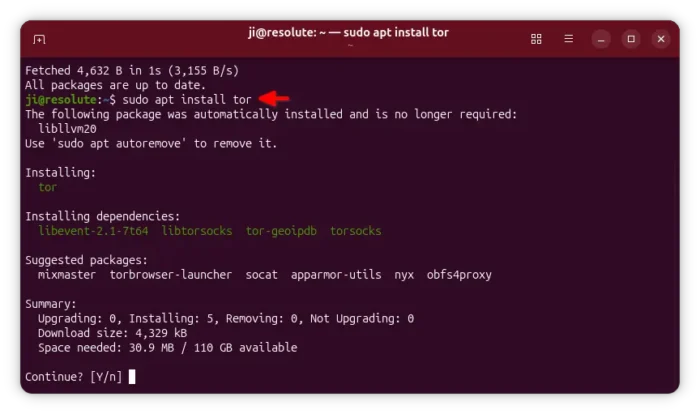
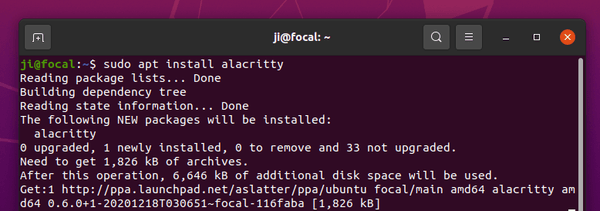
Then, install tor package via command:
sudo apt install tor
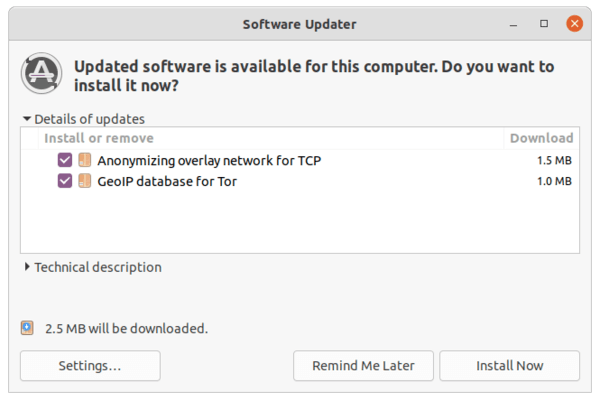
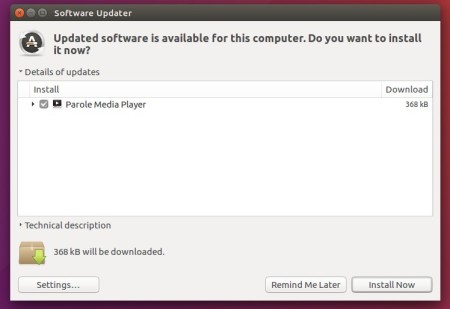
Or update it, if an old version was installed, via Software Updater
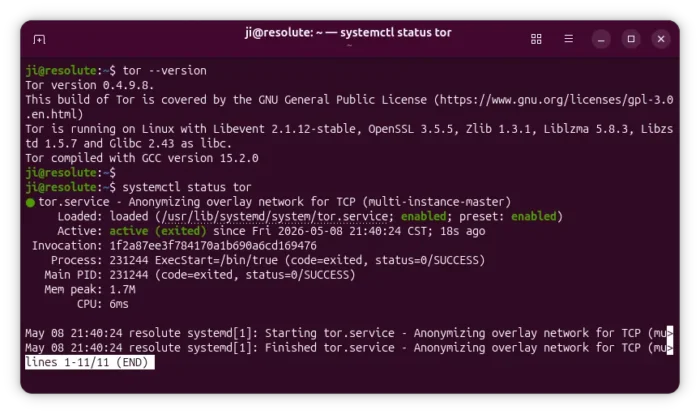
5.) Once installed, you can check Tor version and if it’s running via commands:
tor --version

systemctl status tor
NOTE: In case the service is not in active status, try systemctl daemon-reload then start with systemctl start tor.
How to Install Tor Browser in Ubuntu:
If everything goes OK, let’s now install the Tor web browser.
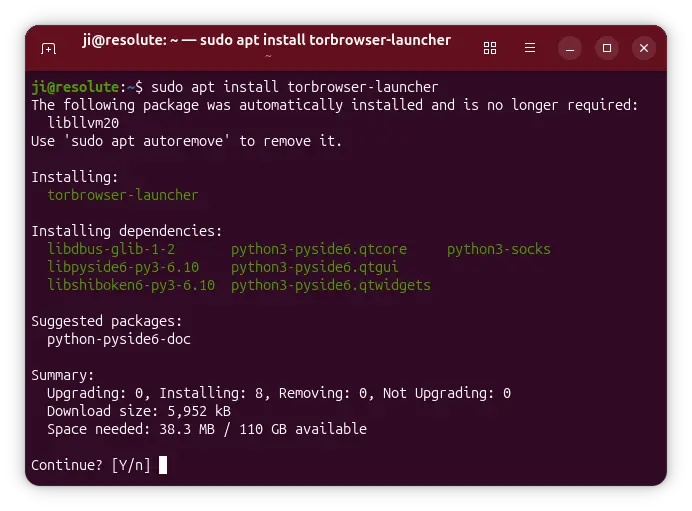
1.) Simply open terminal and run command:
sudo apt install torbrowser-launcher
UPDATE: Due to package bug in Ubuntu 22.04, it may refuse to launch. To workaround it, open ‘terminal’ and run command to edit the ‘__init__.py‘ (2 underscores before & after ‘init’) file:
sudo gedit /usr/lib/python3/dist-packages/torbrowser_launcher/__init__.py
When the file opens, change the line 98, 99, 100 and save it:
gui.move(
(desktop.width() – window_size.width()) // 2,
(desktop.height() – window_size.height()) // 2
)

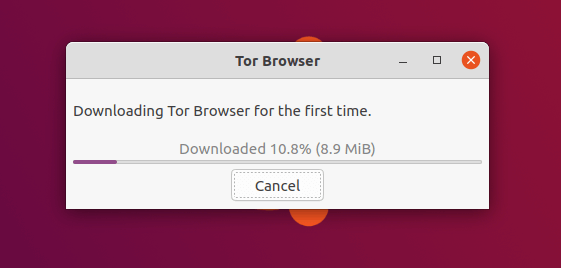
2.) Then search for and open Tor Browser from system application launcher. It will automatically download & install the browser in your system.
For choice, you may open Tor Browser Launcher to select mirror, change listening port, and reinstall Tor browser.
3.) Once the download process finished, select ‘Configure’ if you’re in a Country censors Tor or behind proxy in next window, or select ‘Connect’:
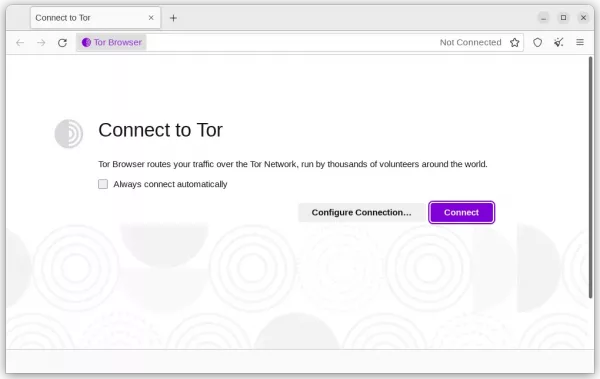
When everything’s done, the Tor browser starts. That’s all. Enjoy!
Uninstall Tor and Tor Browser:
To remove Tor Browser, open terminal and run command:
sudo apt remove torbrowser-launcher
To remove Tor network service, run command:
sudo apt remove --autoremove tor
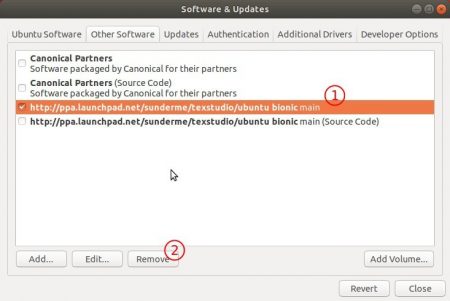
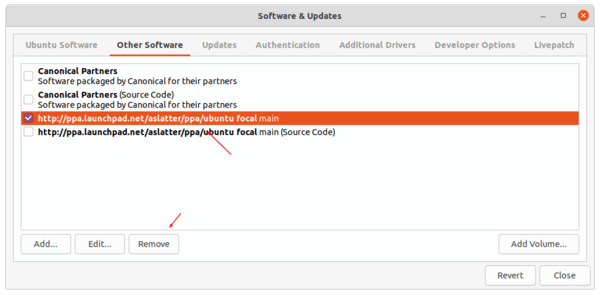
And, remove the tor repository by deleting the source file:
sudo rm /etc/apt/sources.list.d/tor-project.sources
Also, remove the keyring files via command:
sudo rm /usr/share/keyrings/deb.torproject.org-keyring.gpg
And, finally refresh system package cache via sudo apt update command.


 [/ac-box]