![]()
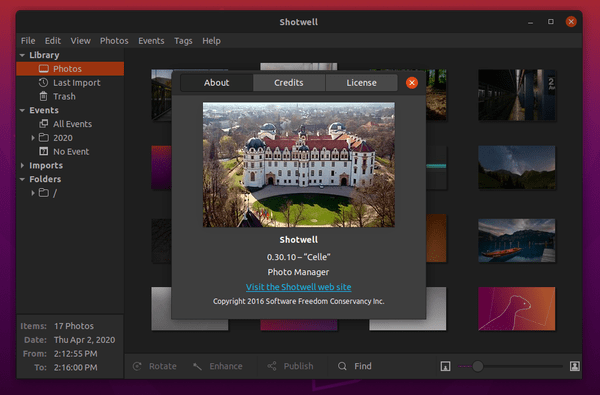
While the default Shotwell photo organizer is old in Ubuntu 20.04, here’s how to install the latest stable 0.30.10 via PPA repository.
Changes from the pre-installed Shotwell 0.30.8 to Shotwell 0.30.10 include:
- Modify web publishing authentication to comply with Google’s requirements
- Fix YouTube OAuth scope
- New and updated translations.
For those who want to upgrade to the latest stable Shotwell 0.30.10, the unofficial PPA has made the package for Ubuntu 20.04 LTS.
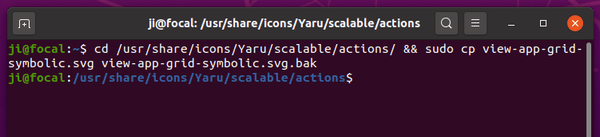
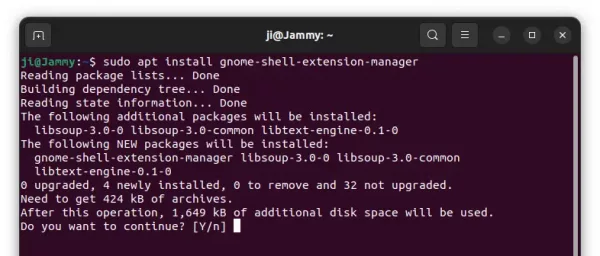
1.) Open terminal either by pressing Ctrl+Alt+T on keyboard, or by searching for ‘terminal’ from ‘Show Applications’ menu. When terminal opens, run command:
sudo add-apt-repository ppa:sicklylife/shotwell
Type user password (no asterisk feedback) for sudo prompts and hit Enter to continue.

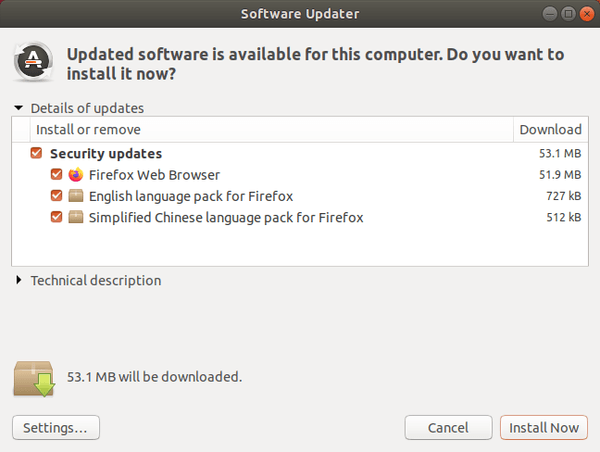
2.) Then either upgrade Shotwell via Software Updater (Update Manager).
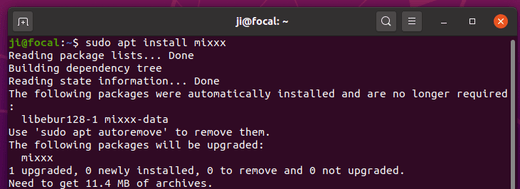
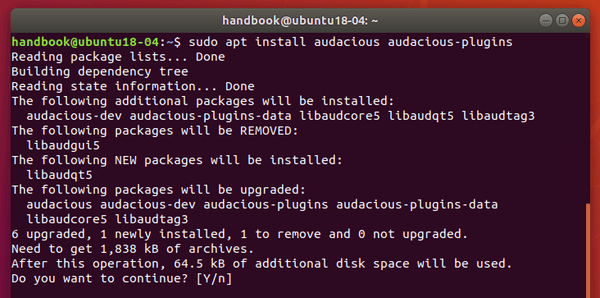
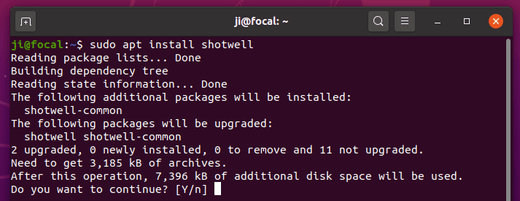
Or run command to install the new photo organizer package:
sudo apt install shotwell
(Optional) For any issue, you can purge the PPA to revert back the stock Shotwell 0.30.8 by running command:
sudo apt install ppa-purge && sudo ppa-purge ppa:sicklylife/shotwell