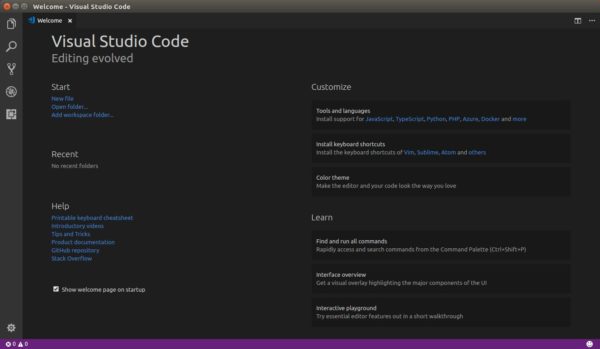
Microsoft Visual Studio Code 1.26 was released a day ago with a number of significant updates.
According to the release note, some of the key highlights in VS Code 1.26 include:
- Breadcrumbs – A navigation bar allows to quickly navigate between symbols and files.
- You can now apply Quick Fixes from the Problems panel
- User setup package for Windows is now available on stable.
- Column selection is supported within the Integrated Terminal via
Alt+click - “Add missing import” Quick Fix to all missing imports in a JavaScript/TypeScript file
- JSX tags closed automatically when type
>in a JavaScript or TypeScript file - Better JS/TS error reporting
- Add IntelliSense autocompletions to the extension search field.

How to Install VS Code 1.26 in Ubuntu:
The official .deb package for Debian/Ubuntu is available for download at the link below:
Grab the deb and install it via either Gdebi package manager or command in terminal(Ctrl+Alt+T):
sudo dpkg -i ~/Downloads/code_*.deb; sudo apt -f install
For those who want to receive updates for VS Code via Software Updater utility, add the Microsoft repository via following steps (64bit only):
1. Open terminal (Ctrl+Alt+T) and run command to add the repository:
sudo sh -c 'echo "deb [arch=amd64] https://packages.microsoft.com/repos/vscode stable main" > /etc/apt/sources.list.d/vscode.list'
2. Download and install the repository key via commands:
curl https://packages.microsoft.com/keys/microsoft.asc | gpg --dearmor > microsoft.gpg

sudo mv microsoft.gpg /etc/apt/trusted.gpg.d/microsoft.gpg
Uninstall Visual Studio Code:
To remove the code editor, either use Synaptic Package Manager or run command:
sudo apt-get remove --autoremove code
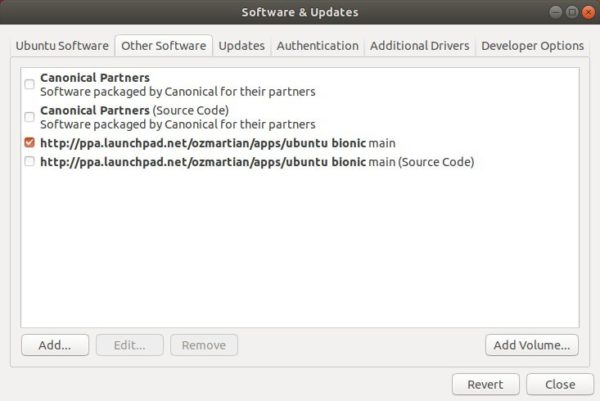
And remove the Microsoft repository by launching Software & Updates utility and navigating to Other Software tab.