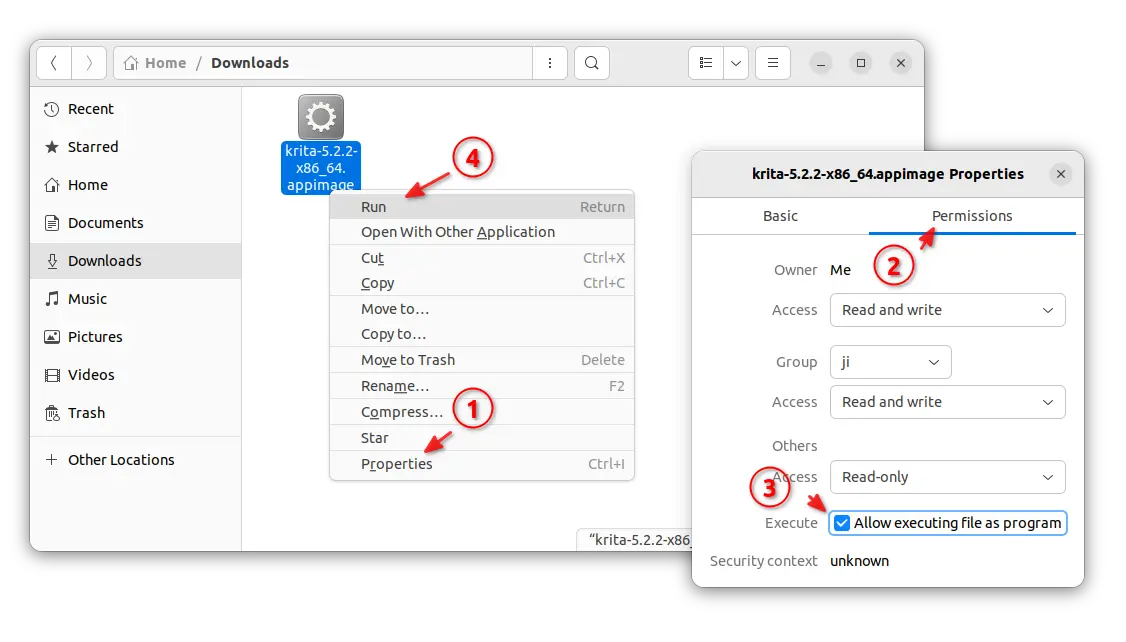
![]()
SMPlayer media player released version 23.12 few days ago, with important bug-fixes and new API.
The new released fixed the compatibility issues when using MPV 0.37 as backend. They include video playback can not be resumed from pause, as well as the issue getting the audio and video codec on mpv 0.37.
SMPlayer 23.12 also implemented the new OpenSubtitles API. Since, the old API on OpenSubtitles.org is deprecated, and to be turned off by the end of 2023. If you use the service for getting subtitles, then it’s highly recommended to upgrade as soon as possible.
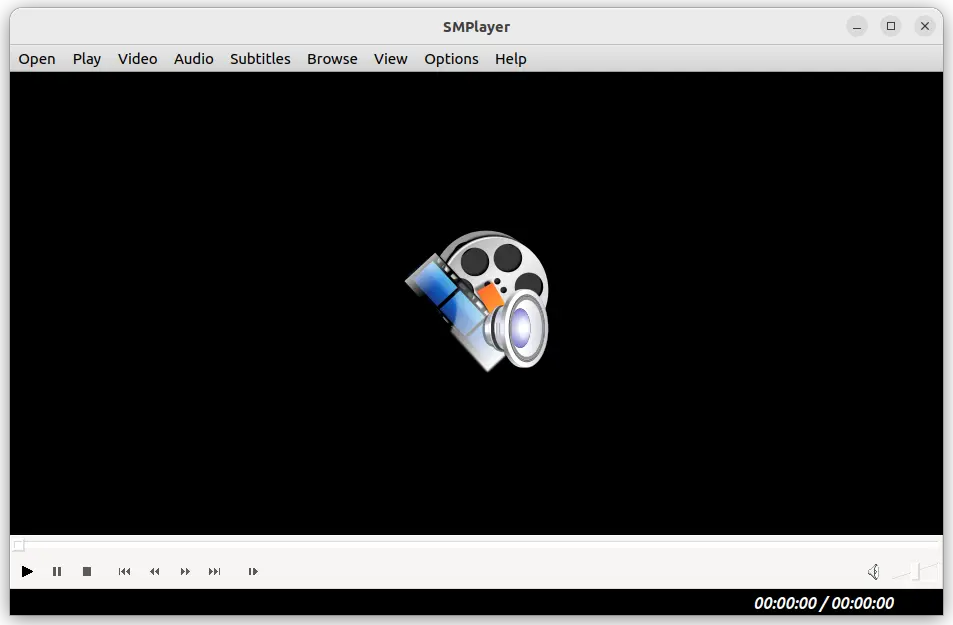
SMPlayer 23.12
For Ubuntu 23.10, the SMPlayer 22.7.0 installed from system repository, either freezes or pops-up following error on video playback:
“Oops, something went wrong. MPlayer/mpv has finished uxexpectedly. Exit code: 1”
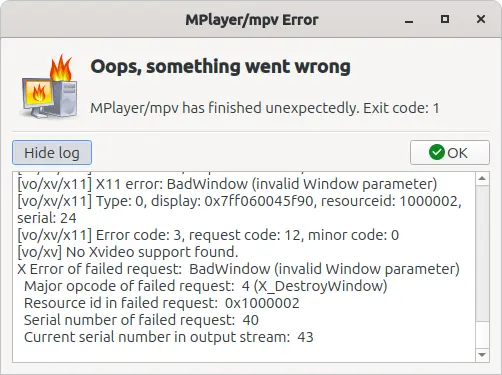
The issue has been fixed in my test by installing the new version 23.12.
Other changes in SMPlayer 23.12 include:
- Fix loading playlists with extension m3u8.
- Fix video jitter/shudder when clicking on timeline bar.
- Other bug fixes.
How to Install SMPlayer 23.12
The player provides official .exe for Windows, .dmg for MacOS, and .rpm/.deb/.snap/.flatpak/.AppImage for Linux, which as available to download at Github releases page:
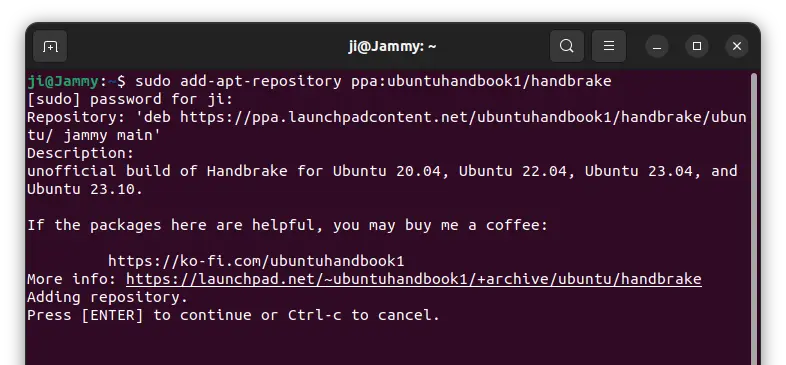
For Ubuntu, user can choose to install the Snap package (run in sandbox), directly from Ubuntu Software or App Center. Or, use the official PPA (with ARM devices support) by running the commands below one by one:
sudo add-apt-repository ppa:rvm/smplayer
sudo apt update
sudo apt install smplayer
It somehow does not provide package for Ubuntu 23.10. However, download & install the package for 22.04 works good in my case in 23.10 laptop.
For Debian from version 8 to 12 (Bookworm), SMPlayer is also available to install in both amd64 and i386 through the OBS repository.
Uninstall
For Ubuntu user, depends on which package you installed, either remove Snap from Ubuntu Software.
Or, remove the .deb package by running command in terminal (Ctrl+Alt+T):
sudo apt remove --autoremove smplayer
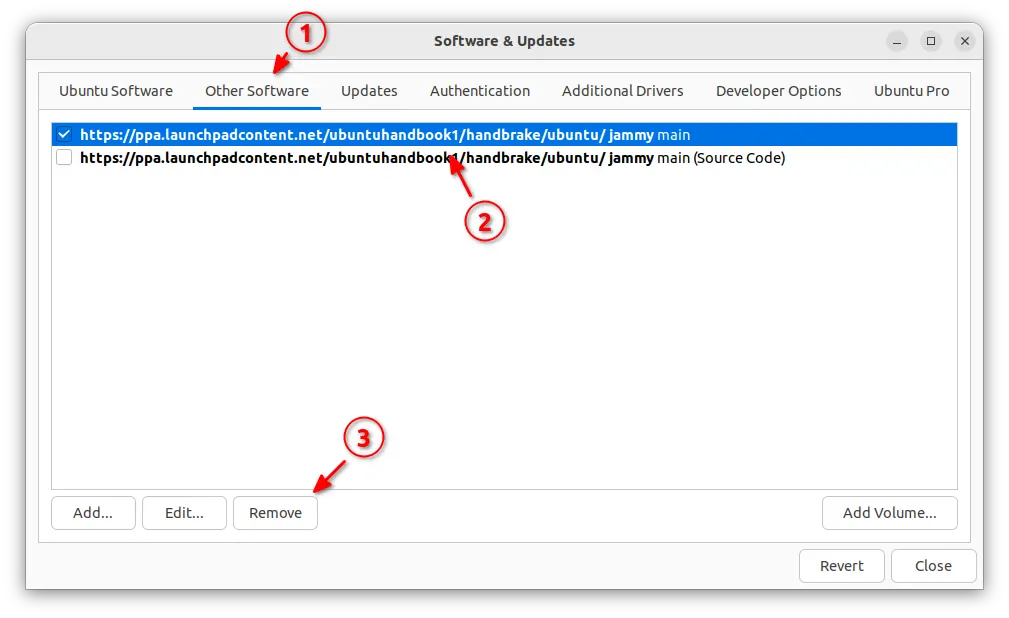
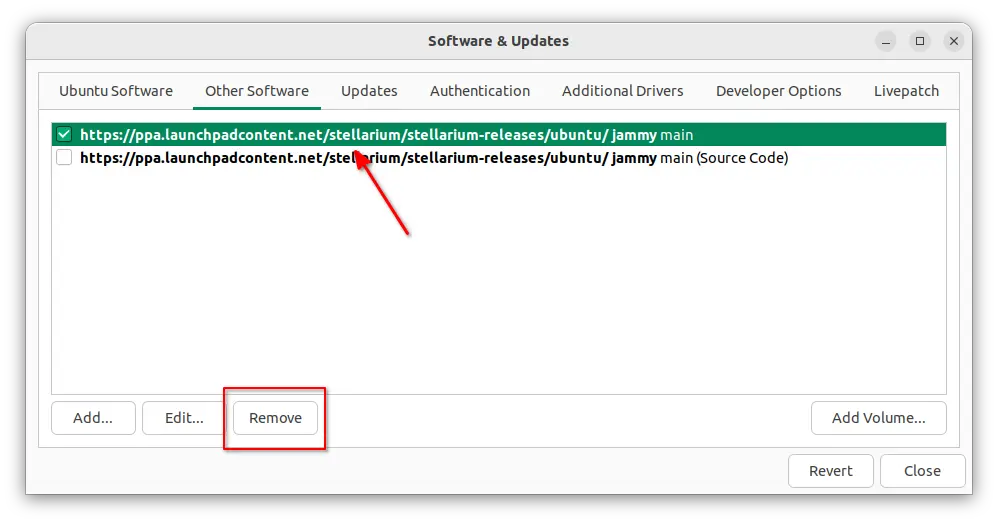
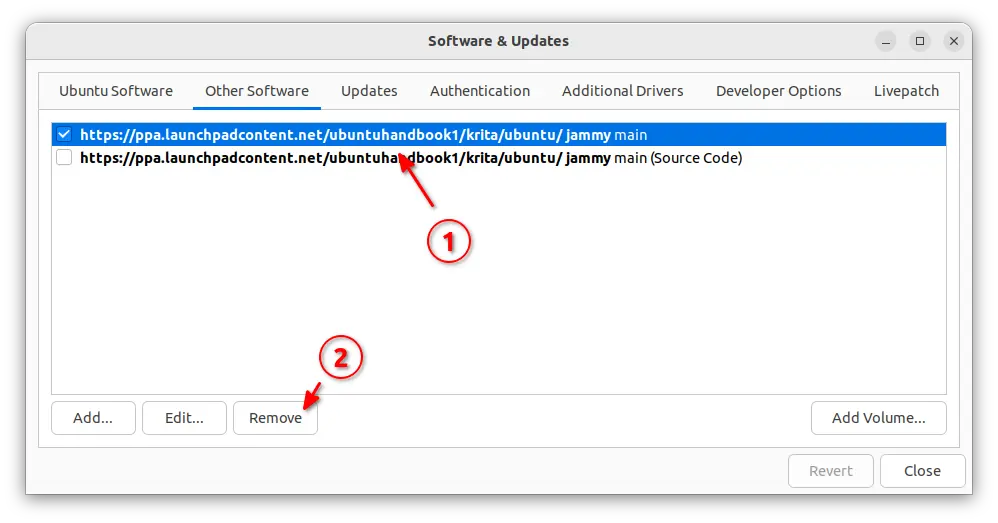
If the PPA was added, either remove it from “Software & Updates” tool under “Other Software” tab, or run command in terminal:
sudo add-apt-repository --remove ppa:rvm/smplayer