Budgie desktop announced the new 10.9 release this Monday! See what’s new in the free open-source desktop environment.
Budgie is a popular desktop environment that default in Ubuntu budgie, and optional in Debian, Fedora, Arch, Manjaro Linux, etc.
The most recent version 10.9 was released few days ago. It features initial port to Wayland, which is already default in Ubuntu, Fedora Workstation, and other Linux (such as Debian 12) with recent GNOME desktop.
It adopts XFCE’s libxfce4windowing library to make the transition from X11 to Wayland. And, in the release the Show Desktop applet, Alt+Tab window switcher, and Workspace applet have been ported to the new library.
Budgie 10.9 also takes into use the budgie-session. It’s a softish fork from GNOME session 44.x.
As you may know, GNOME is going to drop X11 session. The developer, Jordan Petridis, has submit the request in project page. To retain the X11 session until switch Budgie to being Wayland-only, the budgie-session is being in use to take place.
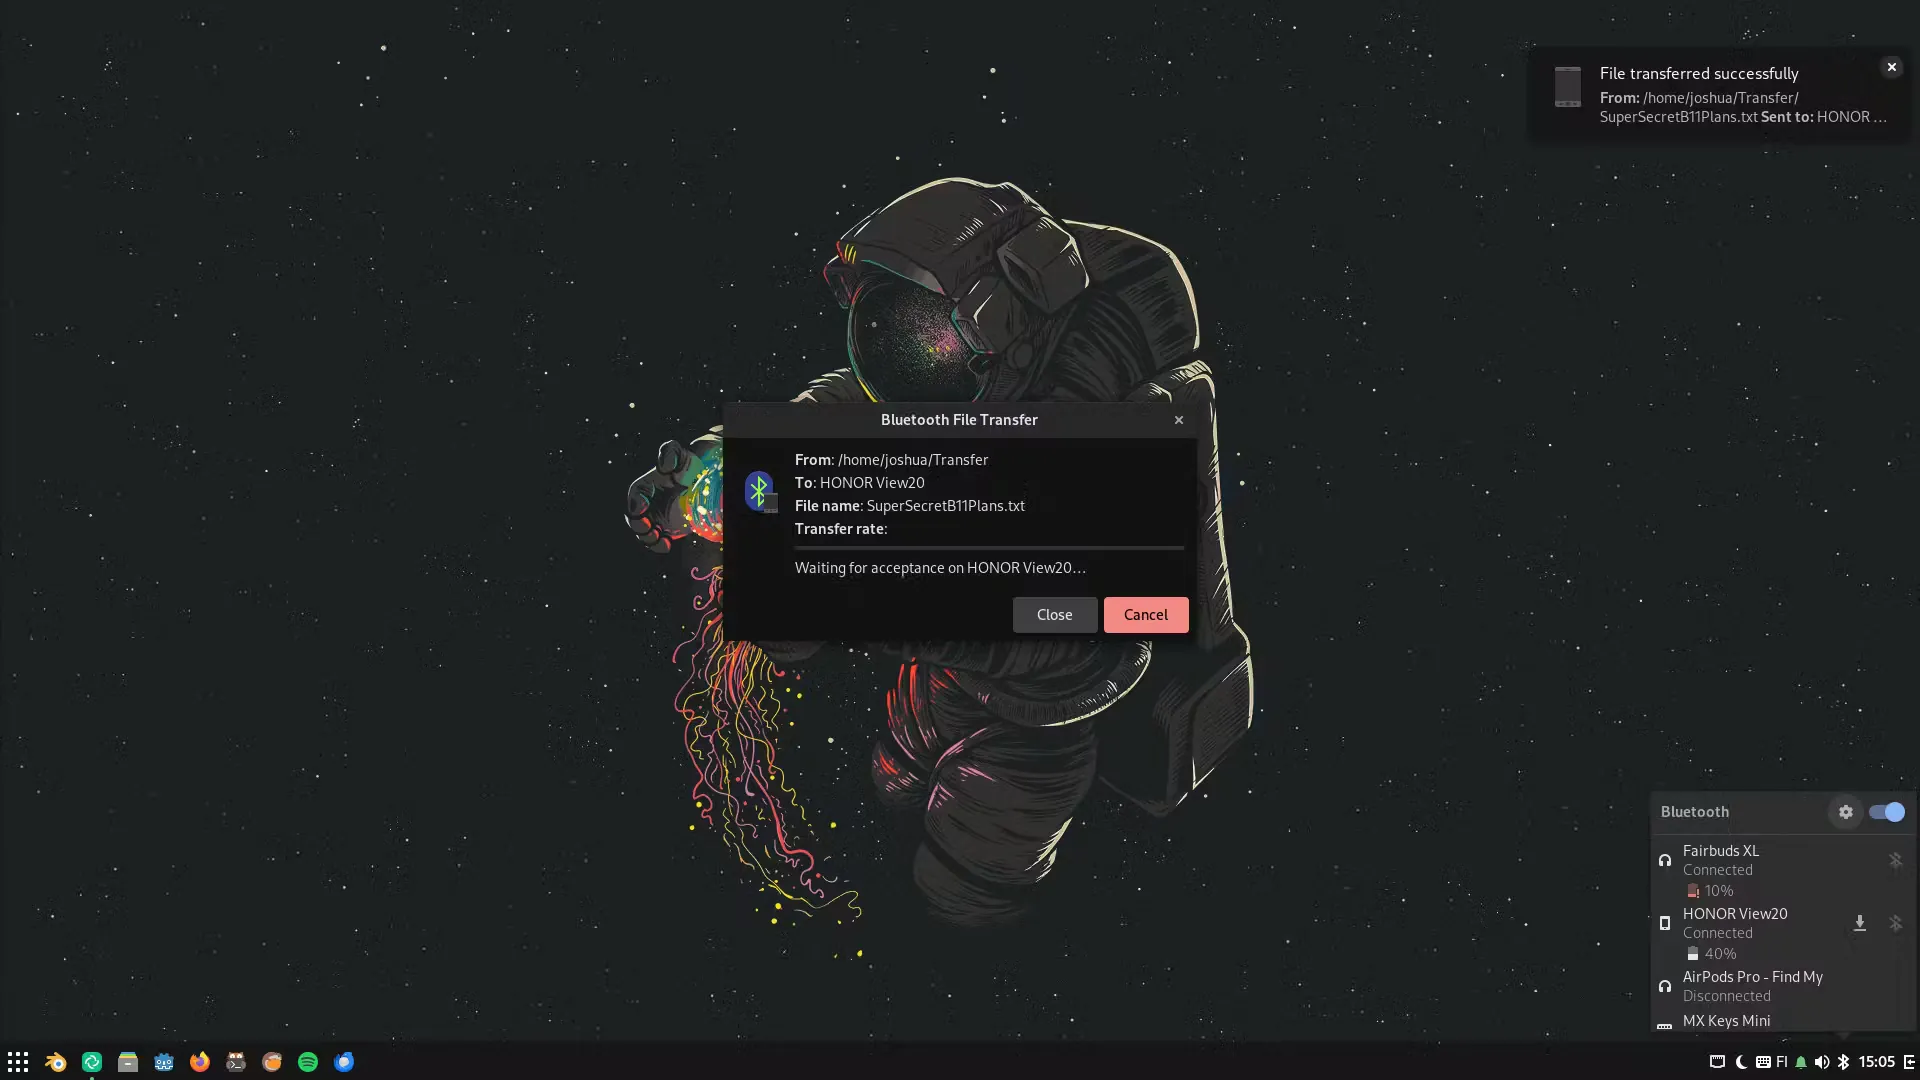
Another change in the release is the redesigned bluetooth applet. Instead of using an older version of gnome-bluetooth, the applet now directly communicates to BlueZ and UPower over D-Bus.
And, the applet now provides direct connect/disconnect functionality for paired devices, battery life indicators, as well as functionality for sending files to Bluetooth devices.

Image from https://buddiesofbudgie.org/
How to Get Budgie Desktop 10.9
For more changes about the new desktop release, see the official release note.
To get the new desktop release, it’s better to wait your Distribution to package the updates. And, Arch Linux has already done the job.
For Ubuntu users, just keep an eye on the Ubuntu Budgie Team PPA.