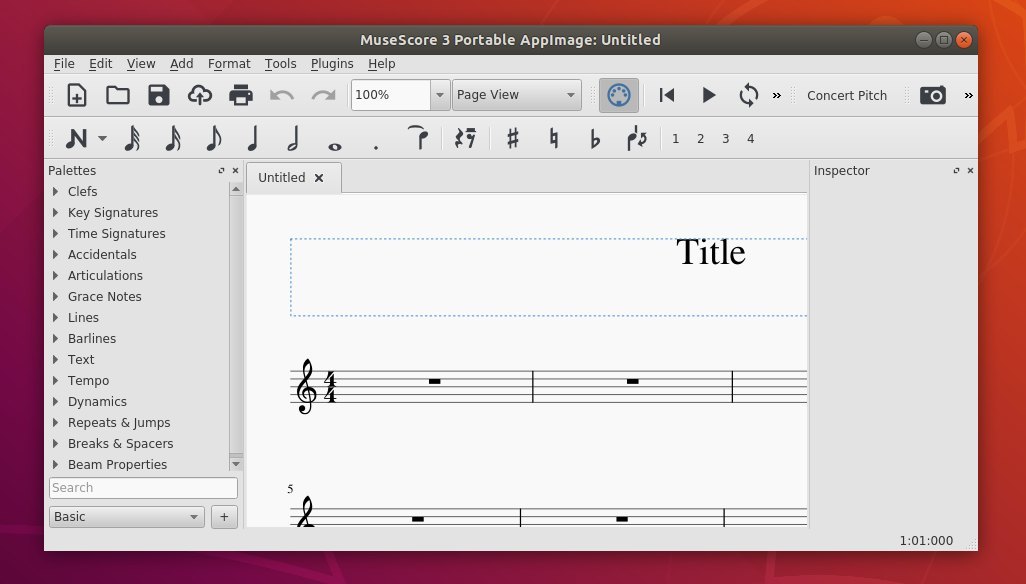
Free Scorewriter MuseScore released version 3.0.1 yesterday with some improvements and numerous bug-fixes.
MuseScore 3.0.1 redesigned New Score Wizard for easy searching templates, better score previews, and accessibility improvements for blind users. The new release also features better import of 2.X scores, better automatic placement of hairpins and dynamics, and reworked Mixer UI.
There are also dozens of issues fixed in the release, including:
Properties were not saved properly in a number of cases
Layout was broken after operations with measure rests and tuplets
Time signatures appeared incorrectly in some cases and might lead to crash
Using the implode tool on notes connected with slurs led to crashes
Editing a barline was applied incorrectly
Context menu on instrument names didn’t appear
Pages with landscape orientation were cropped when printing
Playback went crazy on saving
Tempo was applied incorrectly in certain cases involving fermatas
Slurs were lost or detached in some cases
Autoplacement couldn’t be switched off for stems and arpeggio
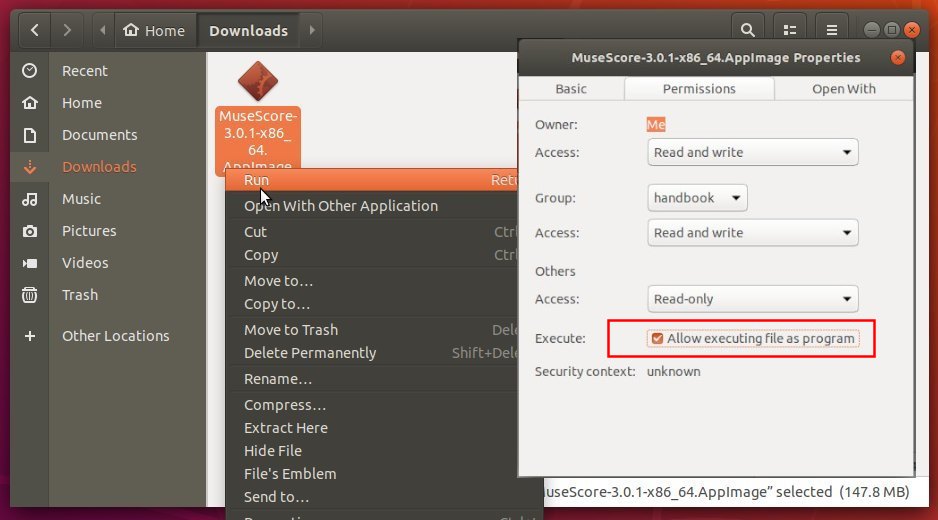
How to Install MuseScore 3 in Ubuntu:
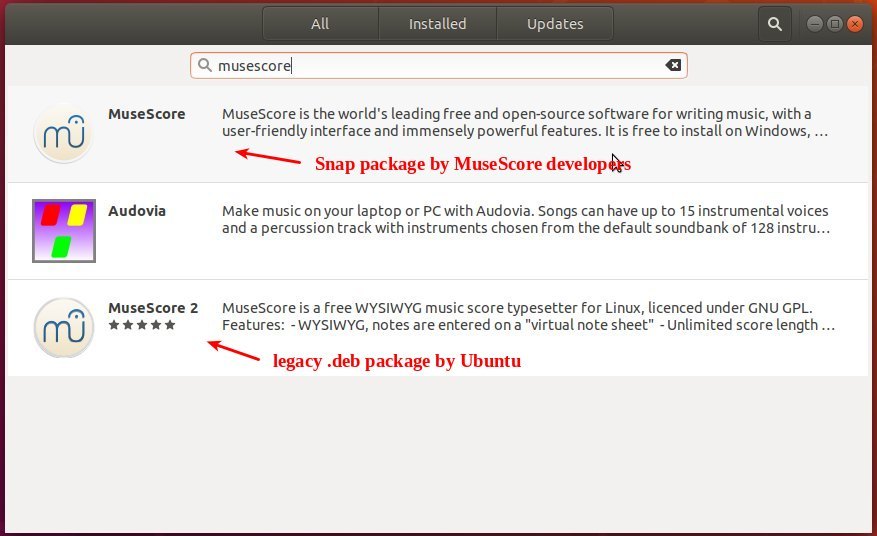
MuseScore is available via Snap (available in Ubuntu Software), Ubuntu PPA, and Gnome Flatpak.
As there are not updated to MuseScore 3.0.1 at the moment, you may download the Appimage (single executable package), and run the file to launch the software.
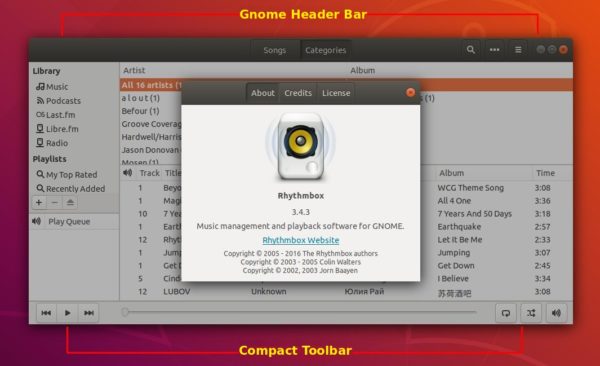
Alternative toolbar plugin released a new bug-fix version today with the latest Rhythmbox music player 3.4.3 compatibility.
Alternative toolbar is a third-party plugin for Rhythmbox. It replaces the default header bar with Gnome-style client-side decoration. And the standard toolbar replaced by a compact toolbar.
The plugin is installed in Ubuntu 18.04 and higher out-of-the-box. However, it does not work well in the most recent Rhythmbox 3.4.3 release.
For Ubuntu 18.04 and Ubuntu 18.10 users upgraded to Rhythmbox 3.4.3, you may do following steps to update the Alternative Toolbar plugin:
1. Open terminal either from app launcher or via Ctrl+Alt+T keyboard shortcut. When it opens, run command to add the PPA:
sudo add-apt-repository ppa:ubuntuhandbook1/apps
Type user password (no asterisks feedback) when it asks and hit Enter to continue.
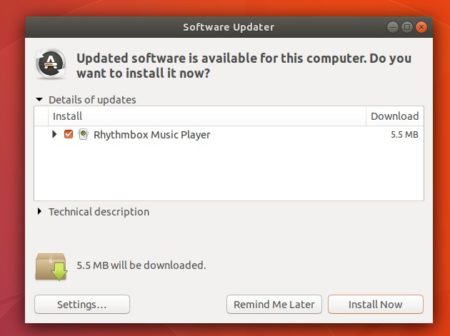
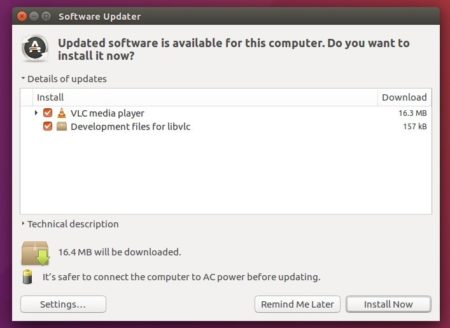
2. Then launch Software Updater, and update Rhythmbox as well as the plugin:
Uninstall:
You can remove the PPA by launching Software & Updates and navigate to Other Software tab. Or simply run command in terminal:
Replace $(lsb_release -sc) with bionic for Linux Mint 19, or xenial for Linux Mint 18.x. And input your password (no asterisks while typing) when it prompts and hit Enter.
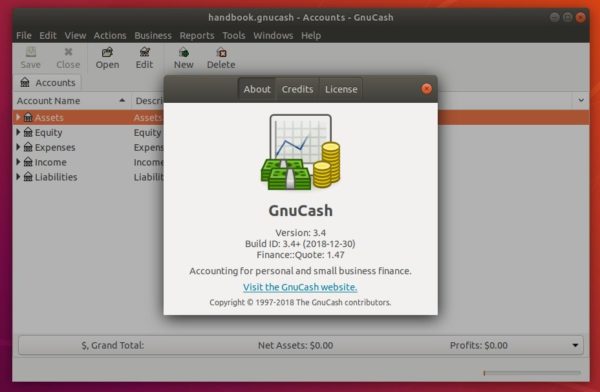
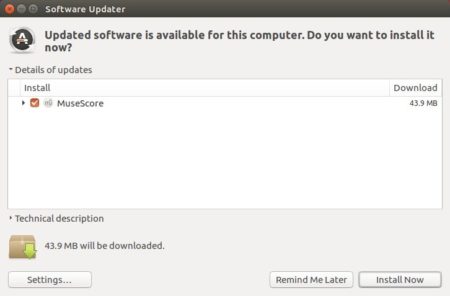
Free accounting software GnuCash 3.4 was released a few days ago with tons of bug-fixes and improvements. Here’s how to install it in Ubuntu 18.04, Ubuntu 18.10.
According to the release note, GnuCash 3.4 redesigned gnc-uri-utils, cleaned up more report code, improved toolbar buttons, text options widget, and fixed a large number of bugs.
How to Install GnuCash 3.4 in Ubuntu 18.04:
While GnuCash flatpak package is still at version 3.2, you can install the latest 3.4 release via an unofficial PPA for Ubuntu 18.04 and Ubuntu 18.10.
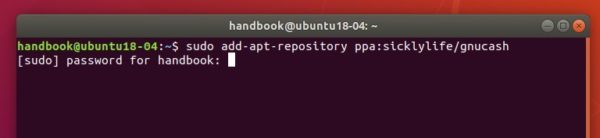
1. Open terminal via Ctrl+Alt+T keyboard shortcut key. When it opens, run command to add the PPA:
sudo add-apt-repository ppa:sicklylife/gnucash
Type user password (no asterisks feedback) for sudo prompts and hit Enter.
2. Then either upgrade GnuCash via Software Updater, or install it via command:
sudo apt install gnucash
Uninstall:
To remove GnuCash 3.4, run command in terminal:
sudo apt remove --autoremove gnucash
And remove the PPA via Software & Updates -> Other Software.
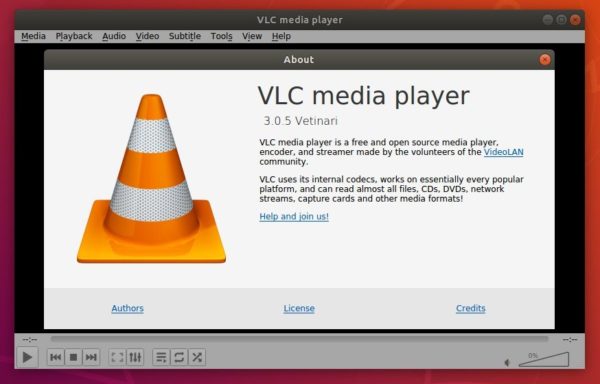
VLC media player released version 3.0.5 a few days ago with performance improvements and numerous fixes. Here’s how to install it in all current Ubuntu releases.
Faster and more complete support for the AV1 codec
Compatibility with macOS 10.14 “Mojave”, with native dark mode, and notarization
Improvements for Blu-ray playback, RTP and UDP streams
Improvements for MP4, MKV, CAF and AV1 media
Improvements for HDR support, tone-mapping and native Windows HDR support
Fixes for Chromecast, Direct3D11, Youtube and subtitles rendering
How to Install VLC 3.0.5 in Ubuntu:
Linux Snap package:
The official VLC snap package (containerized software package) has been updated to v3.0.5. For Ubuntu 18.04 and higher, simply install it from Ubuntu Software.
For Ubuntu 16.04, open terminal (Ctrl+Alt+T) and run command to install the snap package:
sudo apt install snapd && sudo snap install vlc
VLC package for Ubuntu:
Ubuntu comes with VLC package (see previous picture), and offers software updates through updates repository.
NOTE VLC 3.0.5 is not available at the moment of writing. As usual, the new release package will be published in a few days.
For Ubuntu 18.04 and higher, simply install VLC .deb package from Ubuntu Software, and VLC 3.0.5 package will be available via Software Updater once published.
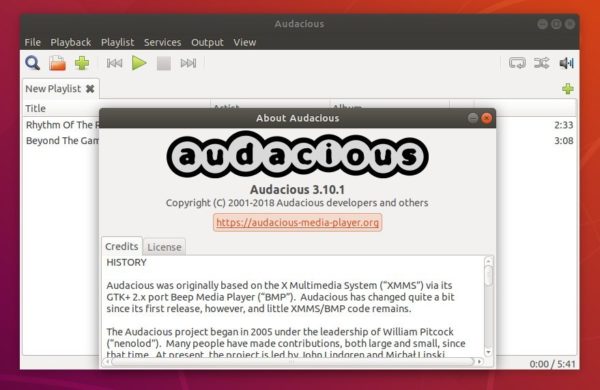
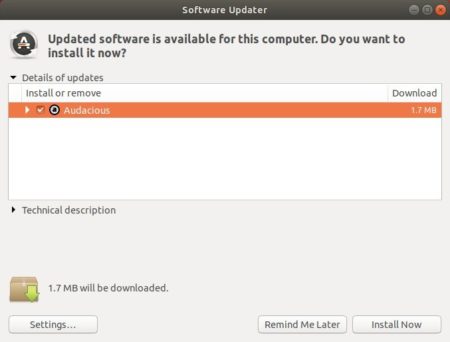
Audacious audio player released version 3.10.1 today with some important bugs fixed. Here’s how to install it in Ubuntu 18.04, Ubuntu 16.04, and Ubuntu 18.10.
Linux Kernel 4.20 was released a few days ago. Linus Torvalds announced:
Let’s face it, last week wasn’t quite as quiet as I would have hoped for, but there really doesn’t seem to be any point to delay 4.20 because everybody is already taking a break.
And it’s not like there are any known issues, it’s just that the shortlog below is a bit longer than I would have wished for. Nothing screams “oh, that’s scary”, though.
And as part of the “everybody is already taking a break”, I can happily report that I already have quite a few early pull requests in my inbox. I encouraged people to get it over and done with, so that people can just relax over the year-end holidays. In fact, I probably won’t start pulling for a couple of days, but otherwise let’s just try to keep to the normal merge window schedule, even if most people hopefully won’t even be back until over the merge window is over.
As to the details of this last week of 4.20 – most of it is networking (drivers, core networking fixes, bpf). There’s a few other non-network driver updates too, and a revert series of some of the x86 inline asm changes that were obviated by upcoming compiler support.
… …
Changes in Linux 4.20 include:
AMD Picasso APU support as well as Raven 2 APU support
Intel DRM driver has full PPGTT support for Haswell/Ivy/Valley View hardware.
The open-source NVIDIA Nouveau driver has initial HDMI 2.0 support.
The NVIDIA Xavier “Tegra194” SoC has initial display support.
Support for the Hygon Dhyana CPUs
Intel 2.5G Ethernet support via the new “IGC” driver.
LG Gram laptop support
File systems improvements, drivers updates, and many other changes.
How to Install Linux Kernel 4.20 in Ubuntu:
For easy way, there are a few third party tools, e.g., UKTools and Ukuu, make it easy to install the latest Kernel in Ubuntu.
You can also manually download the .deb binary packages:
Depends on your OS type, download and install the packages in turns:
Select generic for common system, and lowlatency for a low latency system (e.g. for recording audio), amd64 for 64bit system, i386 for 32bit system, or armhf, arm64, etc for other OS types.
Also you can download and install the kernel binaries via terminal commands (Ctrl+Alt+T):
Restart your machine and select boot with the previous kernel in boot menu ‘Grub2 -> Advanced Option for Ubuntu’. Then run command to remove Linux Kernel 4.20.0:
Automatic placement to resolve potential collisions between elements
System dividers that automatically generate dividers between systems
Temporary and cutaway staves
MuseJazz font
Named noteheads
Tours – get online help automatically
Timeline – navigate using a graphical overview of the music structure
Score comparison tool
Single page mode – vertically scrolling view of your score
Palette search
Timewise note input and editing
Alt+Right/Left shortcuts to navigate through each element of your score
Improved parts facility, Mixer, and Piano Roll Editor, and redesigned Play Panel
How to Install MuseScore 3.0 in Ubuntu:
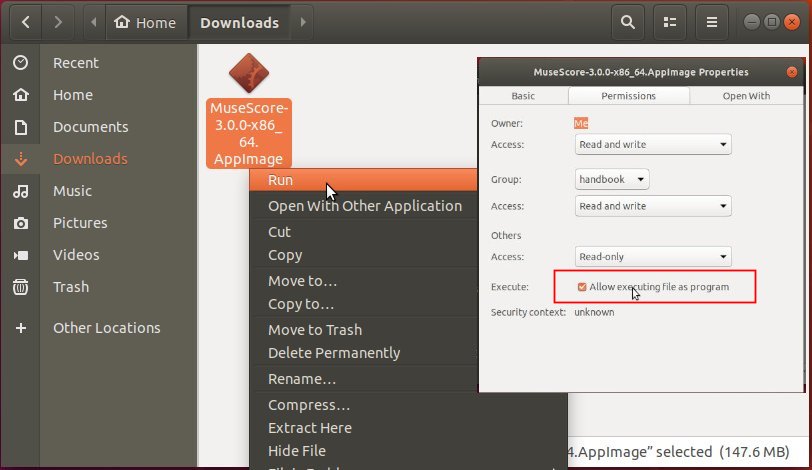
AppImage:
The software offers official Appimage, non-install executable file to launch MuseScore, which is available for download at the link below:
Once you get it, right-click and go to file Properties to make it executable, and finally run the Appimage to launch MuseScore.
Snap Package:
The official Snap package is on the way. For Ubuntu 18.04 and higher, simply install it from Ubuntu Software. It will automatically update to MuseScore 3.0 once the snap package is published.
or run command in terminal for Ubuntu 16.04 and higher.:
sudo snap install musescore
Ubuntu PPA:
The software also has a stable PPA contains the latest .deb packages for Ubuntu 16.04, Ubuntu 18.04, and Ubuntu 18.10.
NOTE: MuseScore 3.0 is not available in the PPA at the moment of writing.