This simple tutorial shows how to set up Google Drive, so you can access and sync files between the cloud and local folder in Ubuntu 24.04.
Ubuntu with default GNOME desktop has built-in option to map Google Drive onto local folder. For other desktop environments, such as MATE, XFCE, and Unity, there’s also a graphical app can do the job easily!
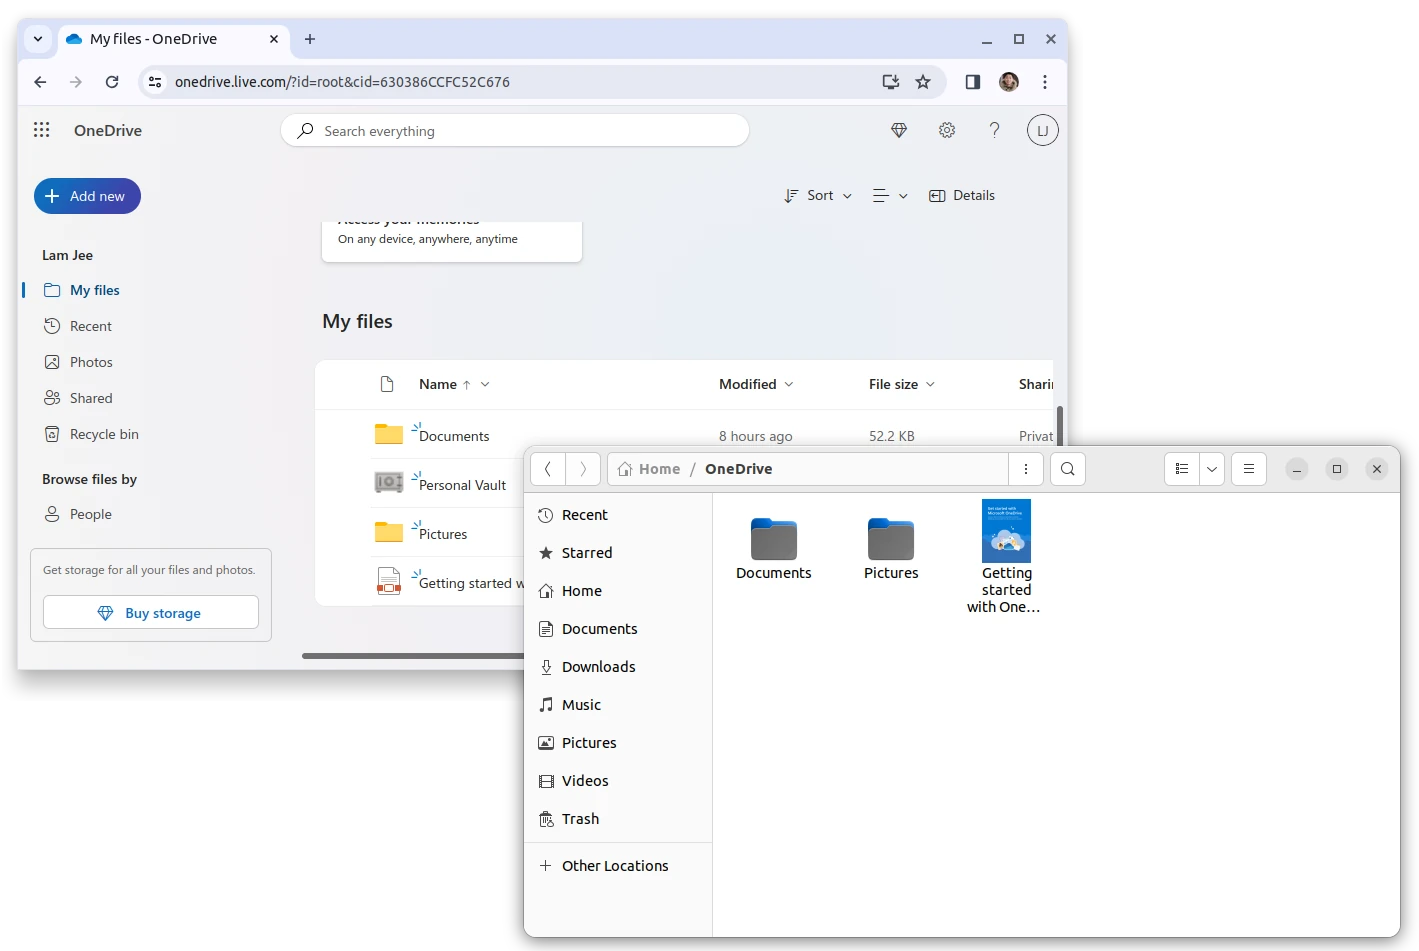
This is a step by step beginners guide shows how to install and setup OneDrive client in Ubuntu 22.04 and Ubuntu 24.04 to sync files between local machine and Microsoft cloud.
OneDrive is a file hosting service by Microsoft. It so far does not have an official app for Linux, but there’s a popular free open-source client works in most Linux. And, here’s the basic how to guide for installing and using it in Ubuntu Linux.
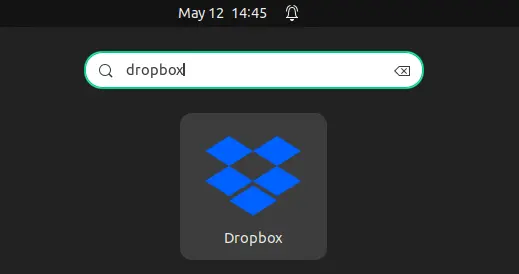
This is a beginner’s guide shows how to install and use the Dropbox cloud storage and file sharing tool in Ubuntu 22.04.
Dropbox is a popular file hosting service powered by the American company Dropbox, Inc. It provides free account with 2 GB storage and paid plans for more. You can use it as a cloud storage and/or for sharing files with your friends.
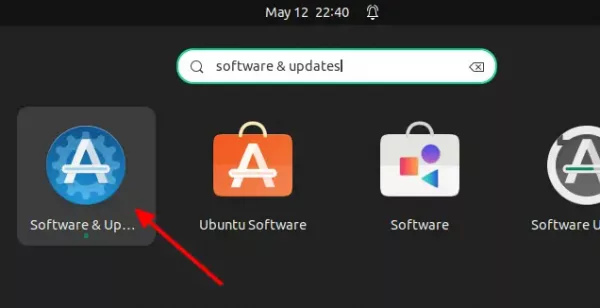
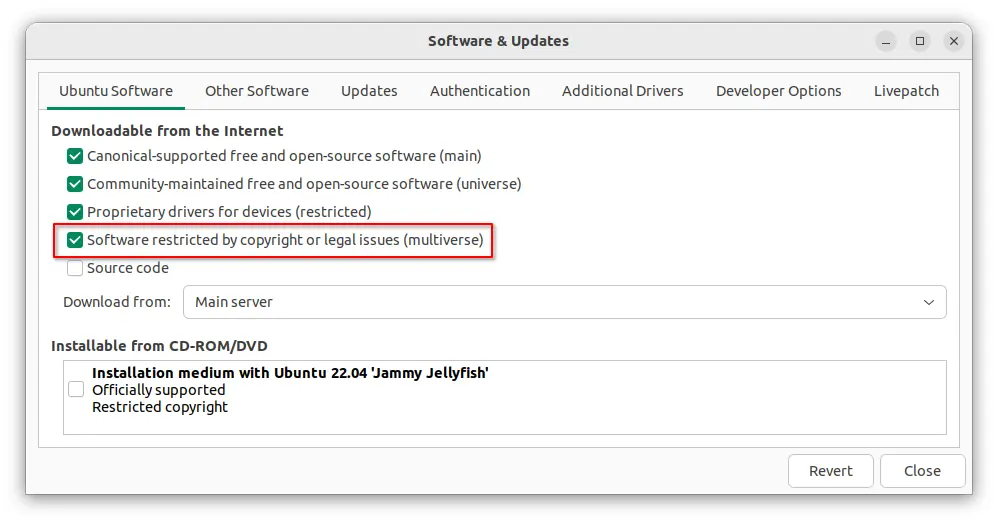
Step 1: Enable Multiverse Repository
Dropbox is easy to install in Ubuntu, Debian, Fedora, Linux Mint and their based systems that use GNOME or MATE desktop via file manager extension.
For Ubuntu, first search for and open ‘Software & Updates‘ utility from top left Activities overview screen.
When it opens, make sure the ‘multiverse’ repository which includes the packages is enabled. For Fedora Workstation, you need to enable third-party non-free repositories first.
Step 2: Install Nautilus/Caja Extension
Now, press Ctrl+Alt+T on keyboard to open terminal. When it opens, run the command below to refresh system package cache:
sudo apt update
And then install the package for GNOME (the default desktop environment):
sudo apt install nautilus-dropbox
For MATE desktop, replace nautilus-dropbox with caja-dropbox in the command.
For Fedora, replace apt in the previous command with dnf to install the package.
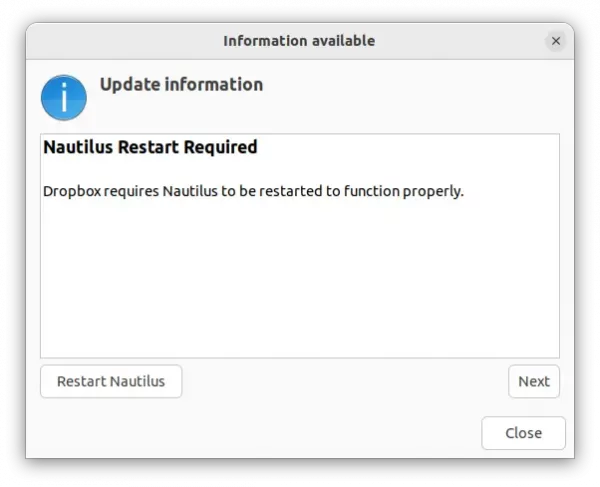
After installation, it may pop-up a dialog indicates to restart your file manager. It’s OK to just close it.
Step 3: Install the daemon
Click on the top-left ‘Activities’ or use 3-finger up gesture to get into overview screen. Then, you can search for and launch Dropbox.
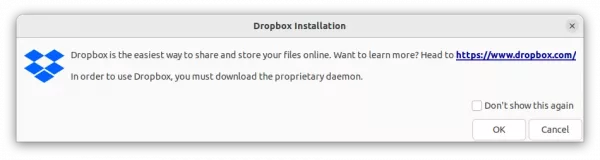
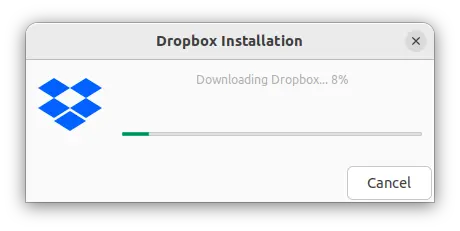
The first time launching the app will indicate to download & install the proprietary daemon package.
Just click on “OK” button. It will start downloading and installing the daemon automatically. Depends on your internet connection, the process can take up a few minutes. And, if you close the process dialog mistakenly, re-launch the app should start it again.
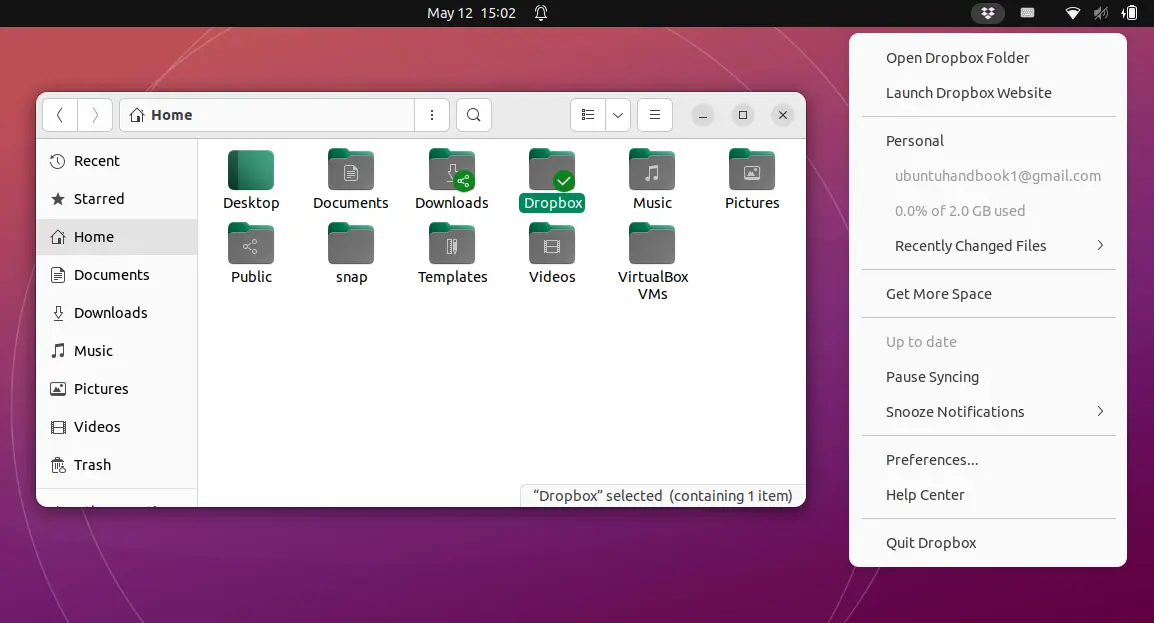
Step 4: Use Dropbox
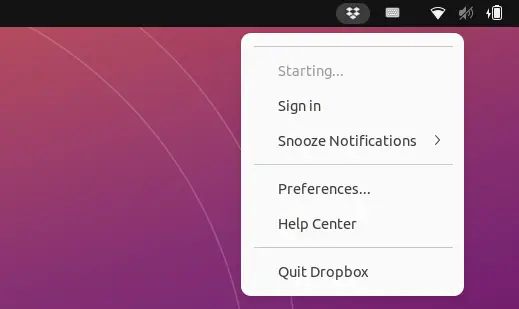
Once the installation process done, an indicator applet should appear in top-right corner system tray. And, it will open the login page in your default web browser automatically. If NOT, click the “sign in” indicator menu option to open it manually. Then sign in in the web page (or sign up if you don’t have an account).
After signed in, you’ll see a new “Dropbox” folder in user home, as well as some new indicator menu options.
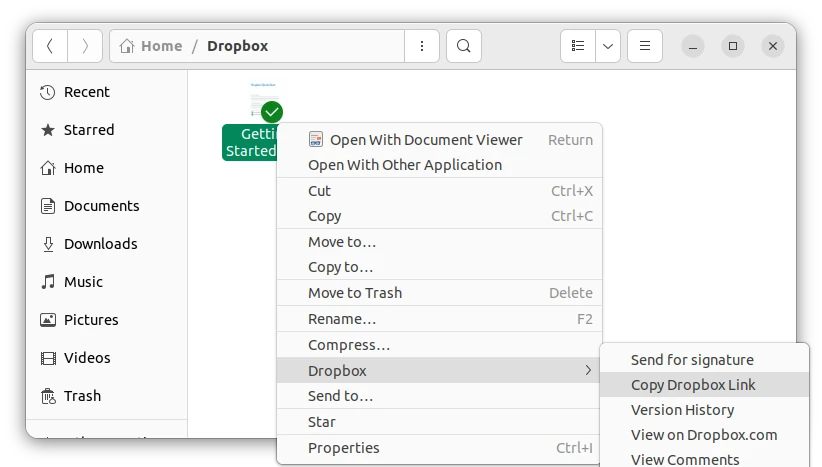
To upload (sync) your files or folders into cloud, simply put them into the “Dropbox” folder, either by using copy & paste action or via your files/folders’ right-click menu options.
If you want, you may share your files in that folder quickly by getting an URL from its context menu option “Copy Dropbox Link“. Then, anywhere with any device can open the file by visiting the URL via a web browser.
get URL link and share file with your friends
For the indicator menu, there are options to quickly launch Dropbox local folder and web page, enable/disable syncing, and launch ‘Preference’ to configure auto-startup, bandwidth, proxy, account, etc.
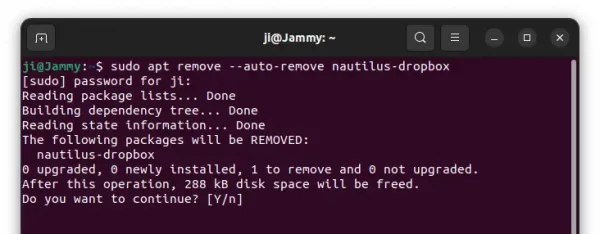
How to Remove Dropbox integration:
To remove the client, first exit Dropbox via indicator menu option. Then run the command below in terminal (Ctrl+Alt+T):
sudo apt remove --autoremove nautilus-dropbox
For MATE, use caja-dropbox instead of nautilus-dropbox in command.
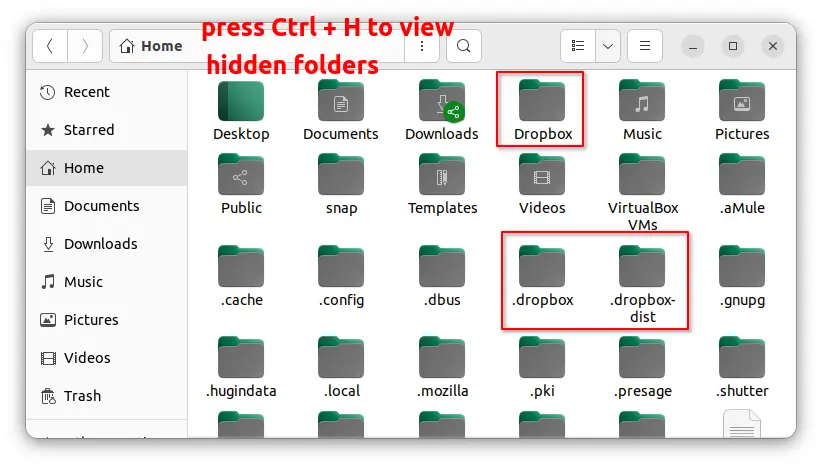
To clean up, you may remove the “Dropbox” folder (backup your data first), “.dropbox” and “.dropbox-dist” folders. For the hidden folders, you need to press Ctrl+H on keyboard to view them, and press the key combination again to hide them.
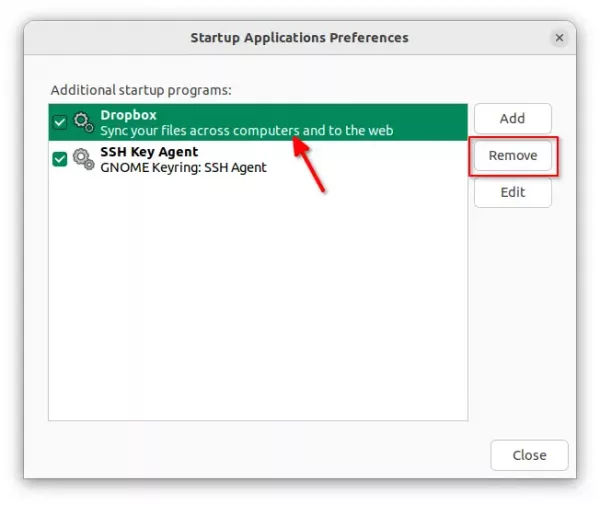
And, search for and open “Startup Applications Preferences” from Activities overview. When it opens, you can remove the startup configuration for Dropbox, though it no longer works as daemon has been removed.
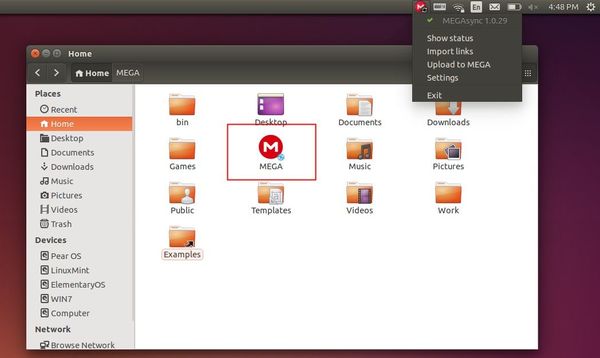
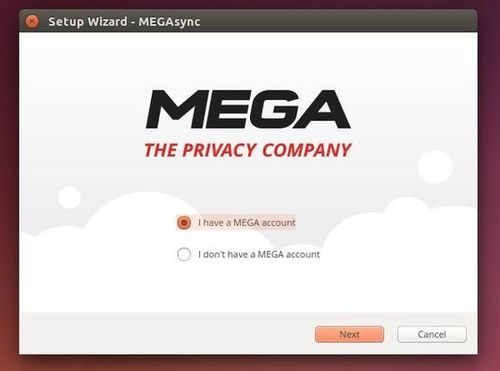
MEGA, a cloud storage and file hosting service, now provides an official sync client for Linux Desktop. So far, Ubuntu 14.04, Ubuntu 12.04, Ubuntu 13.10, Ubuntu 12.10 and Nautilus integration are supported.
MEGA features that all files are encrypted client-side using the AES algorithm before they are uploaded. Since Mega does not know the encryption keys to uploaded files, they cannot decrypt and view the content. It provides 50 GB of storage space are available for free and up to 4 TB for paid accounts.
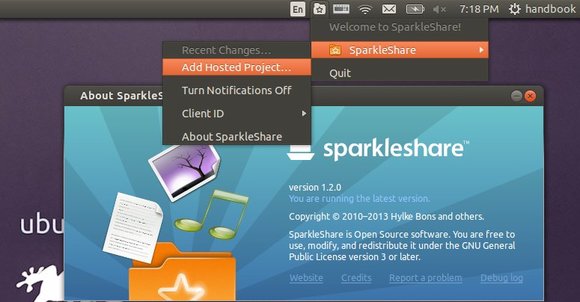
The distributed collaboration and sharing tool SparkleShare has released version 1.2 with many bugfixes. This tutorial is going to show you how to install it in Ubuntu 13.04, Ubuntu 12.04, Ubuntu 12.10 and their derivatives.
How does SparkleShare work?
SparkleShare creates a special folder on your computer. You can add remotely hosted folders (or “projects”) to this folder. These projects will be automatically kept in sync with both the host and all of your peers when someone adds, removes or edits a file.
What’s New in 1.2:
Fixes to the invite feature, now works when SparkleShare isn’t running yet (by Jo Shields)
Don’t crash, but complain when FIPS is enabled on Windows
Fix some interface logic in Add dialog
Fix some inaccurate sync state messages in the status icon
Fix conflict when running when TortoiseGit is installed
Fix blank Add dialog on OS X Snow Leopard
Fix crash when user cancels initial project download
Fix Continue button not enabling when entering encryption password
Fix Planio plugin name showing up as Gitorious on Linux
Show download speed on initial project add
Install SparkleShare via PPA:
Press Ctrl+Alt+T on your keyboard to open terminal. When it opens, run commands to add the SparkleShare PPA as well as git-core ppa (required):