
![]()
Inkscape 1.4.2, the free open-source vector graphics editor, is out with new features and many bug-fixes.
The new v1.4.2 is the first minor release in the 1.4 release series, as v1.4.1 has been merged with 1.4.2 due to a signficant bug.
News, Tutorials, Howtos for Ubuntu Linux
![]()
Inkscape 1.4.2, the free open-source vector graphics editor, is out with new features and many bug-fixes.
The new v1.4.2 is the first minor release in the 1.4 release series, as v1.4.1 has been merged with 1.4.2 due to a signficant bug.
![]()
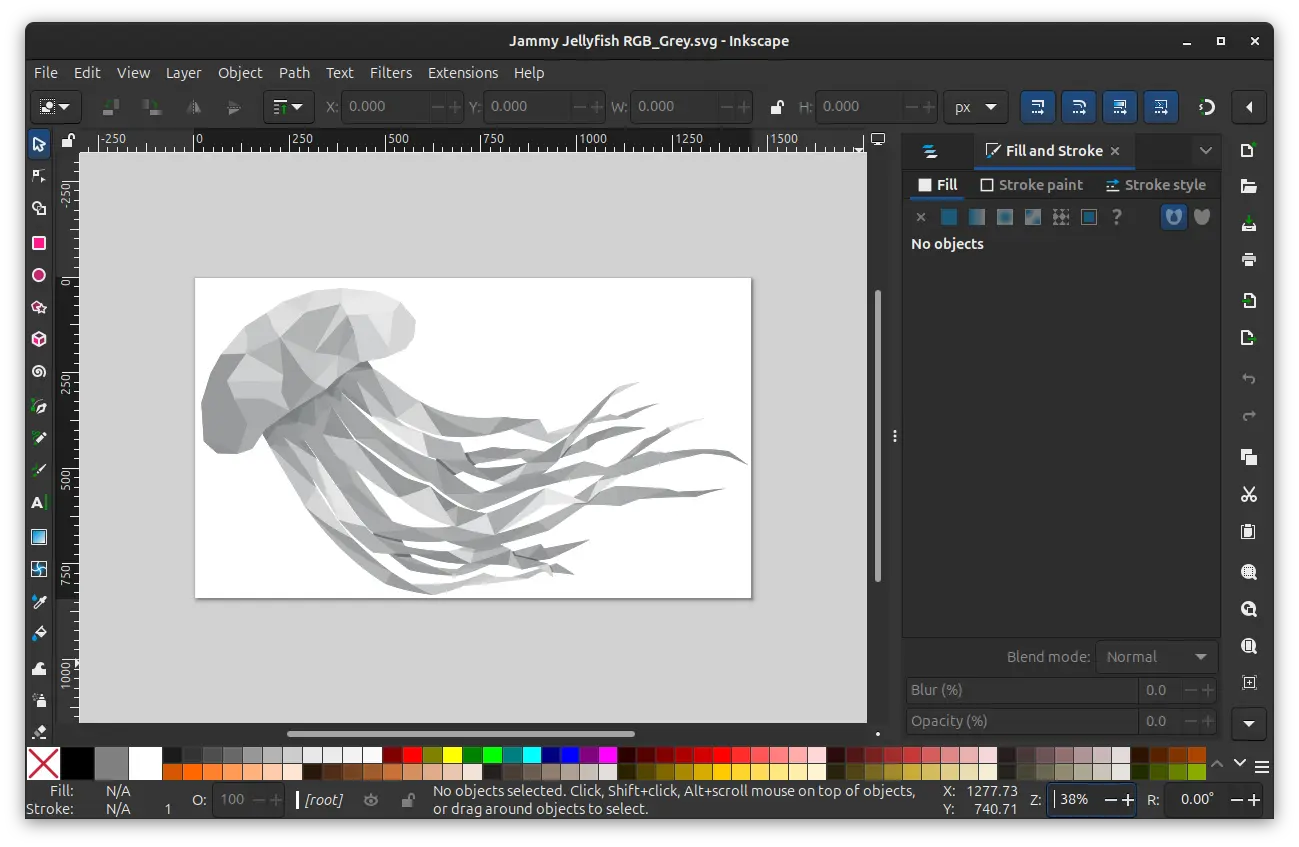
This tutorial shows how to install Inkscape, version 1.4 so far, in Ubuntu 22.04, Ubuntu 24.04, and Ubuntu 24.10.
Inkscape is a popular free open-source vector graphics editor, that works in Linux, Windows, and macOS. It uses SVG as default file format, and can also import/export various other file formats, including AI, EPS, PDF, PS and PNG.
The software is widely used for both artistic and technical illustrations such as cartoons, clip art, and logos. So far, the latest version is v1.4 that was released a week ago.

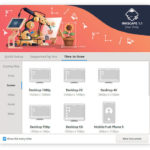
Inkscape 1.1 features a new welcome screen with ability to choose canvas colors, keyboard shortcut style, and toggle dark mode.
By different tabs, it also shows you how to contribute, and options to open recent files, set size of documents.

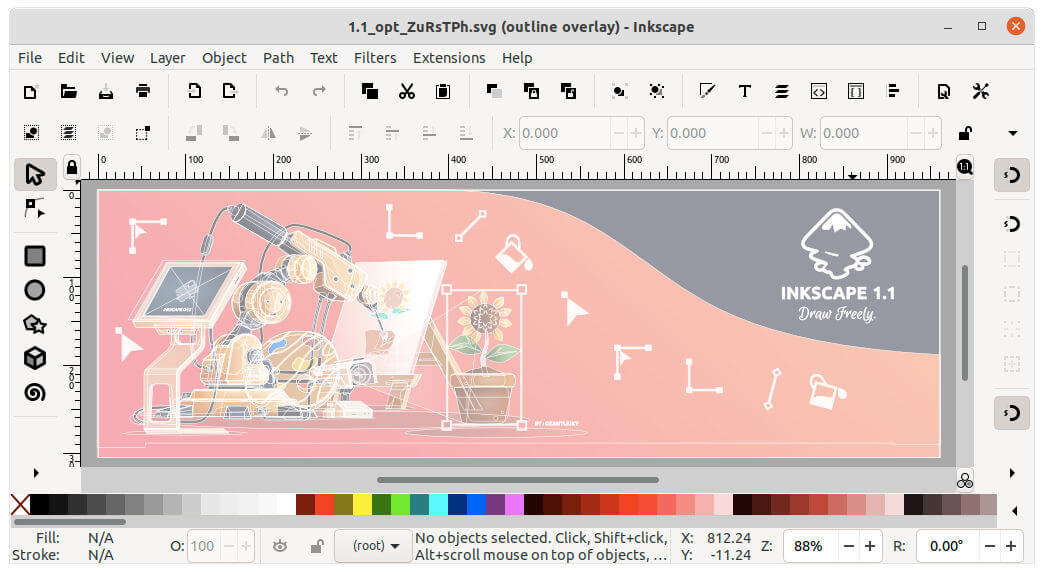
The release also introduced a new display mode, outline overlay, made by Jabier Arraiza.
It displays a muted view (opacity) of your drawing behind the object outlines that are click-sensitive, so you can make sure everything is in order.
Other changes in Inkscape 1.1 include:
The easiest way to install the editor is using the official Snap package.
Also, non-install Appimage is available in official download page. Download it, make executable via file’s “Properties -> Permissions” dialog, finally click run to launch the program.

For those prefer the classic apt method, Inkscape team has official Ubuntu PPAs.
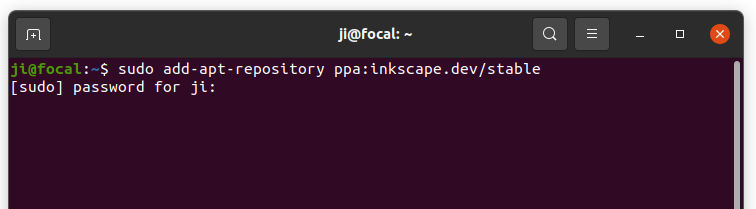
1. Open terminal either by pressing Ctrl+Alt+T on keyboard or by searching for ‘terminal’ from system application menu. When it opens, run command to add the PPA:
sudo add-apt-repository ppa:inkscape.dev/stable
Type user password (no asterisk feedback) when it prompts and hit Enter.
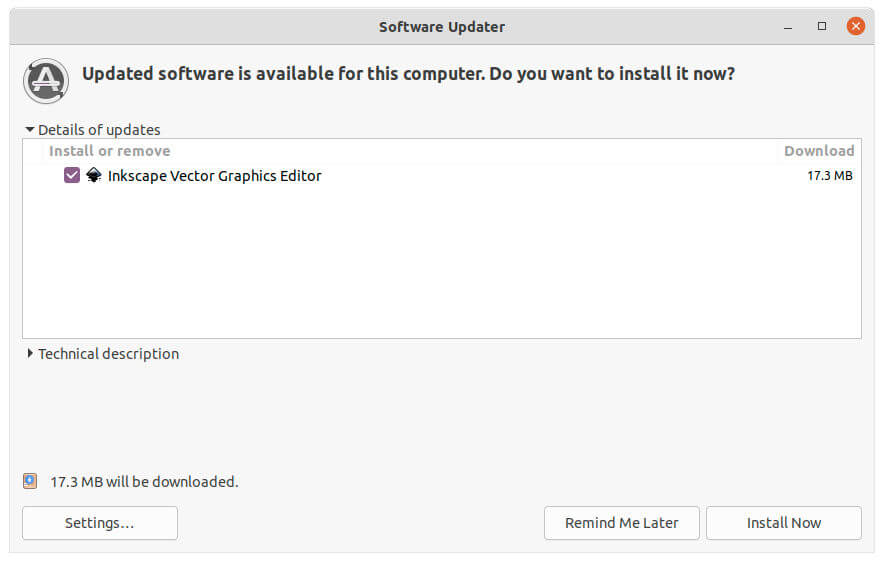
2. Then run command to install or upgrade the vector graphics editor:
sudo apt install inkscape
or upgrade it via Software Updater
To remove the PPA repository, open Software & Updates and navigate to Other Software tab. Then remove the relevant repository line:

To remove Inkscape, either use Synaptic package manager or run command in terminal:
sudo apt remove --autoremove inkscape


