![]()
This tutorial shows how to install the latest version of RawTherapee (5.11 so far) in all current Ubuntu releases!
RawTherapee, the free open-source raw image converter and digital photo processor, released version 5.11 recently on August 25. See
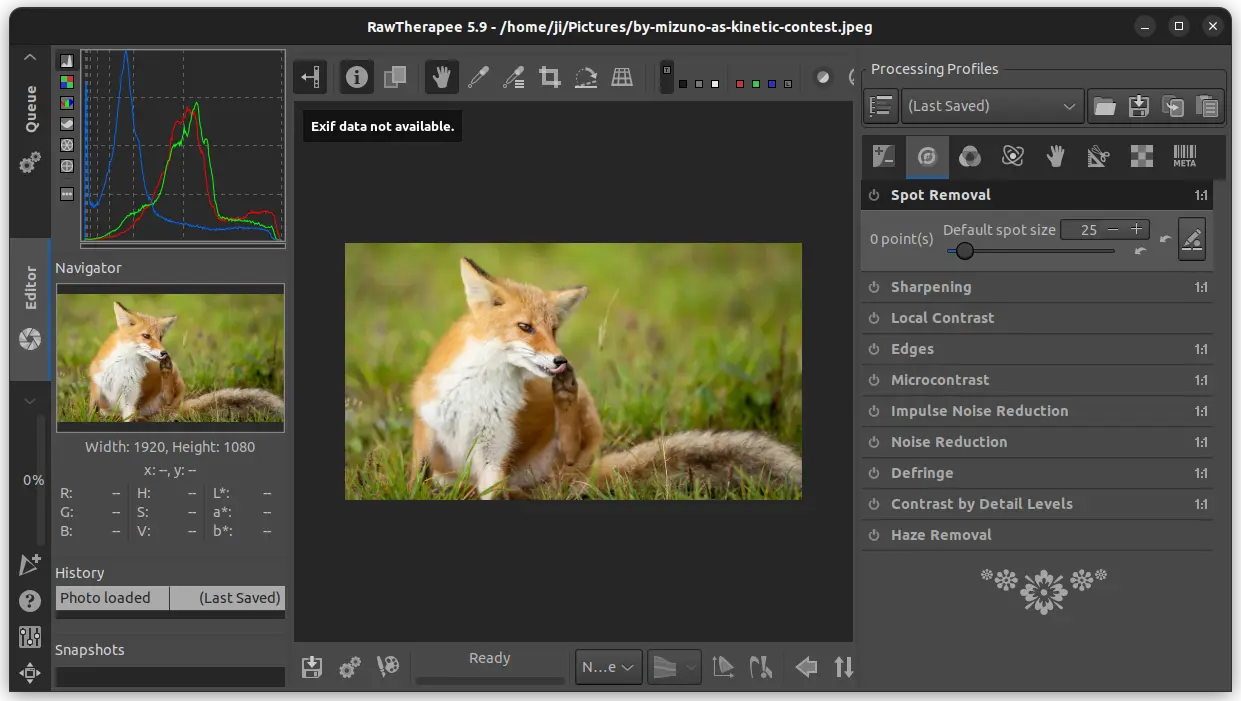
RawTherapee 5.9 features new “Spot Removing Tool” under Details tab for removing dust specks and small objects; Local Adjustments tool under Local tab for performing a wide range of operations on an area of the image determined by its geometry or color; Preprocess White Balance tool under Raw tab to specify whether channels should be balanced automatically or whether the white balance values recorded by the camera should be used instead; and a new Perspective Correction tool which includes an automated perspective correction feature.
Other changes include:
- include CAM16 in Color Appearance & Lighting tool
- new automatic white balance method “temperature correlation” for White Balance tool.
- new waveform, vectorscope and RGB parade modes for the Main Histogram.
- new dual-demosaicing methods in the Demosaicing tool
- add saturation adjuster for Haze Removal tool
RawTherapee 5.9
There are as well many new and improved Cameras support, including Canon EOS 100D / Rebel SL1 / Kiss X7, Canon EOS 2000D / Rebel T7 / Kiss X90, Nikon D6, Nikon Z 6II, Nikon Z 7II, and more. See the release note for details.
How to Install RawTherapee (5.11 Updated):
Option 1: AppImage
The software provides official Linux package via AppImage, which is available for downloading at the link below:
Once you got the package, right-click on it to open file ‘Properties’ dialog and add ‘executable as program’ permission. Finally, click the file to launch the photography processor.
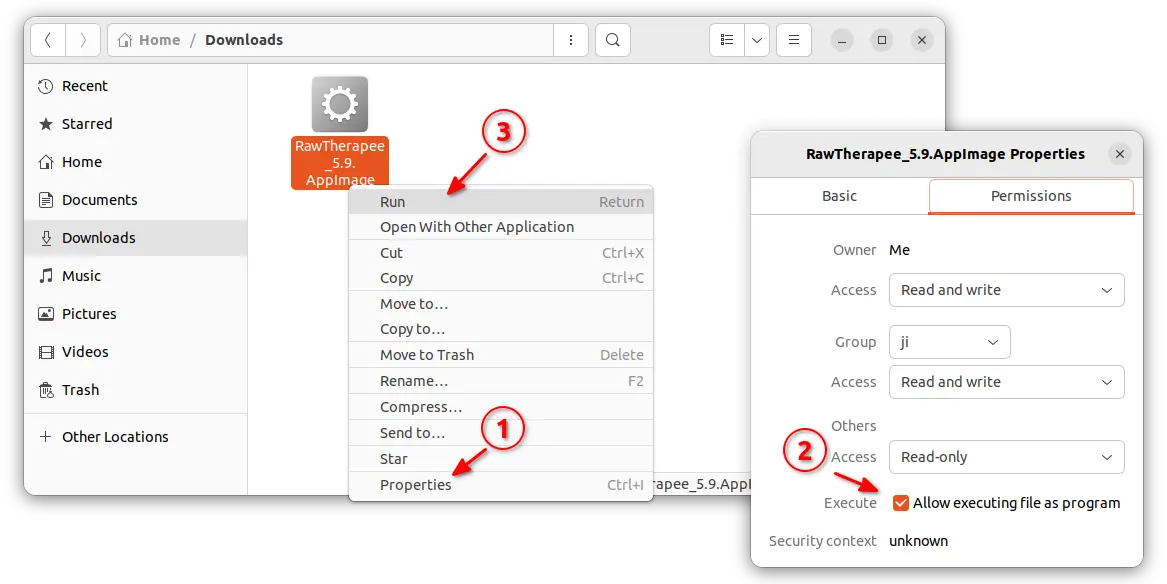
NOTE: Ubuntu 22.04+ does not support AppImage out-of-the-box. In case it doesn’t work for you, press Ctrl+Alt+T on keyboard to open terminal and run command sudo apt install libfuse2 to enable it.
Option 2: Flatpak
RawTherapee is also available as Flatpak package that runs in sandbox environment. The package works in most Linux on amd64 and arm64 CPU platforms.
1. First, open terminal (Ctrl+Alt+T) and make sure the daemon package is installed by running command in Ubuntu 20.04, Ubuntu 22.04 and higher:
sudo apt install flatpak
Ubuntu 18.04 and Ubuntu 16.04 user can get the package from this PPA.

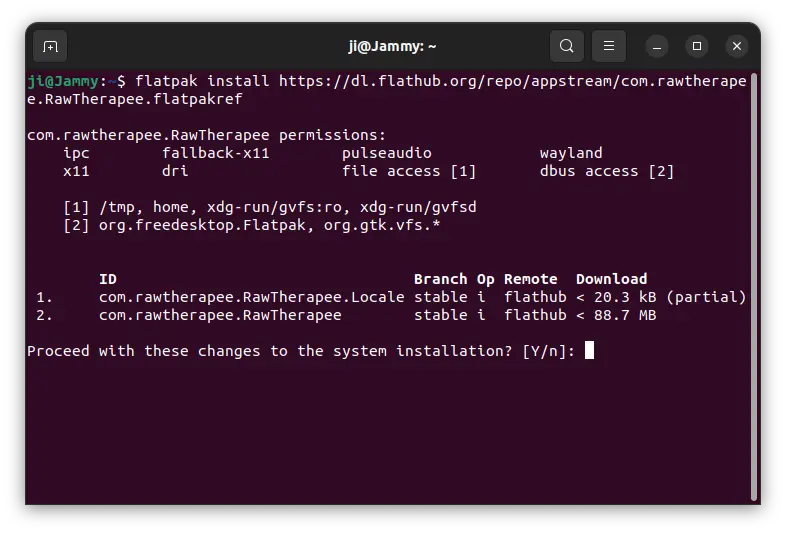
2. Then, install Rawtherapee as Flatpak by running command:
flatpak install https://dl.flathub.org/repo/appstream/com.rawtherapee.RawTherapee.flatpakref
Like normal package, you can search for and launch the flatpak app from either ‘Activities’ overview or system start menu depends on desktop environment.
Option 3: Ubuntu PPA
For those who prefer the native .deb packages, there’s also an unofficial PPA contains the packages for Ubuntu 22.04, and Ubuntu 24.04. Also, the package support amd64, arm64 and armhf CPU architecture types.
NOTE: due to outdated system library, librsvg-2.0 in the case, the Ubuntu 20.04 build is stuck at version 5.10.
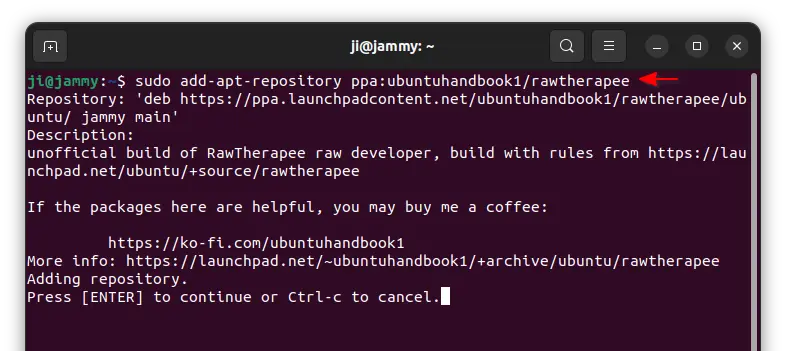
1. First, press Ctrl+Alt+T on keyboard to open terminal. When it opens, run command to add the PPA:
sudo add-apt-repository ppa:ubuntuhandbook1/rawtherapee
2. Linux Mint users need to manually refresh system package cache after adding PPA, though it’s done automatically in Ubuntu now.
sudo apt update
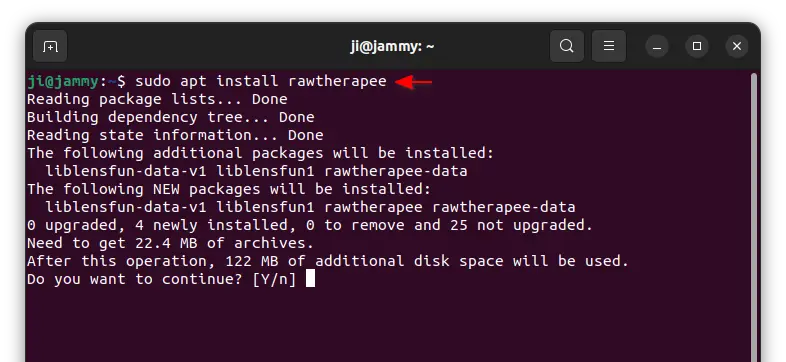
3. Finally, install the RAW developer software by running command:
sudo apt install rawtherapee
Uninstall RawTherapee
Depends on which package you installed, open terminal (Ctrl+Alt+T) and run command to uninstall the Flatpak:
flatpak uninstall --delete-data com.rawtherapee.RawTherapee
Also run flatpak uninstall --unused to clear useless runtime libraries.
For the .deb package, remove it by running command:
sudo apt remove --autoremove rawtherapee rawtherapee-data
Also remove PPA, either by removing source line via “Software & Updates” tool under Other Software tab, or by running command in terminal:
sudo add-apt-repository --remove ppa:ubuntuhandbook1/rawtherapee
And, for the AppImage, just delete the file in your folder.