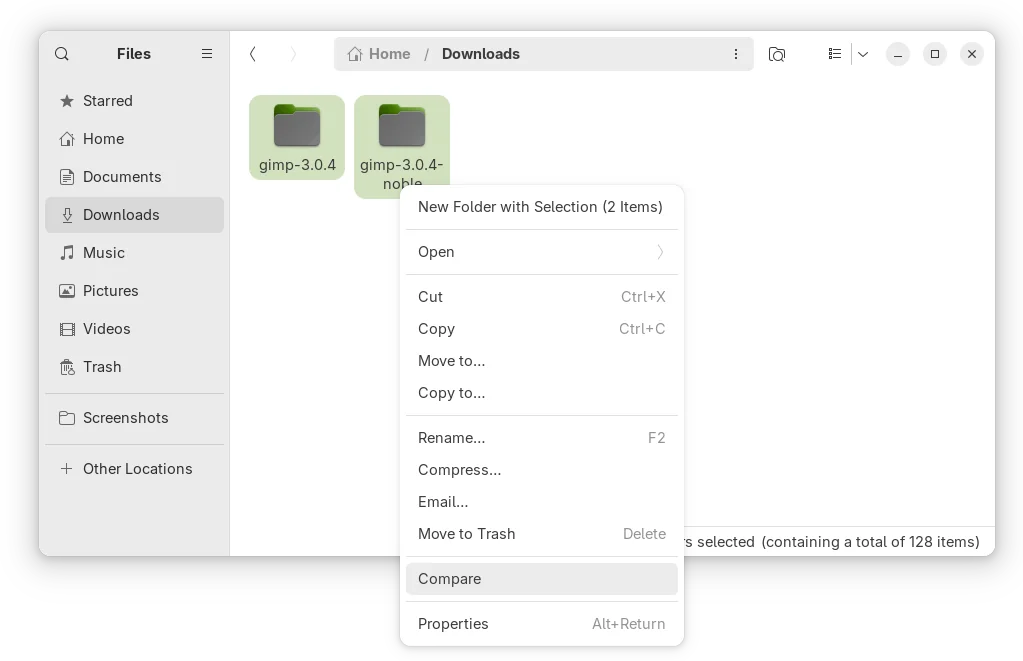
For those who need to compare files, folders, and version controlled projects regularly, Debian and Ubuntu are adding back the nautilus-compare extension for GNOME Files (aka Nautilus) in default repositories for current development releases.
nautilus-compare is a Nautilus extension that adds “compare” option to right-click menu of selected files/folders, allowing to quickly launch Meld tool, and view, edit, and merge the differences graphically.
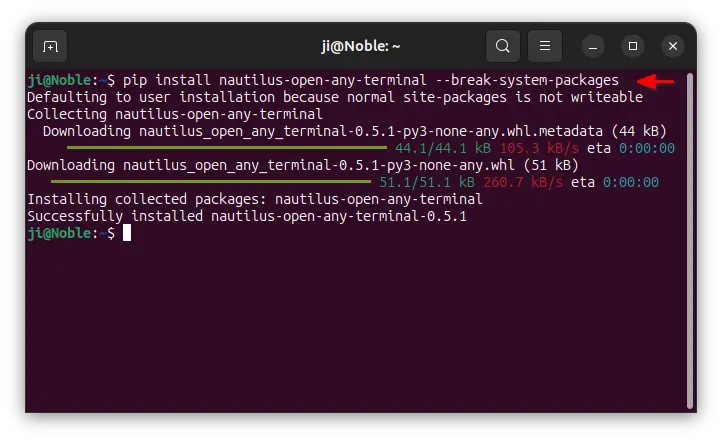
Want to let “Open in Terminal” context (right-click) menu option work for another terminal emulator? Here’s an extension to do the similar job for Nautilus.
When right-clicking on either a folder or blank area in file manager, there’s an “Open in Terminal” menu option to launch system default terminal with that folder as working directory.
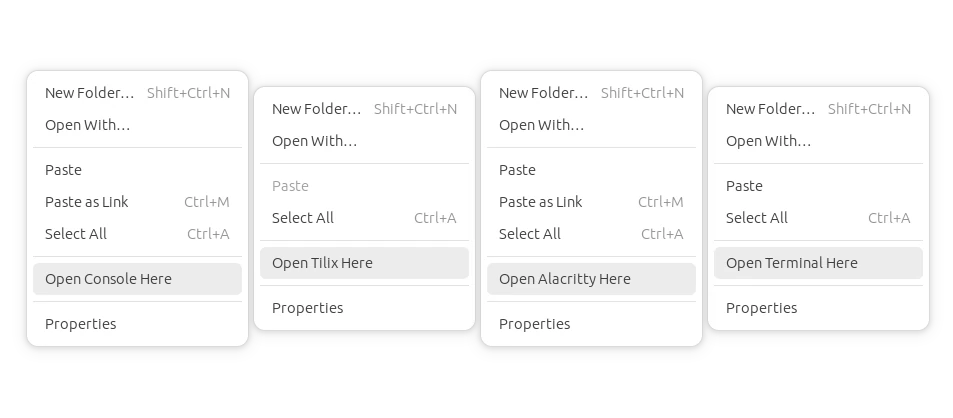
The option in Ubuntu so far is provided by the built-in gnome-terminal package. Meaning no way to use the option for another terminal emulator. However, there’s an extension can add similar option to open terminal from in-side folder.
And not only for Gnome Terminal, the extension supports many other terminal emulators:
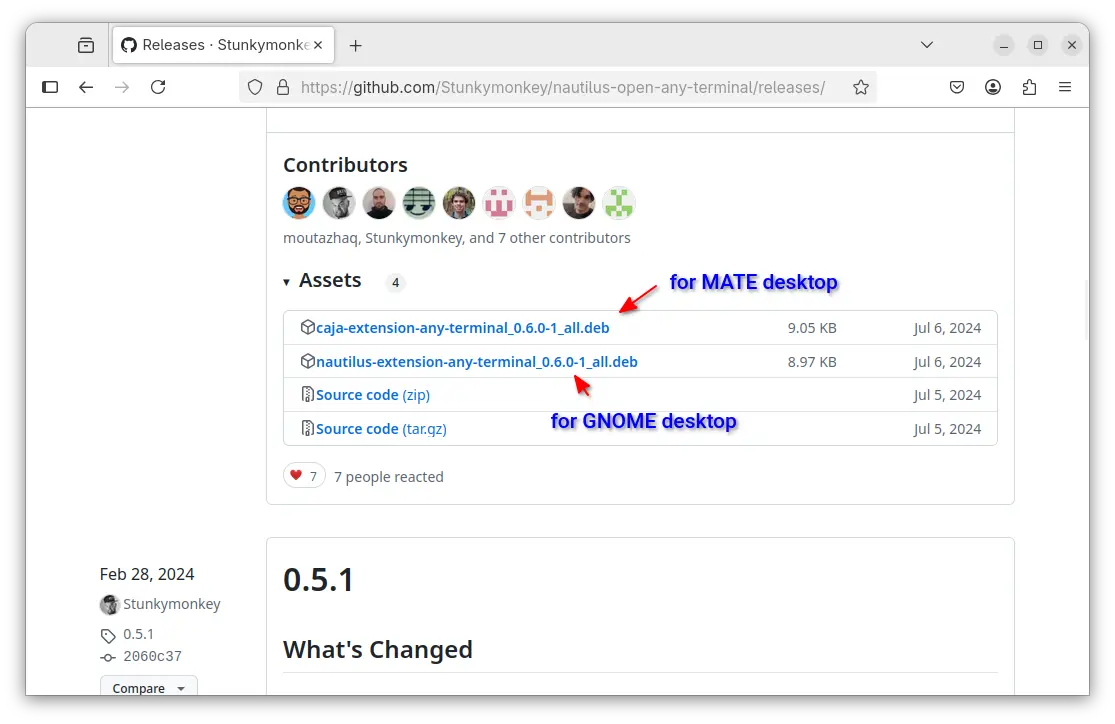
Then, select download either “nautilus extension” for default GNOME desktop or “caja extension” for MATE desktop. Finally, double-click to open it with either AppCenter or Software Install depends on your Ubuntu edition, then click install.
Option 2: Use Python package
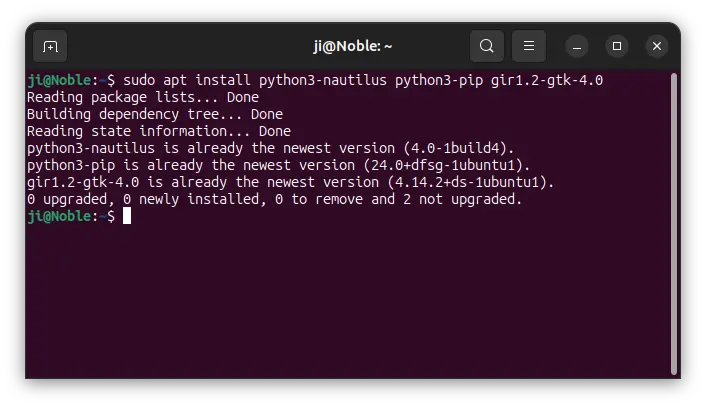
1. First, press Ctrl+Alt+T on keyboard to open terminal. Then run command to install git and python3-nautilus package:
After installed the extension, apply it by running command to quit Nautilus:
nautilus -q
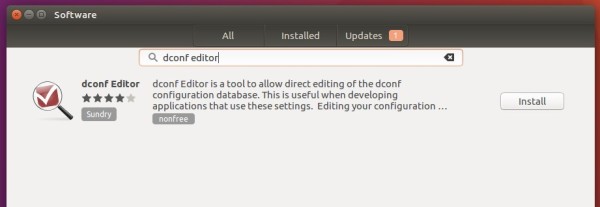
Then, open “Dconf Editor” (install it from Ubuntu Software or App Center) and navigate to ‘com/github/stunkymonkey/nautilus-open-any-terminal‘. Finally, set the value of ‘terminal’ to tell which terminal emulator to use.
You can of course choose another terminal emulator by running command (replace kgx with yours terminal app):
gsettings set com.github.stunkymonkey.nautilus-open-any-terminal terminal "kgx"
Tip: You may also remove the built-in ‘Open in Terminal’ option by running command:
sudo apt remove nautilus-extension-gnome-terminal
Uninstall
To get rid of the context menu option, simply open terminal (Ctrl+Alt+T) and run command to uninstall the python package:
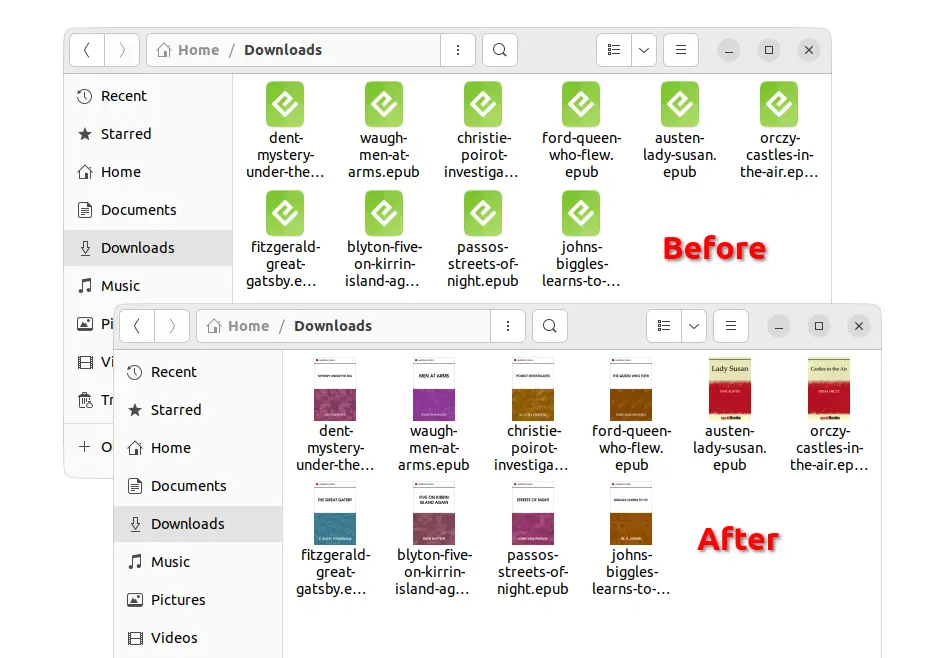
Got some ePub and/or MOBI books in your PC? Debian / Ubuntu has recently includes a package in their repository for generating thumbnails for these files.
As you may know, Linux Mint 21 was released recently with a thumbnail generators for AppImage, ePub, MP3 and RAW files. Debian/Ubuntu now has similar tool called gnome-epub-thumbnailer, though it’s only for ePub and MOBI books.
With the package installed, the default file manager will no longer display the universal “e” image with green background for all ePub files. Instead, it shows thumbnail book covers.
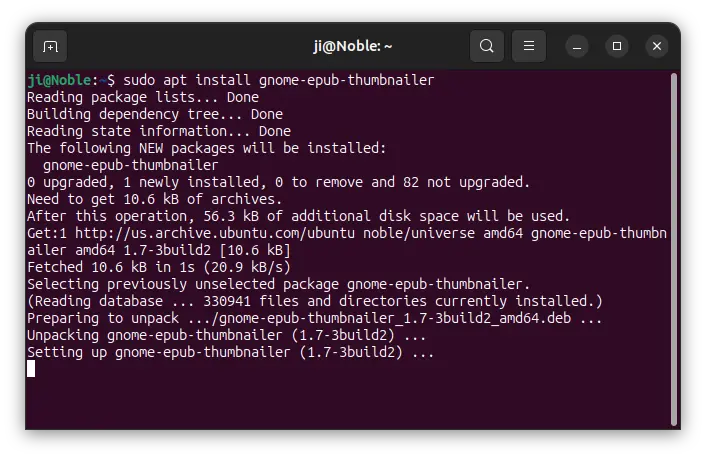
Enable EPub / MOBI Thumbnails in Ubuntu 24.04
For Ubuntu 24.04 LTS, the package has been made into the system repositories.
Simply press Ctrl+Alt+T on keyboard to open up a terminal window. When it opens, run the command below to install the package:
sudo apt install gnome-epub-thumbnailer
NOTE: the package is only for the default GNOME Desktop! Install the Foliate eBook reader from system repository will also install it as recommend dependency package.
After that, just close Nautilus file manager and re-open it. Or, run nautilus -q command in terminal to apply.
Enable EPub / MOBI Thumbnails in Ubuntu 22.04 | 20.04
For the previous Ubuntu 22.04 and Ubuntu 20.04 LTS, user can either build the package from source code, or use this unofficial PPA that supports only AMD/Intel computers.
To add the PPA and install the package, press Ctrl + Alt +T on keyboard to open terminal and run 3 commands one by one:
sudo add-apt-repository ppa:ubuntuhandbook1/apps
sudo apt update
sudo apt install gnome-epub-thumbnailer
NOTE: The first command will asks for password authentication, though there’s no asterisk feedback. Just type in mind and hit Enter to continue.
Enable EPub / MOBI Thumbnails in Fedora, Arch, SUSE Linux
Most other recent Linux systems have also added the package into their official repositories. If you want to get it, open terminal and run command:
For Fedora, use command:
sudo dnf install gnome-epub-thumbnailer
Arch and Manjaro Linux can install it via:
sudo pacman -S gnome-epub-thumbnailer
And, openSUSE user may run command:
sudo zypper install gnome-epub-thumbnailer
Uninstall the Thumbnails
Thumbnails generate automatically once you installed the package. If somehow you want to get rid of them, open terminal and run command:
Replace apt depends your system. For Arch, use sudo pacman -R gnome-epub-thumbnailer.
Removing the package won’t clear existing thumbnail images, until you removed the content under “~/.cache/thumbnails” either from file manager or by running command:
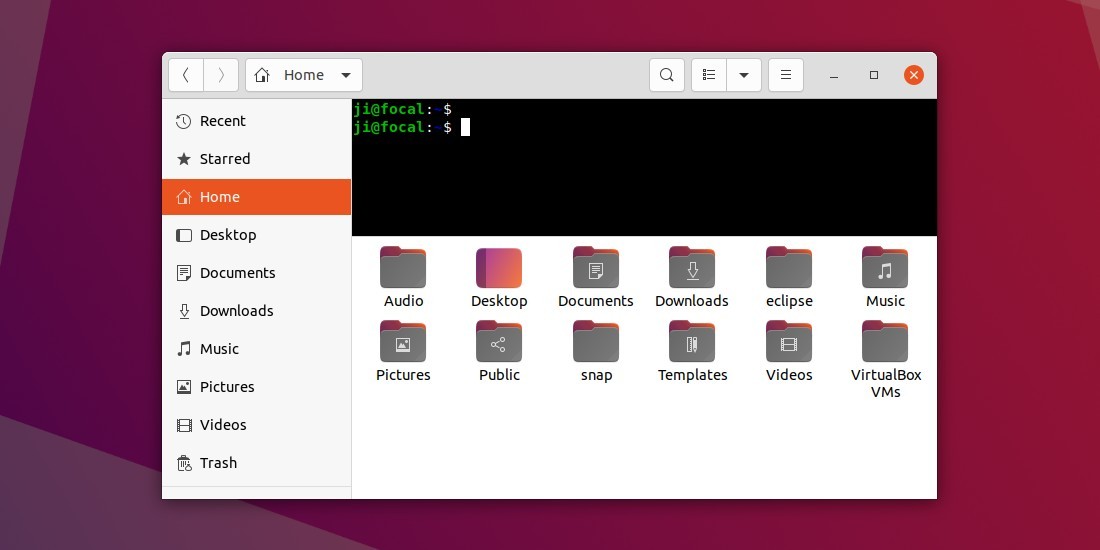
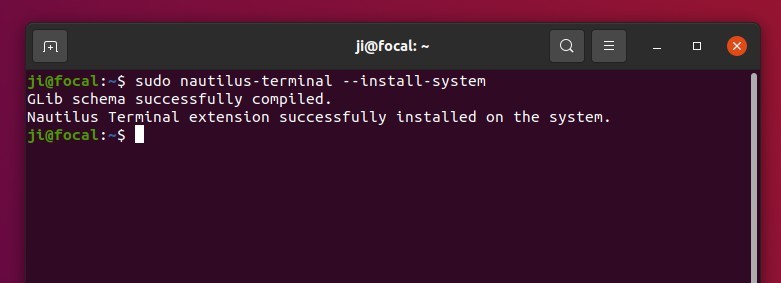
Want to embed a terminal in the Files, Nautilus file manager, in Ubuntu? Nautilus Terminal is the project to do the job.
Nautilus Terminal is an open-source project started in 2010. It’s now at version 4.x that supports up to Nautilus 40.
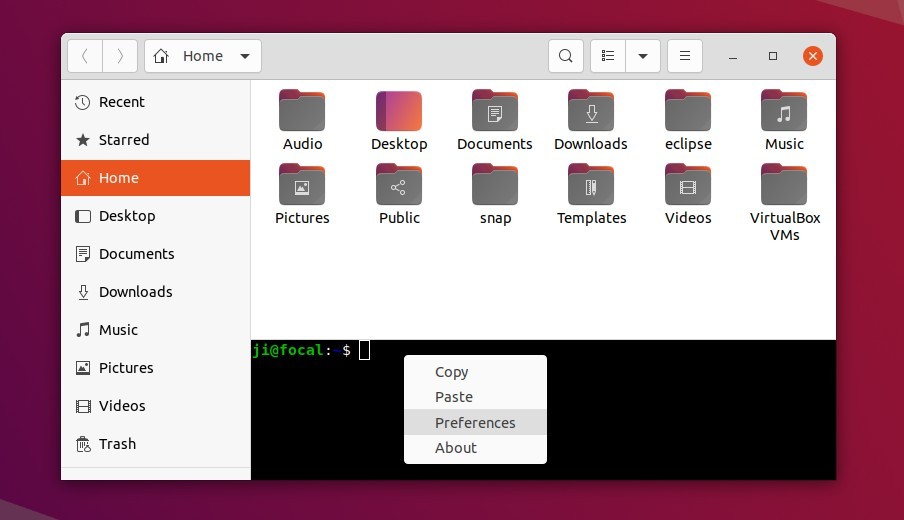
With it, you have an integrated terminal in each file window and tab. The terminal follows the navigation, without running cd command, the terminal automatically go to the directory when you navigate to a folder in file manager.
The terminal placement can be at top (default) or bottom. You can press F4 on keyboard to show or hide it. And it supports drag & drop of file on the terminal.
By right-click on terminal area, you can do copy & paste actions, and go to its Preferences.
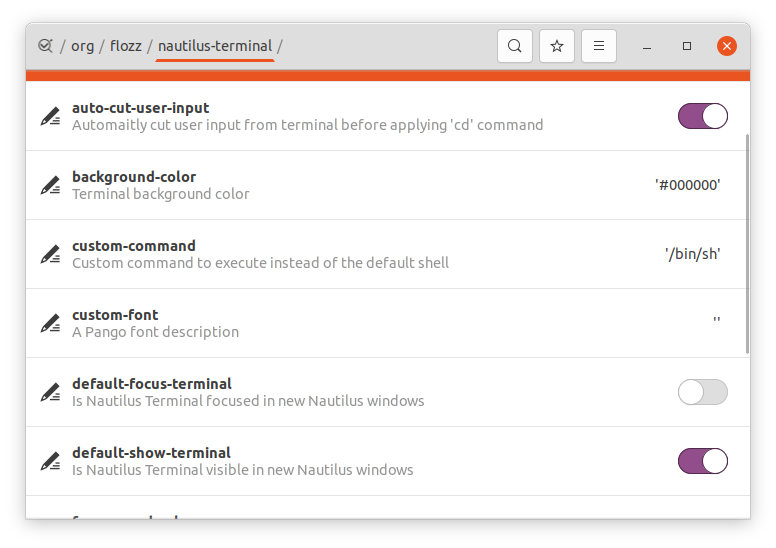
The “Preferences” indeed opens Dconf Editor (you need to firstly install it in Ubuntu Software) and navigate to “/org/flozz/nautilus-terminal” settings page. There you can configure:
Background color.
Text color.
Font.
Focus by default.
Toggle shortcut.
Terminal placement.
Custom command.
How to Install Nautilus Terminal in Ubuntu 20.04 & Higher:
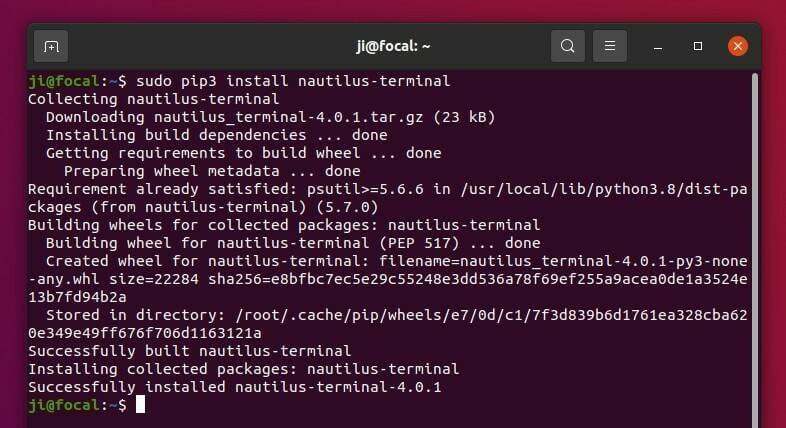
The project developer used to maintain an Ubuntu PPA, which is however no longer updated. Ubuntu 20.04 and higher users can now run following commands to install it from PyPi.
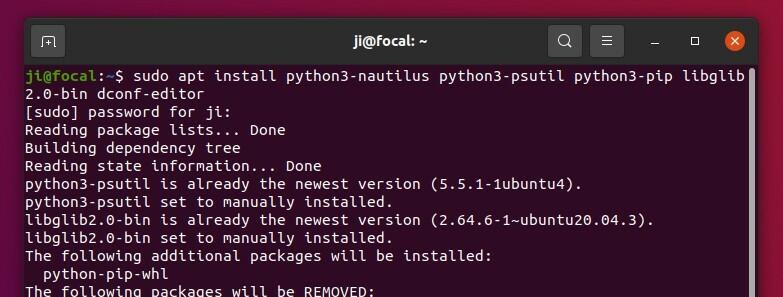
1.) Open terminal by pressing Ctrl+Alt+T on keyboard. When it opens, firstly run command to install required libraries:
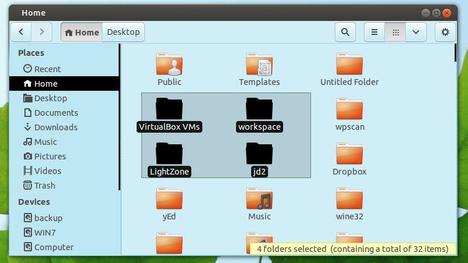
The default size of files and folders in Nautilus file browser does not meet you need? It’s easy to change it in all current Ubuntu releases with Gnome.
Though you can’t find how to configure it either in the System Settings or Gnome Tweaks, Ubuntu do provide an option to set an even larger or smaller icon size, and here’s the quick tip shows you how.
Change File & Folder Size via Single Command:
If you’re familiar with Linux command, you can run a single command to change the size.
Since Nautilus displays files and folders in either icon view or list view, the command can be either:
1.) Change icon size in icon view:
gsettings set org.gnome.nautilus.icon-view default-zoom-level 'large'
Here value ‘large’ can be changed to: ‘small’, ‘standard’, ‘larger’, or ‘largest’.
2.) Change icon size in list view:
gsettings set org.gnome.nautilus.list-view default-zoom-level 'large'
Here value ‘large’ can be changed to: ‘small’, ‘standard’, or ‘larger’.
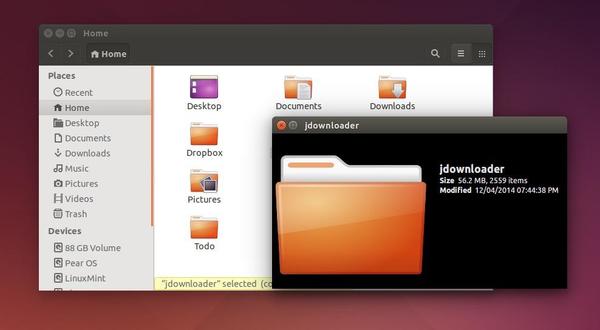
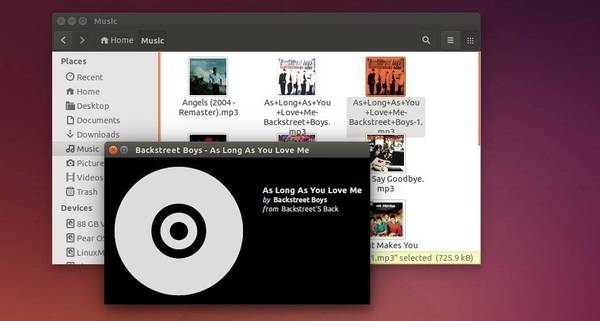
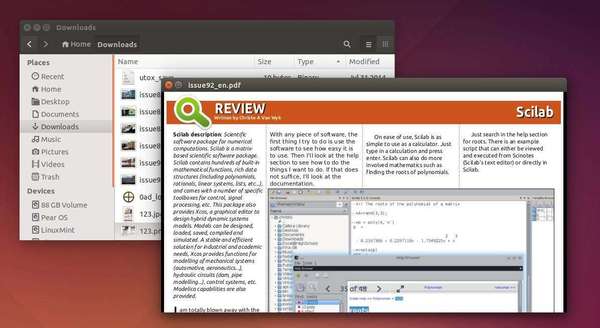
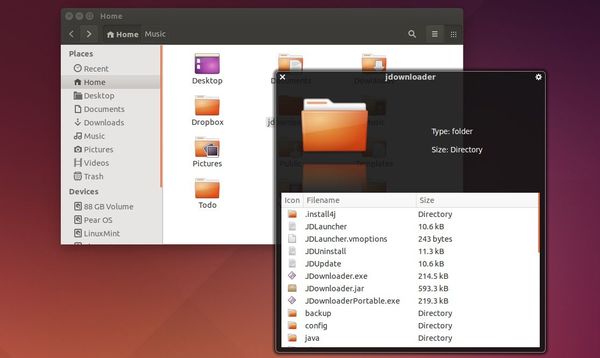
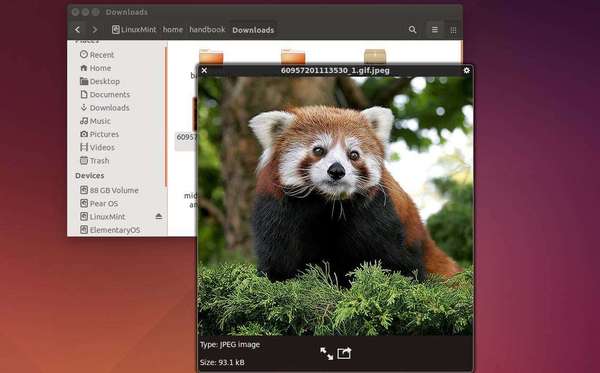
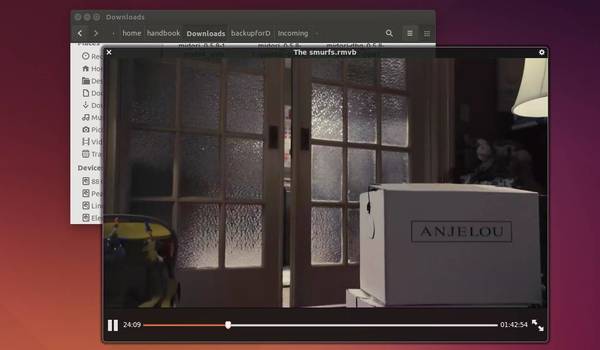
Want to enable Nautilus file quick preview in Ubuntu? There are two Nautilus add-ons, Gnome Sushi and Gloobus Preview, allow you to preview Audio, Video, Picture, Document files quickly by tapping the Space key and close preview by hitting the Space again.
Gnome Sushi
Gnome Sushi quick previewer is available in Ubuntu universe repositories by default. It can be easily installed by clicking the link below to bring up Ubuntu Software Center and clicking install button.
The previewer works immediately once installed. If not, restart Nautilus by nautilus -q commands.
Gloobus Preview:
Gloobus Preview supports even more file formats and looks a little better than Gnome Sushi previewer. Thanks to György Balló and Alin Andrei, the software now available in PPA for Ubuntu 14.04, Ubuntu 14.10 and Linux Mint 17.
Install Gloobus Preview in Ubuntu 14.04, Ubuntu 14.10:
Press Ctrl+Alt+T on keyboard to open terminal. When it opens, run below commands one by one to install the software from Webupd8 PPA:
Quick tutorial shows how to install RabbitVCS, easy version control for Linux, in Ubuntu 14.04/Ubuntu 14.10 for Nautilus, Gedit, Thunar, Nem
RabbitVCS is a graphical front-end for version control systems available on Linux. It integrates into file managers to provide file context menu access to version control repositories. The project was originally called NautilusSvn, but due to the desire to support file managers in addition to Nautilus and more version control systems, it was renamed to RabbitVCS.
Install RabbitVCS in Ubuntu:
While Ubuntu repositories provide an old version of RabbitVCS, the latest release is always available in its official PPA.
1. To add the PPA, press Ctrl+Alt+T to open terminal, paste the command below and hit enter to run:
sudo add-apt-repository ppa:rabbitvcs/ppa
Type in your user password when it asks and there is no visual feed back.
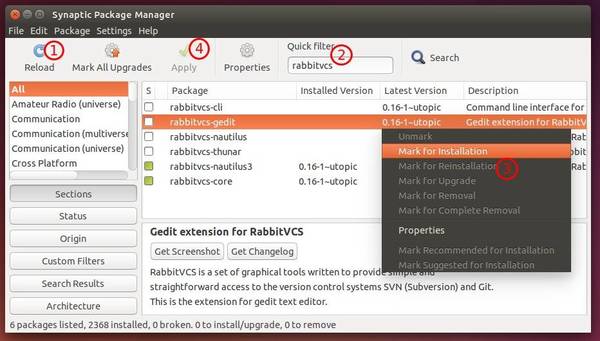
2. After that, install RabbitVCS extension via Synaptic Package Manager(install it from Ubuntu Software Center), and receive future updates by running running regular updates via Software Updater.
Install and then launch Synaptic from the Unity Dash or App Menu.
Click the Reload button to update package lists.
Search rabbitvcs
Highlight rabbitvcs-nautilus3, rabbitvcs-gedit, or rabbitvcs-thunar
and mark for installation.
Finally click the Apply button to install it/them.
Once installed, log out and back in.
Install RabbitVCS extension for Nemo:
For Linux Mint Nemo file manager, you can install the extension by running the commands below one by one in terminal:
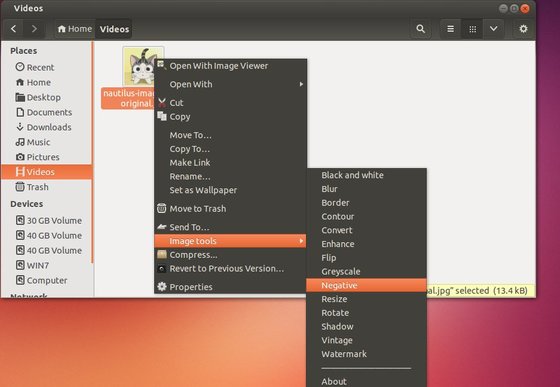
The developer of Touchpad indicator recently announced a new tool: Nautilus-Image-Tools. It’s an Nautilus extension allows to quickly manipulate your pictures through context menu.
The extension currently includes following functions:
black and white
blur
border, add white border
contour
convert to other file format,
enhance
flip
greyscale
negative
resize
rotate
shadow
vintage
watermark
Here are some screenshots:
nautilus image tool blur
nautilus image tool with white border
nautilus image tool negative
nautilus image tool with shadow (png)
Install Nautilus Image tool extension:
Press Ctrl+Alt+T on keyboard to open terminal. When it opens, run commands below to install it from developer’s ppa. Supports Ubuntu 13.10, Ubuntu 13.04, Ubuntu 12.10 and Ubuntu 12.04.
This simple tutorial shows you how to change the Nautilus file browser and other apps’ background & selected color if you’re boring with the default colors in Ubuntu 13.04 Raring.
It can be easily done in Nautilus 3.4.x and 3.6.x via Dconf Editor. So this tutorial will also work for Ubuntu 12.10 Quantal and Ubuntu 12.04 Precise.
In the screenshots below, I changed the background color to sky blue and selected color to black.
To do it, open Dconf Editor from Unity Dash. Navigate to org/gnome/desktop/interface, add or change the value of gtk-color-scheme. So that you can change the background color, tooltips color, text color, etc.
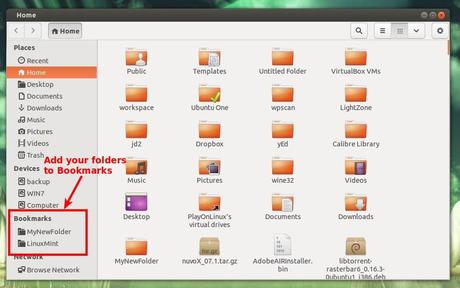
This quick tutorial is going to show you how to add a folder to Nautilus file browser ‘Places’ sidebar in Ubuntu 13.04 Raring Ringtail, Ubuntu 13.10 Quantal.
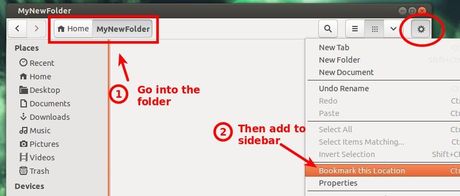
Actually this will add your folders to a new column called Bookmarks. You can add a user folder, system folder, mounted folder to sidebar by going into the directory in Nautilus and then click the “gear” button and click Bookmark this Location
If you’re on Ubuntu 12.04 Precise with Nautilus 3.4.x, use menu Bookmarks -> Add Bookmark instead.