
![]()
Want to build a website on your Ubuntu Server? Well, LEMP may be a good choice and here’s how to install and set it up.
LEMP stands for Linux, Nginx (pronounced “engine x”), MySQL and PHP. The nginx project started with a strong focus on high concurrency, high performance and low memory usage. So it’s a good alternative to Apache webserver for building websites on low memory hosts.
To get started, log in your Ubuntu Server and follow the steps below:
1. Install MySQL
MySQL is a database management system which stores and organizes references to the information the webserver needs.
To install Mysql 5.5.36, run command:
sudo apt-get install mysql-server mysql-client
To install Mysql 5.6.16, run:
sudo apt-get install mysql-server-5.6 mysql-client-5.6
While the installing process, you’ll be asked to type a password for MySQL root user.
2. Install Nginx
Nginx 1.4.6 is available in Ubuntu repositories. To install it, run:
sudo apt-get install nginx
If you want, install the latest stable Nginx 1.4.7 from PPA:
sudo apt-get install python-software-properties

sudo add-apt-repository ppa:nginx/stable

sudo apt-get update

sudo apt-get install nginx
Once installed, start the web service via:
sudo service nginx start
And check out if it is working by going to http://serverip
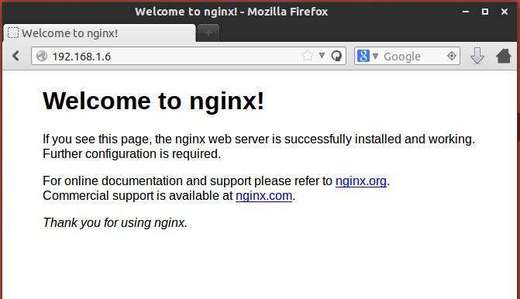
nginx is working ubuntu 14.04
3. Install PHP5
PHP is a reflective programming language, which makes it possible for all these different parts to work together.
We can make PHP5 work in nginx through PHP-FPM, which is an alternative PHP FastCGI implementation with some additional features useful for sites of any size, especially busier sites.
Run command below to install php5-fpm:
sudo apt-get install php5-fpm
4. Setup Nginx
The nginx configuration files are available in /etc/nginx/nginx.conf, read this configuration example.
To modify the default site example:
sudo vi /etc/nginx/sites-available/default
Here you can define the root directory (to put WordPress files there), your site domain name, as well as other settings. See the example below:
server {
	listen 80 default_server;
	listen [::]:80 default_server ipv6only=on;

	root /usr/share/nginx/html;
	index index.php index.html index.htm;

	# Make site accessible from http://localhost/
	server_name localhost;

	location / {

		try_files $uri $uri/ /index.php;

	}

	location /doc/ {
		alias /usr/share/doc/;
		autoindex on;
		allow 127.0.0.1;
		allow ::1;
		deny all;
	}

	#
	error_page 500 502 503 504 /50x.html;
	location = /50x.html {
		root /usr/share/nginx/html;
	}

	location ~ \.php$ {

		# With php5-fpm:
                try_files $uri =404;
		fastcgi_pass unix:/var/run/php5-fpm.sock;
		fastcgi_index index.php;
		include fastcgi_params;
	}

	# deny access to .htaccess files, if Apache's document root
	# concurs with nginx's one
	#
	location ~ /\.ht {
		deny all;
	}
}
Remember to restart the web service to apply changes:
sudo service nginx reload
5. Check if PHP is working
Create the test file:
sudo vi /usr/share/nginx/html/info.php
Add following lines and save the file:
<?php
phpinfo();
?>
Go to http://serverip/info.php in client’s web browser and you’ll see:
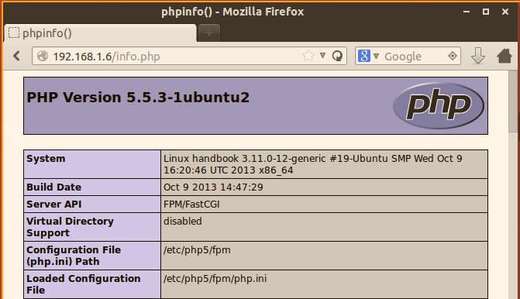
php is working
6 Get MySQL working with PHP: Install Xcache (list of PHP accelerators), a free and open PHP opcode cacher for caching and optimizing PHP intermediate code, as well as other PHP modules:
sudo apt-get install php5-mysql php5-curl php5-gd php5-intl php-pear php5-imagick php5-imap php5-mcrypt php5-memcache php5-ming php5-ps php5-pspell php5-recode php5-snmp php5-sqlite php5-tidy php5-xmlrpc php5-xsl php5-xcache
Then restart php5:
sudo service php5-fpm restart
Now reload http://serverip/info.php page and scroll down to find out if there’s a section about MySQL:
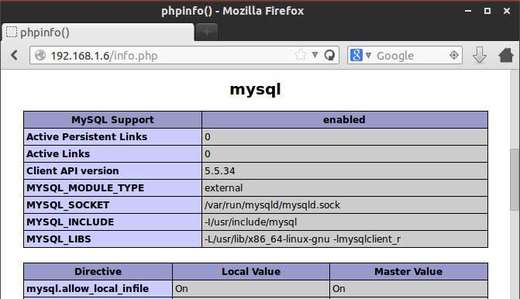
mysql is working with php
For security reason, remove the info.php after the test:
sudo rm /usr/share/nginx/html/info.php
7. Install Phpmyadmin to manage Mysql Database via web:
First install phpmyadmin:
sudo apt-get install phpmyadmin
During the installation, it will ask you if you want to configure the database with dbconfig. Go ahead and choose yes.
Input MySQL’s database password when prompted and click ok.
When phpmyadmin prompts you to choose a server (either apache or lighttpd) hit tab, and select neither one.
Second, create a symbolic link between phpMyAdmin and your site’s directory:
sudo ln -s /usr/share/phpmyadmin/ /usr/share/nginx/html
Restart nginx and finally you’re able to access phpmyadmin by going to http://serverip/phpmyadmin and typing Mysql username and password.
sudo service nginx restart
Done!


