![]()
Mozilla Firefox announced new 135.0 release on Tuesday. See what’s new in this monthly release.
The new release enhanced some features to make them work for all users. AI Chatbot, the experimental feature that’s introduced since Firefox 130, now is available to all users.
Just go to Settings -> Firefox Labs, then select AI between Anthropic Claude, ChatGPT, Google Gemini, HuggingChat, Le Chat Mistral, then you may chat with AI in sidebar after login.
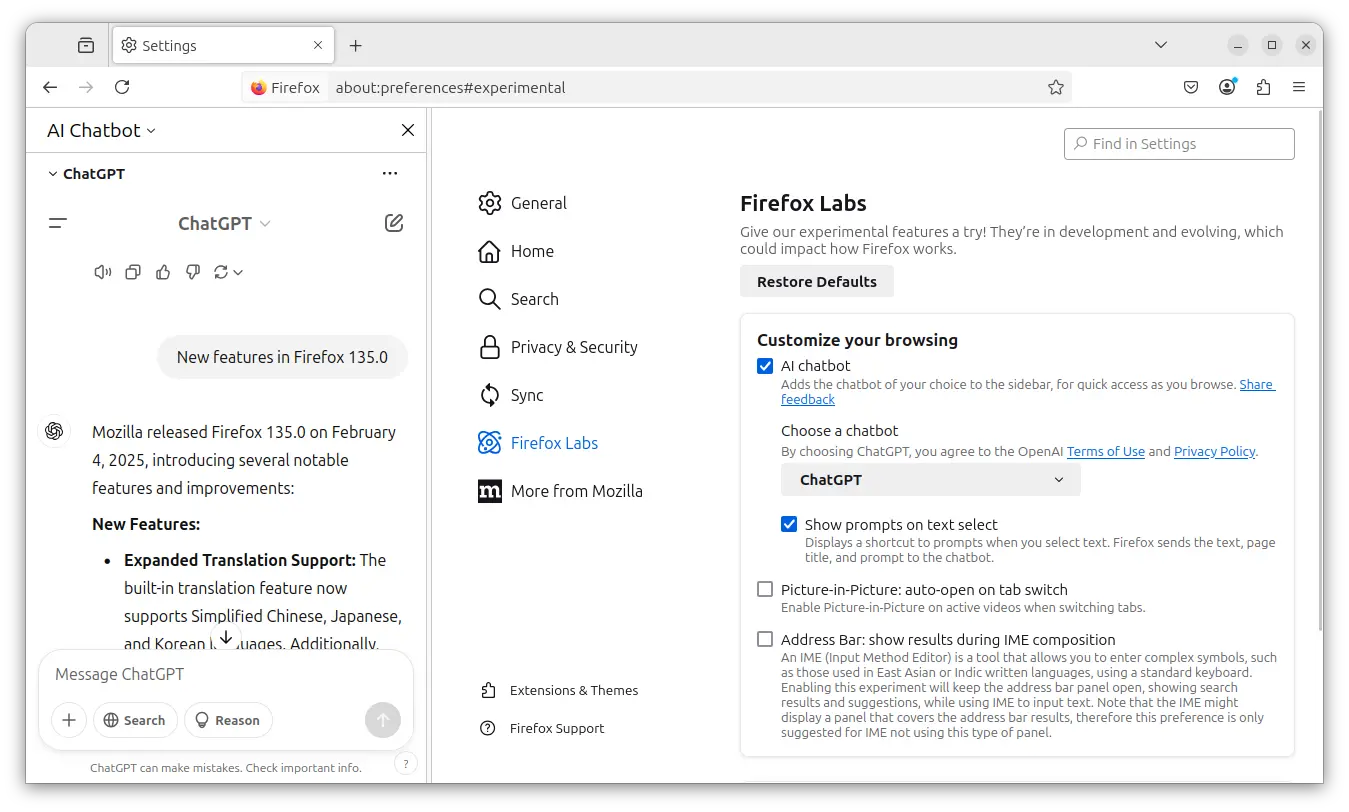
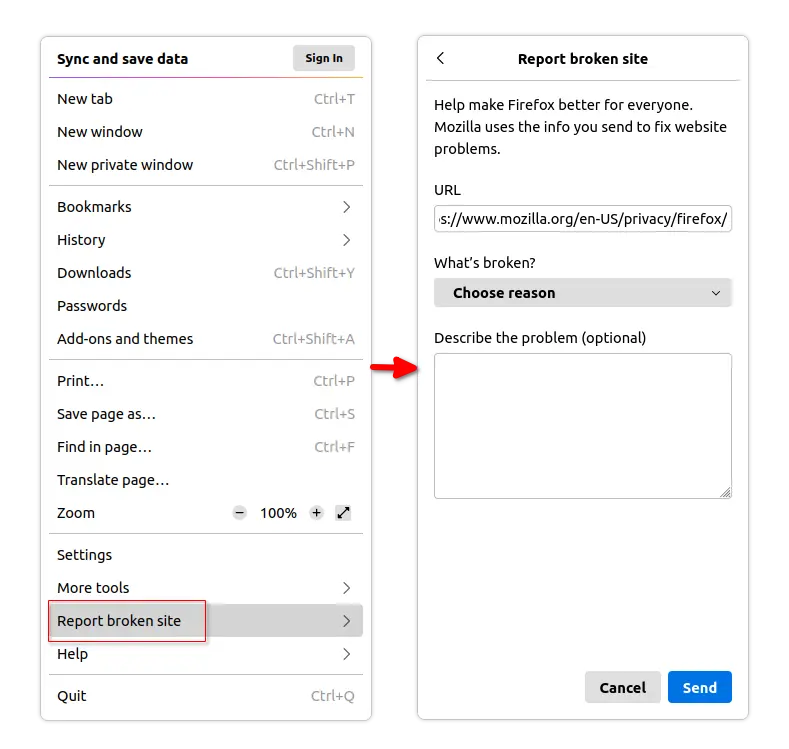
Firefox AI Chatbot made available to all users
Besides AI, the new browser release also extended the credit card autofill feature to all users globally, made the refreshed New Tab layout to users in all countries where Stories are available.
And, the built-in translations now support translating Simplified Chinese, Japanese, and Korean. While Russian is now available as a target language to translated into.
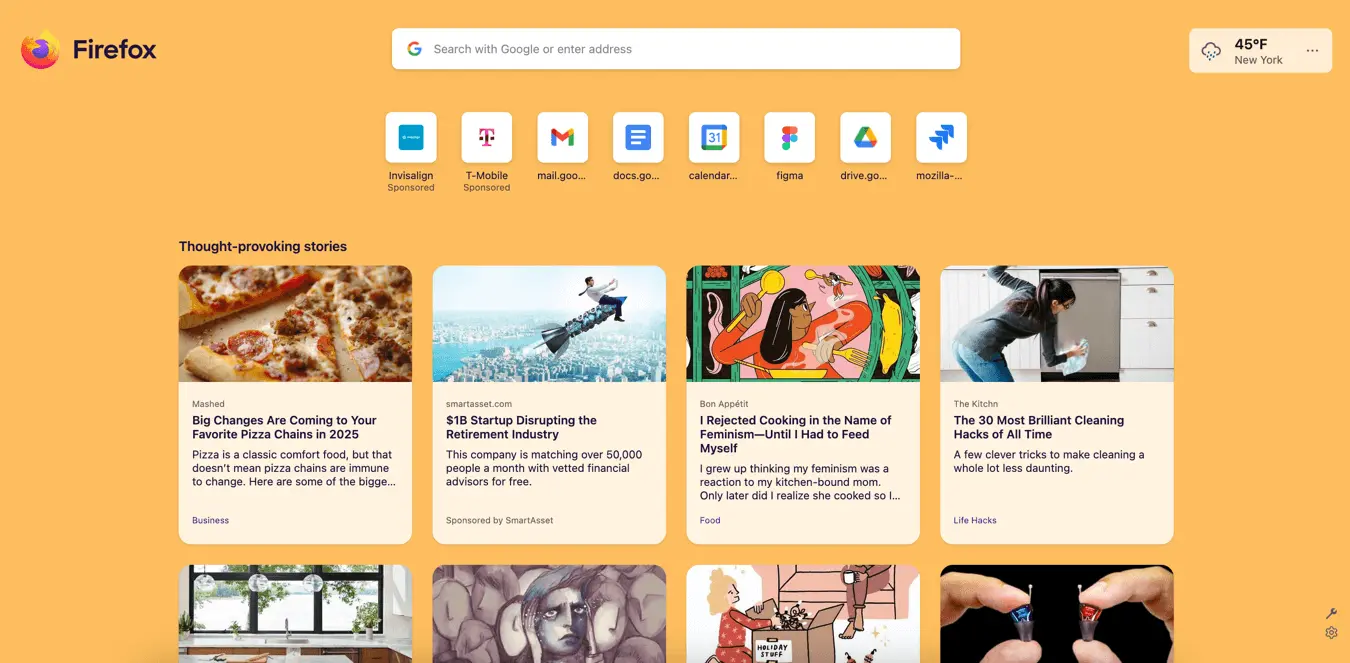
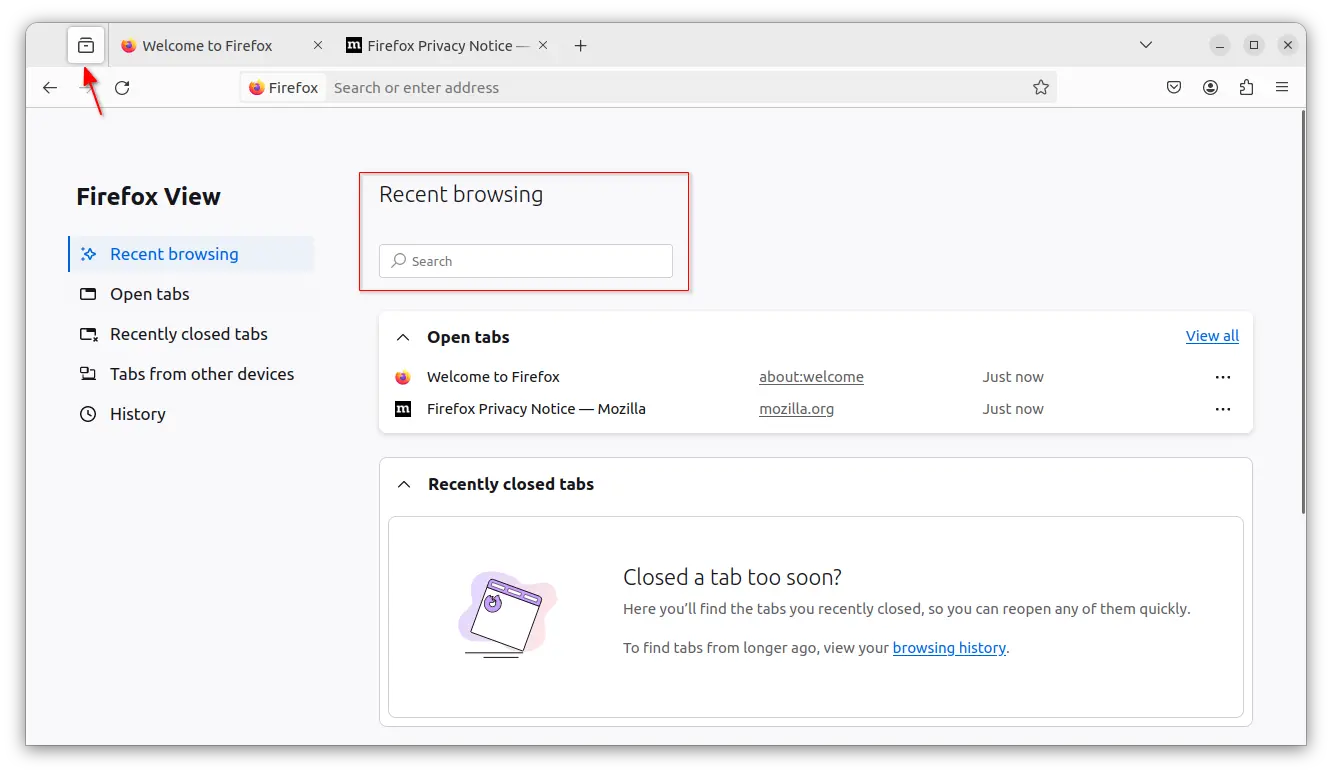
New Tab layout now works in all countries support Stories
Firefox 135 includes safeguards to prevent sites from abusing the history API by generating excessive history entries. Which however make navigating back and forward buttons difficult by cluttering the history.
Other changes in the new browser release include:
- New “Close current tab” option in Ctrl+Q quit confirm dialog.
- Enforce certificate transparency, requiring web servers to provide sufficient proof.
- Roll out the CRLite certificate revocation checking mechanism.
- Remove “Do Not Track” checkbox, user may use “Tell websites not to sell or share my data” setting instead.
- Rename “Copy Clean Link” menu item to “Copy Without Site Tracking”.
- Use XZ instead of BZ2 for smaller Linux binaries.
- And, various security fixes.
The release also includes some web development changes. It introduced a new console command $$$ allows to search the page including within shadow roots. It added support for the WebAuthn getClientCapabilities() method, and a post-quantum key exchange mechanism (mlkem768x25519) for HTTP/3.
How to Get Firefox 135.0
The release note and official packages are available at the link below:
For Ubuntu 22.04+ users with default Firefox Snap package, it will automatically update to the latest, though user may manually check updates via command:
sudo snap refresh firefox
For native DEB package, user can choose either the official apt repository or MozillaTeam PPA, and here’s a step by step tutorial talking about it.