Archives For November 30, 1999

Xfce is a lightweight desktop environment, it’s default for Xubuntu

xfce theme

Color UI is a new simple and good looking theme project includes support for Xfwm4, Unity, Cinnamon, GTK3, GTK2, Metaciy, Mutter, Openbox.

Color UI was made with maximum usability in mind, from the window borders to the color scheme, Color UI was made for the user who wants an elegant simple theme that does not look broken. If any part of Color UI has any problems in any of the things I listed as this theme supporting, please notify me in the comments and I will try to fix it ASAP! Feedback is always appreciated, if it was not for feedback how else would Color UI improve.

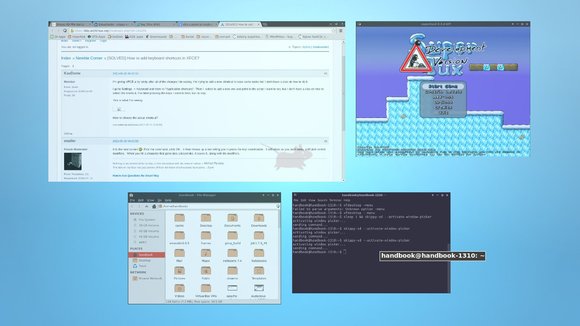
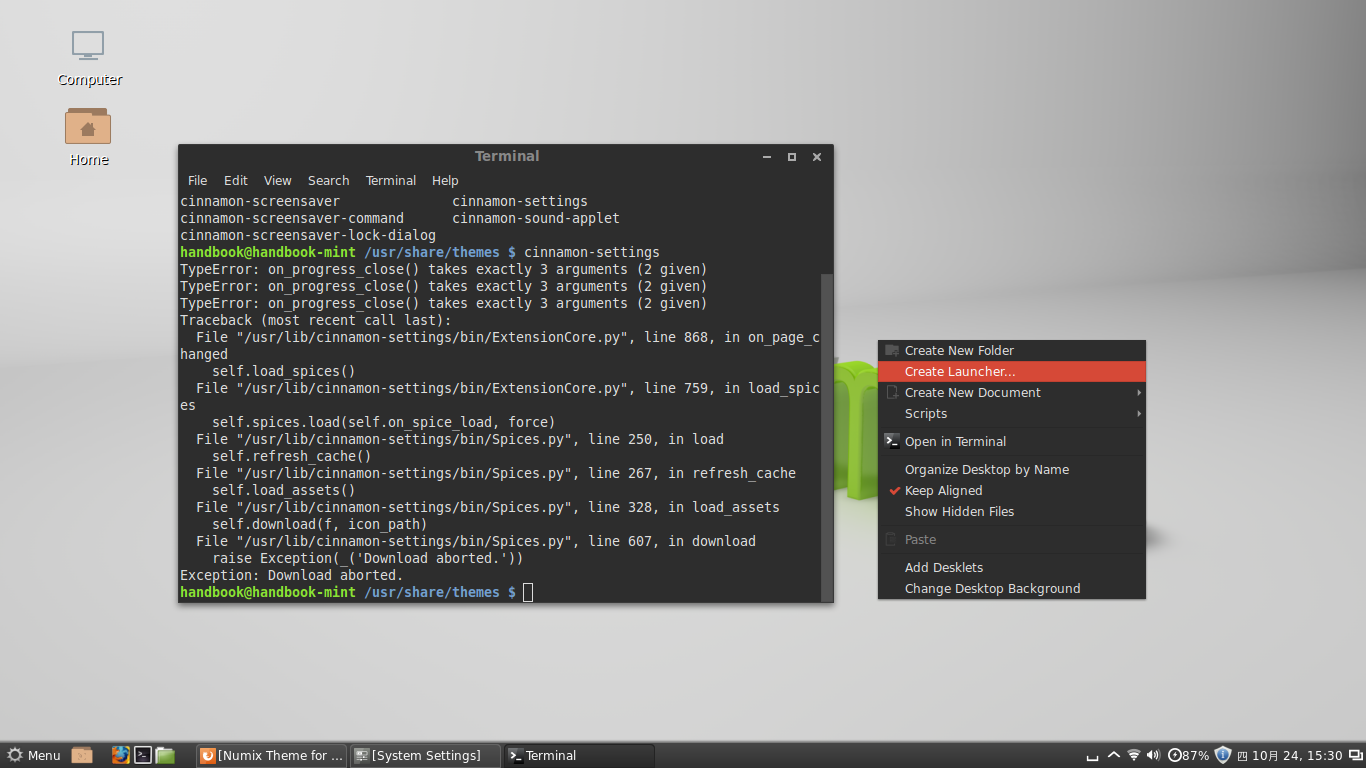
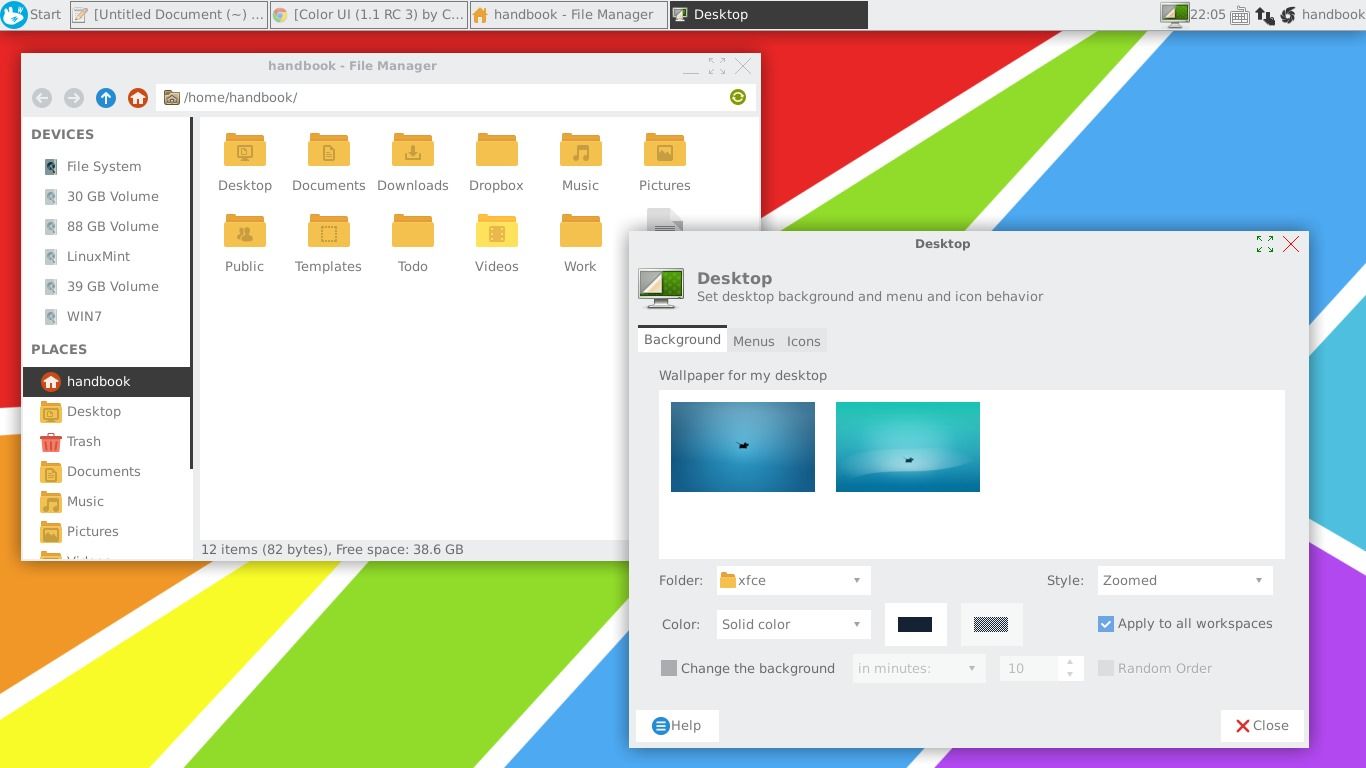
Below is the screenshot of Color UI theme in Xfce Desktop, along with Numix-icon-light and Pen Tool Wallpaper.

Wanna try this theme? Do the steps below:

1. Download the theme from right pane of the project page.

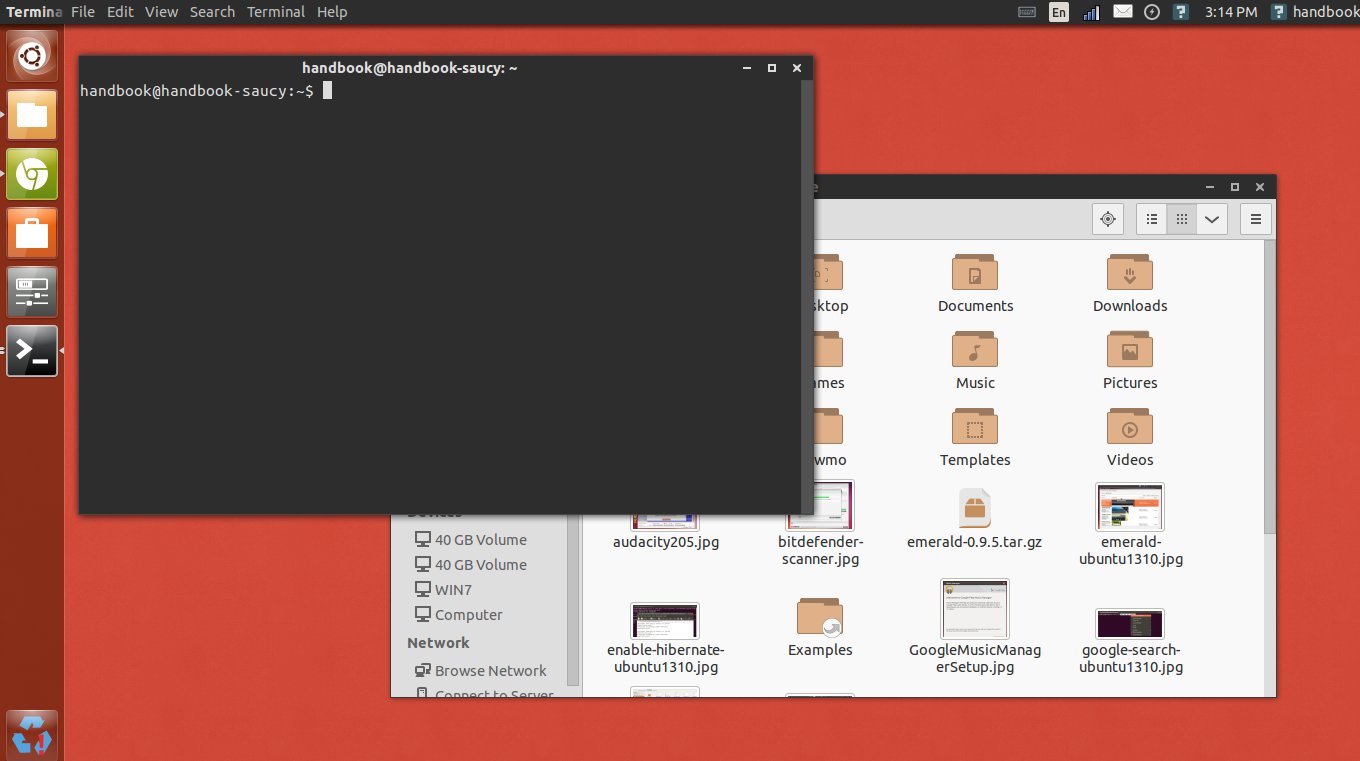
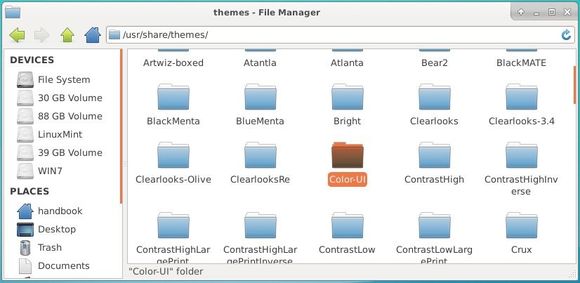
2. Unpack the theme package, copy & paste Color UI folder to /usr/share/themes. You may do the copy and paste thing by running below command in terminal:

cd ~/Downloads/Color-UI-* && sudo cp -r Color-UI /usr/share/themes

3. Change the theme folder permission:

sudo chmod -R 755 /usr/share/themes/Color-UI

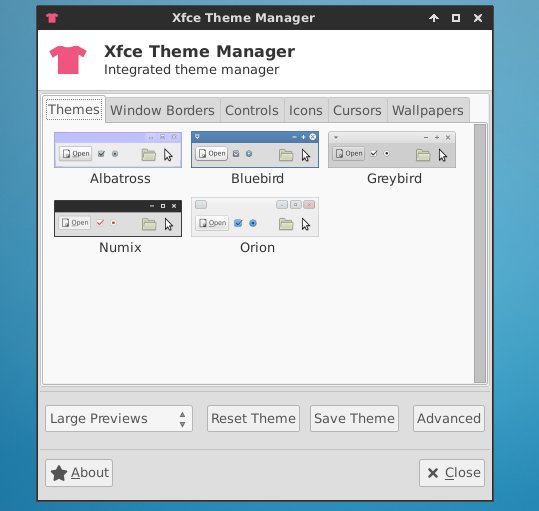
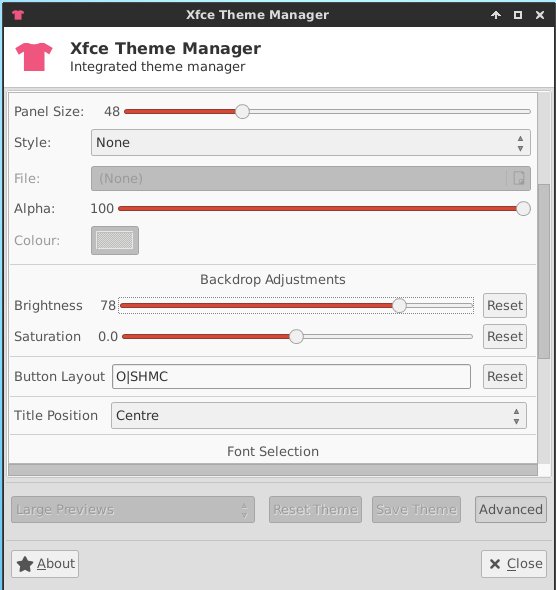
4. For XFCE, apply the theme at Settings Manager -> Appearance -> Style, and Icons tab. Also change the window border by going to Settings Manager -> Window Manager -> Style.

Xfce desktop session in Ubuntu 14.04 /14.10 does not display Network Manager, Messaging Menu, Keyboard Input, and Power icons on the panel out-of-the-box.

Thanks to Mark Trompell, it’s quite easy to add those icons back to Xfce panel by a small plugin called xfce4-indicator-plugin.

1. To install the plugin, open Ubuntu Software Center, search for and install the package xfce4-indicator-plugin.

2. Once you have the plugin installed, right-click on Xfce panel and navigate to “Panel -> Panel Preferences ….

Under Items tab, add new item “Indicator Plugin” and put it right after the “Notification Area” plugin.

While the plugin includes the time and session menu, you can remove the “Clock” and “Action Buttons” from the list.

3. The xfce4-indicator-plugin includes the Global Menu indicator, which displays application menus on panel.

If you don’t like this feature, right-click on the Network Manager icon and select Properties. When it opens, tick the box after “Application Menus (Global Menu)” to hide the applet.

Log out and back in to apply the changes.

Quick tutorial that shows beginners how to remove the shortcut icons from Xfce4 Desktop in (X)Ubuntu 14.10, (X)Ubuntu 14.04.

Xfce4 shows Home, Devices, Trash icons on desktop out-of-the-box. You can’t simply remove them from the right-click context menu. But it’s easy to hide or disable them via the Desktop Settings utility.

1. Open Desktop Settings from the Application Menu. Or right-click on desktop and select it from the pop-up context menu.

2. When the utility opens, navigate to Icons tab. Un-check all the boxes under Desktop Icons.

Note that you might need to re-size the window so that you can see the checkboxes.

This should remove user’s Home, Trash, and Devices icons.

If you want to hide all desktop icons besides removing application shortcuts from ~/Desktops folder, just set Icon Type to None. Note that this also changes the desktop right-click menu.

This simple tutorial shows Xubuntu or Xfce4 users how to get the titlebar & control buttons of maximized window on the panel using Windowck plugin.

First take a look at the result (Ubuntu 14.04 with Xfce 4.10). You’ll see the title of current Firefox tab on top panel and the window control buttons on the top-right.

To get started:

1. Install the xfce4-windowck-plugin, written by Alessio Piccoli and Cédric Leporcq.

Download the binary from the link below that matches your OS type:

  1. 64-bit system – xfce4-windowck-plugin_xxx~trusty_amd64.deb
  2. 32-bit system – xfce4-windowck-plugin_xxx~trusty_i386.deb

Then double-click the package to open with Software Center and click the install button to install it.

2. Add the ‘Window Header – Title’ and ‘Window Header – Buttons’ to panel.

Now right-click on panel and navigate to panel -> panel preferences. Add the two panel items ‘Window Header – Title’ & ‘Window Header – Buttons’ and move them to appropriate locations:

After that, maximize a window and you’ll see the window title and buttons on the panel.

3. To get better appearances, do:

  • Use Window Menu instead of Window Buttons in panel, see above picture
  • Hide the original titlebar when the window is maximized.

    To do so, press Ctrl+Alt+T on keyboard to open the terminal. When it opens, run the commands below one by one:

    sudo apt-get install maximus
    
    gconftool-2 --set /apps/maximus/no_maximize --type=bool true

    Log out and back in to get it work.

4.(Optional) Uninstall.

Just remove the two panel items from the above picture and run below command to restore maximized window decorations:

gconftool-2 --set /apps/maximus/no_maximize --type=bool false

via: xfce.org

As you may know, Xfce4 terminal supports the Quake style drop-down mode since version 0.6. Just a parameter --drop-down will start xfce4-terminal just like quake, yakuake, or tilda.

It is advised to bind this feature to a shortcut in the keyboard preferences. Below steps will teach you how:

1. Open xfce4-setting-manager from Application menu or Alt+F2 Application Finder box.

2. Click on the Keyboard icon under Hardware section.

3. Under Application Shortcuts tab, click on the Add button and type in the command box xfce4-terminal --drop-down

4. Click on OK and set a keyboard shortcut in next window.

Now you’re able to press the keyboard shortcut to launch a drop-down Xfce4 terminal. Click the button at right-bottom to open the preferences dialog and edit the width, height, opacity, duration and more!

Linux Mint 16 “Petra” KDE & Xfce has been released on 22 Dec. Both releases feature Xfce 4.10 / KDE 4.11, MDM 1.4, a Linux kernel 3.11 and an Ubuntu 13.10 package base. Let’s see what’s NEW in these two release and how to upgrade from a previous version of Linux Mint.

New features in Mint 16 Xfce (complete overview):

  • Xfce 4.10 Desktop
  • Whisker Menu 1.2
  • Pulse Audio (allow to switch back to ALSA)
  • Login Screen (MDM 1.4)
  • USB Stick support
  • Performance improvements
  • Bug fixes and performance improvements on Software Manager
  • Lots of system improvements
  • Artwork Improvements

New Features in Mint 16 KDE (See complete overview):

  • KDE 4.11
  • Samba Mounter -mount network shares graphically and locally
  • Login Screen (MDM 1.4)
  • USB Stick support
  • Performance improvements
  • Bug fixes and performance improvements on Software Manager
  • Lots of system improvements
  • Artwork Improvements

Download Links & Upgrade instructions

Both releases can follow this instructions to upgrade from a previous version of Linux Mint.

Download Links:

Linux Mint 16 Petra KDE 32-bit | 64-bit

Linux Mint 16 Petra Xfce 32-bit | 64-bit

Skippy-XD is a program for X which provides Mac OS Exposé-like features. It is a standalone application for providing a window picker with live previews (including live video) on Linux desktops that run an X server with composite support. Thus it is not part of the window manager, and the composite is not being used all the time.

To use Skippy-XD, you need Xfce (xfwm4) or a NetWM compliant window manager (LXDE, Openbox-based window managers, etc.).

This tutorial shows you how to install this task-switcher via PPA in (X)Ubuntu 13.10, (X)Ubuntu 13.04, (X)Ubuntu 12.10, (X)Ubuntu 12.04 and Linux Mint Xfce.

Mac OS X’s Exposé windows picker in Ubuntu 13.10 Xfce 4.10

Install Skippy-XD:

The Skippy-XD code has been released in 2004, and only slightly improved in 2011. Currently Skippy-XD is under (somewhat) active development and the latest GIT code is available in the PPA below.

Press Ctrl+Alt+T on keyboard to open terminal. When it opens, run commands below one by one to install it from PPA:

sudo add-apt-repository ppa:landronimirc/skippy-xd-daily

sudo apt-get update

sudo apt-get install skippy-xd

Once installed, start the daemon via:

skippy-xd --start-daemon &

And activate the windows picker:

skippy-xd --activate-window-picker

Add Keyboard Shortcuts for Skippy-XD

Typically, it is helpful to set up keyboard shortcuts for skippy-xd. For Xfce4:

1. Go to Settings Manager -> Settings Editor -> xfce4 keyboard shortcuts.

2. Click on New, and type in:

  • Property: /commands/custom/<Alt>1 #You may change <Alt>1 to other key combination.
  • Type: String
  • Value: skippy-xd --activate-window-picker

xfce4 add custom shortcut key

Auto start Skippy-XD daemon at login:

Go to Settings Manager -> Session and Startup -> Application Autostart. Click on Add button, type in name and command skippy-xd --start-daemon

Whisker Menu for Xfce released v1.2.0 with more options and bugfixes. Here’s how to install it in XUbuntu 13.10, XUbuntu 13.04, Xubuntu 12.04, XUbuntu 12.10 and other Linux distributions.

Whisker Menu is an alternate application launcher for Xfce. With it, you can browser, search, and marked as favorites through all of your installed applications.

What’s New in version 1.2.0:

  • Fix popup script to show correct version information
  • Fix memory leak when reloading applications
  • Fix favorites and recent deleted when menu failed to load
  • Add option to load menu hierarchy
  • Add option to not include favorites in recently used
  • Add options to set custom commands
  • Add option to show recently used by default
  • Add option to position search entry next to panel button
  • Add option to position command buttons next to search entry
  • Add manual page for popup script
  • Use tabs for configuration dialog layout
  • Translation updates: Brazilian Portuguese, Bulgarian, Catalan, Croatian, Danish, Dutch, Finnish, French, German, Greek, Hebrew, Italian, Japanese, Malay, Norwegian Bokmål, Polish, Portuguese, Romanian, Russian, Serbian (Latin), Slovak, Spanish, Uzbek.

Install Whisker Menu 1.2 for Xfce4:

Press Ctrl+Alt+T on your keyboard to open terminal. When it opens, run commands below one by one:

sudo add-apt-repository ppa:gottcode/gcppa

sudo apt-get update

sudo apt-get install xfce4-whiskermenu-plugin

For Debian / Fedora / openSUSE and others, see installation guide on Whisker Menu Homepage

Once installed, right-click on panel and add this launcher by navigating to panel -> Add new item…

whisker menu in Ubuntu 13.10 Xfce4

Xfce Theme Manager, an integrated theme manager for Xfce Desktop now is available for (X)Ubuntu 13.10 Saucy Salamander.

With this tool, you can manage:

  • GTK themes
  • window borders and controls
  • icon themes
  • cursors
  • wallpapers
  • panel size and style, backdrop adjustments, fonts and other view options

Screenshots:

xfce theme manager gtk

xfce theme manager advanced

xfce theme manager icons

To install Xfce Theme Manager in (X)Ubuntu 13.10 Saucy and Linux Mint 16 Xfce, press Ctrl+Alt+T on your keyboard to open terminal. When it opens, run commands below one by one:

sudo add-apt-repository ppa:rebuntu16/other-stuff

sudo apt-get update

sudo apt-get install xfce-theme-manager

Once installed, open it from Application Menu -> Settings -> Settings Manager -> Other -> Xfce-Theme-Manager

Numix is a modern flat theme with a combination of light and dark elements. It supports Gnome, Unity, XFCE and Openbox.

This simple tutorials shows how to install Numix GTK as well as Numix icons on Ubuntu 13.10 Saucy, Ubuntu 14.04 Trusty, Ubuntu 13.04 Raring, Ubuntu 12.04 Precise and Linux Mint.

First take a look at screenshots:

numix gtk Ubuntu 13.10 Unity

numix gtk & icons linux mint

numix icons & gtk xfce4

numix gtk & icons gnome shell

numix gtk & icons gnome shell

Install Numix GTK & Icons via PPA:

Numix project gets a launchpad PPA to make it easy to install Numix GTK, icons, wallpaper in Ubuntu 14.04, Ubuntu 13.10, Ubuntu 13.04, Ubuntu 12.10, Ubuntu 12.04 and their derivatives.

To get started, press Ctrl+Alt+T on your keyboard to open terminal. When it opens, run commands below one by one:

sudo add-apt-repository ppa:numix/ppa

sudo apt-get update

sudo apt-get install numix-gtk-theme numix-icon-theme numix-wallpaper-saucy

Once installed, use Gnome Tweak Tool, Unity Tweak Tool or other system tools to apply Numix theme and icons.