
![]()

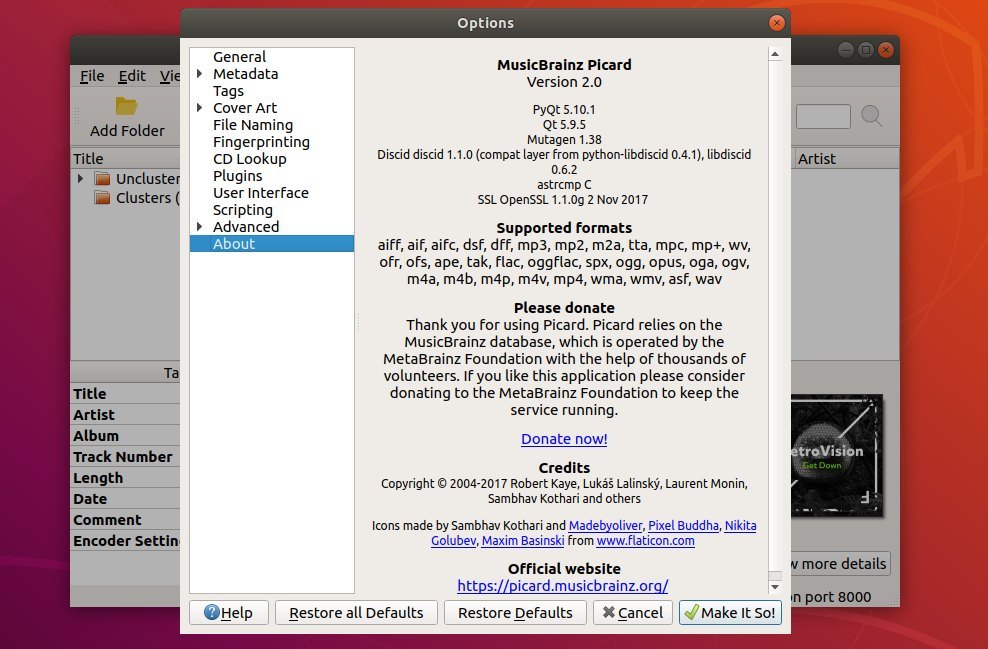
MusicBrainz Picard 2.0 stable was released today many fixes and new features and much needed upgrades!
MusicBrainz Picard 2.0 release highlights:
- Add Retina and Hi-DPI display support.
- Add DSF file support
- Add keyboard shortcut for deleting scripts from options > scripting page
- Support only 64 bit Picard builds from 2.0
- Update dependencies minimal requirements: Python 3.5, PyQt 5.7, and Mutagen 1.37.
- And numerous bug-fixes, UI and performance improvements.
How to Install MusicBrainz Picard 2.0 in Ubuntu:
The official PPA has built the music tagger for Ubuntu 17.10, Ubuntu 18.04, and Ubuntu 18.10.
1. Launch terminal either via Ctrl+Alt+T keyboard shortcut or searching for ‘terminal’ from software launcher. When it opens, run command to add the PPA:
sudo add-apt-repository ppa:musicbrainz-developers/stable
Type your user password (no asterisks feedback) when it prompts and hit Enter to continue.


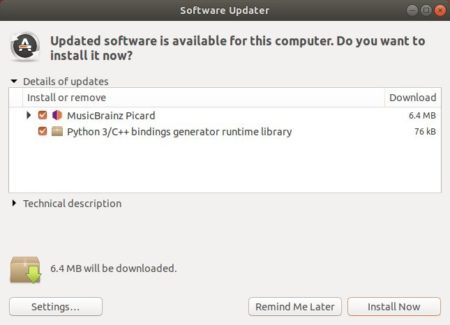
2. If a previous version was installed, upgrade the software via Software Updater:

or run following commands one by one in terminal to install or upgrade to MusicBrainz Picard 2.0:
sudo apt-get update

sudo apt-get install picard
Uninstall:
To remove the PPA, launch Software & Updates and navigate to Other Software tab.
To remove MusicBrainz Picard music tagger, run command in terminal:
sudo apt-get remove --autoremove picard


