![]()
The Fragments BitTorrent client finally released version 2.0. It’s now uses Rust, GTK4 and the new Libadwaita library to provide a stylish user interface for those running Linux with GNOME desktop.
For those never heard of Fragments, it’s a free open-source torrent app that uses Transmission as backend for transferring data. With it, user may starting downloading via:
- click a magnet link
- copy magnet into clipboard,
- or add torrent via ‘+’ icon.

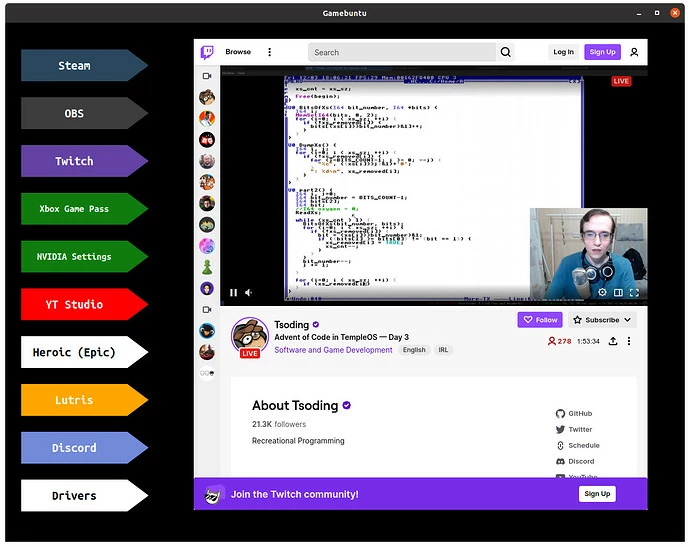
Fragments dark mode
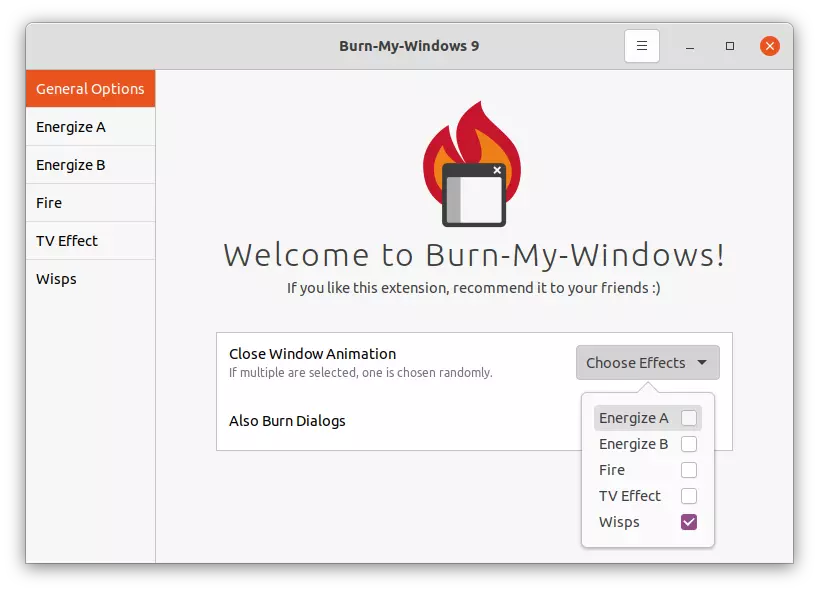
By releasing version 2.0, it now has the ability to control remote Fragments or Transmission sessions. Simply click the option in hamburger menu, type a name and the IP address of remote machine. In advanced settings, toggle on/off SSL and specify the port if default one is not in use.
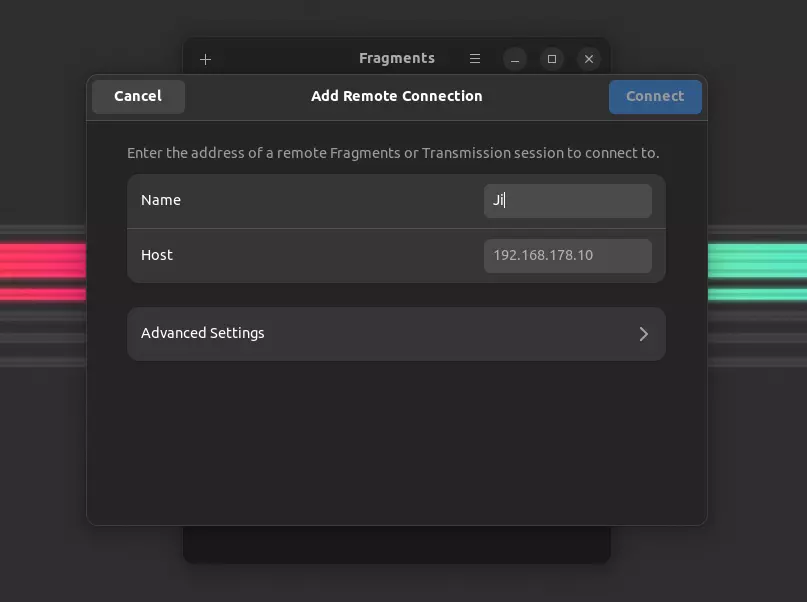
The header bar will turn purple and display a subtitle name indicates you’re in control of a remote session.
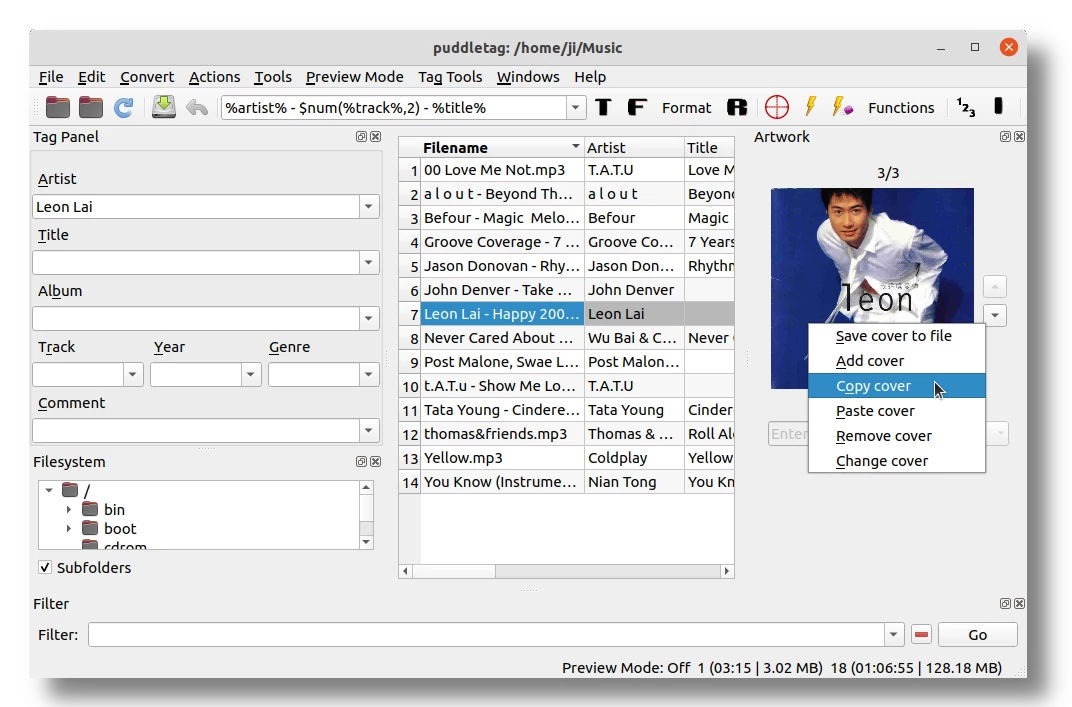
Instead of expanding the downloading item, it now shows the detailed information via a pop-up dialog. It displays the network speed, total up and downloaded data, as well as a few action buttons.

Other features include:
- New context (right-click) menu.
- Copy current download as Magnet link into clipboard.
- Statistics about the current session
- Rework preferences dialog with more options.
How to Install Fragments in Ubuntu & other Linux:
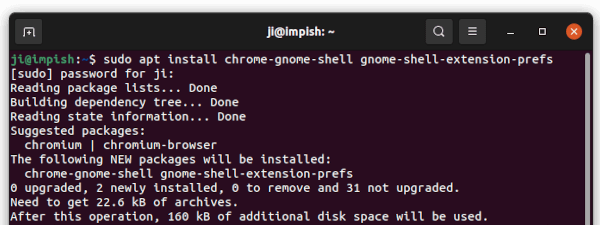
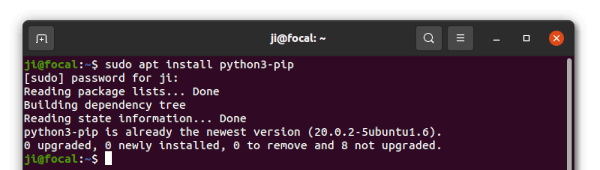
The software is available to install as Flatpak package. Open terminal by searching from ‘Activities’ overview screen. When it opens, run following commands one by one:
1.) Install Flatpak framework if you don’t have it installed by running command:
sudo apt install flatpak


2.) Add flathub, the main repository hosts a large list of flatpak packages:
flatpak remote-add --if-not-exists flathub https://flathub.org/repo/flathub.flatpakrepo


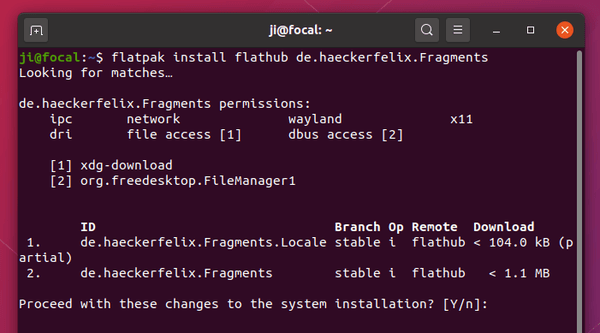
3.) Finally install the BitTorrent client via command:
flatpak install flathub de.haeckerfelix.Fragments

Once installed, search for and open it from ‘Activities’ overview and enjoy!
How to remove Fragments BitTorrent Client:
To uninstall the app, simply run command in a terminal window:
flatpak uninstall --delete-data de.haeckerfelix.Fragments
That’s all. Enjoy!